
0. Looking at the jobs before you sign up
You do not need an account to see what jobs are going. The front page of https://stridesvolunteers.org lists every job that still has room.
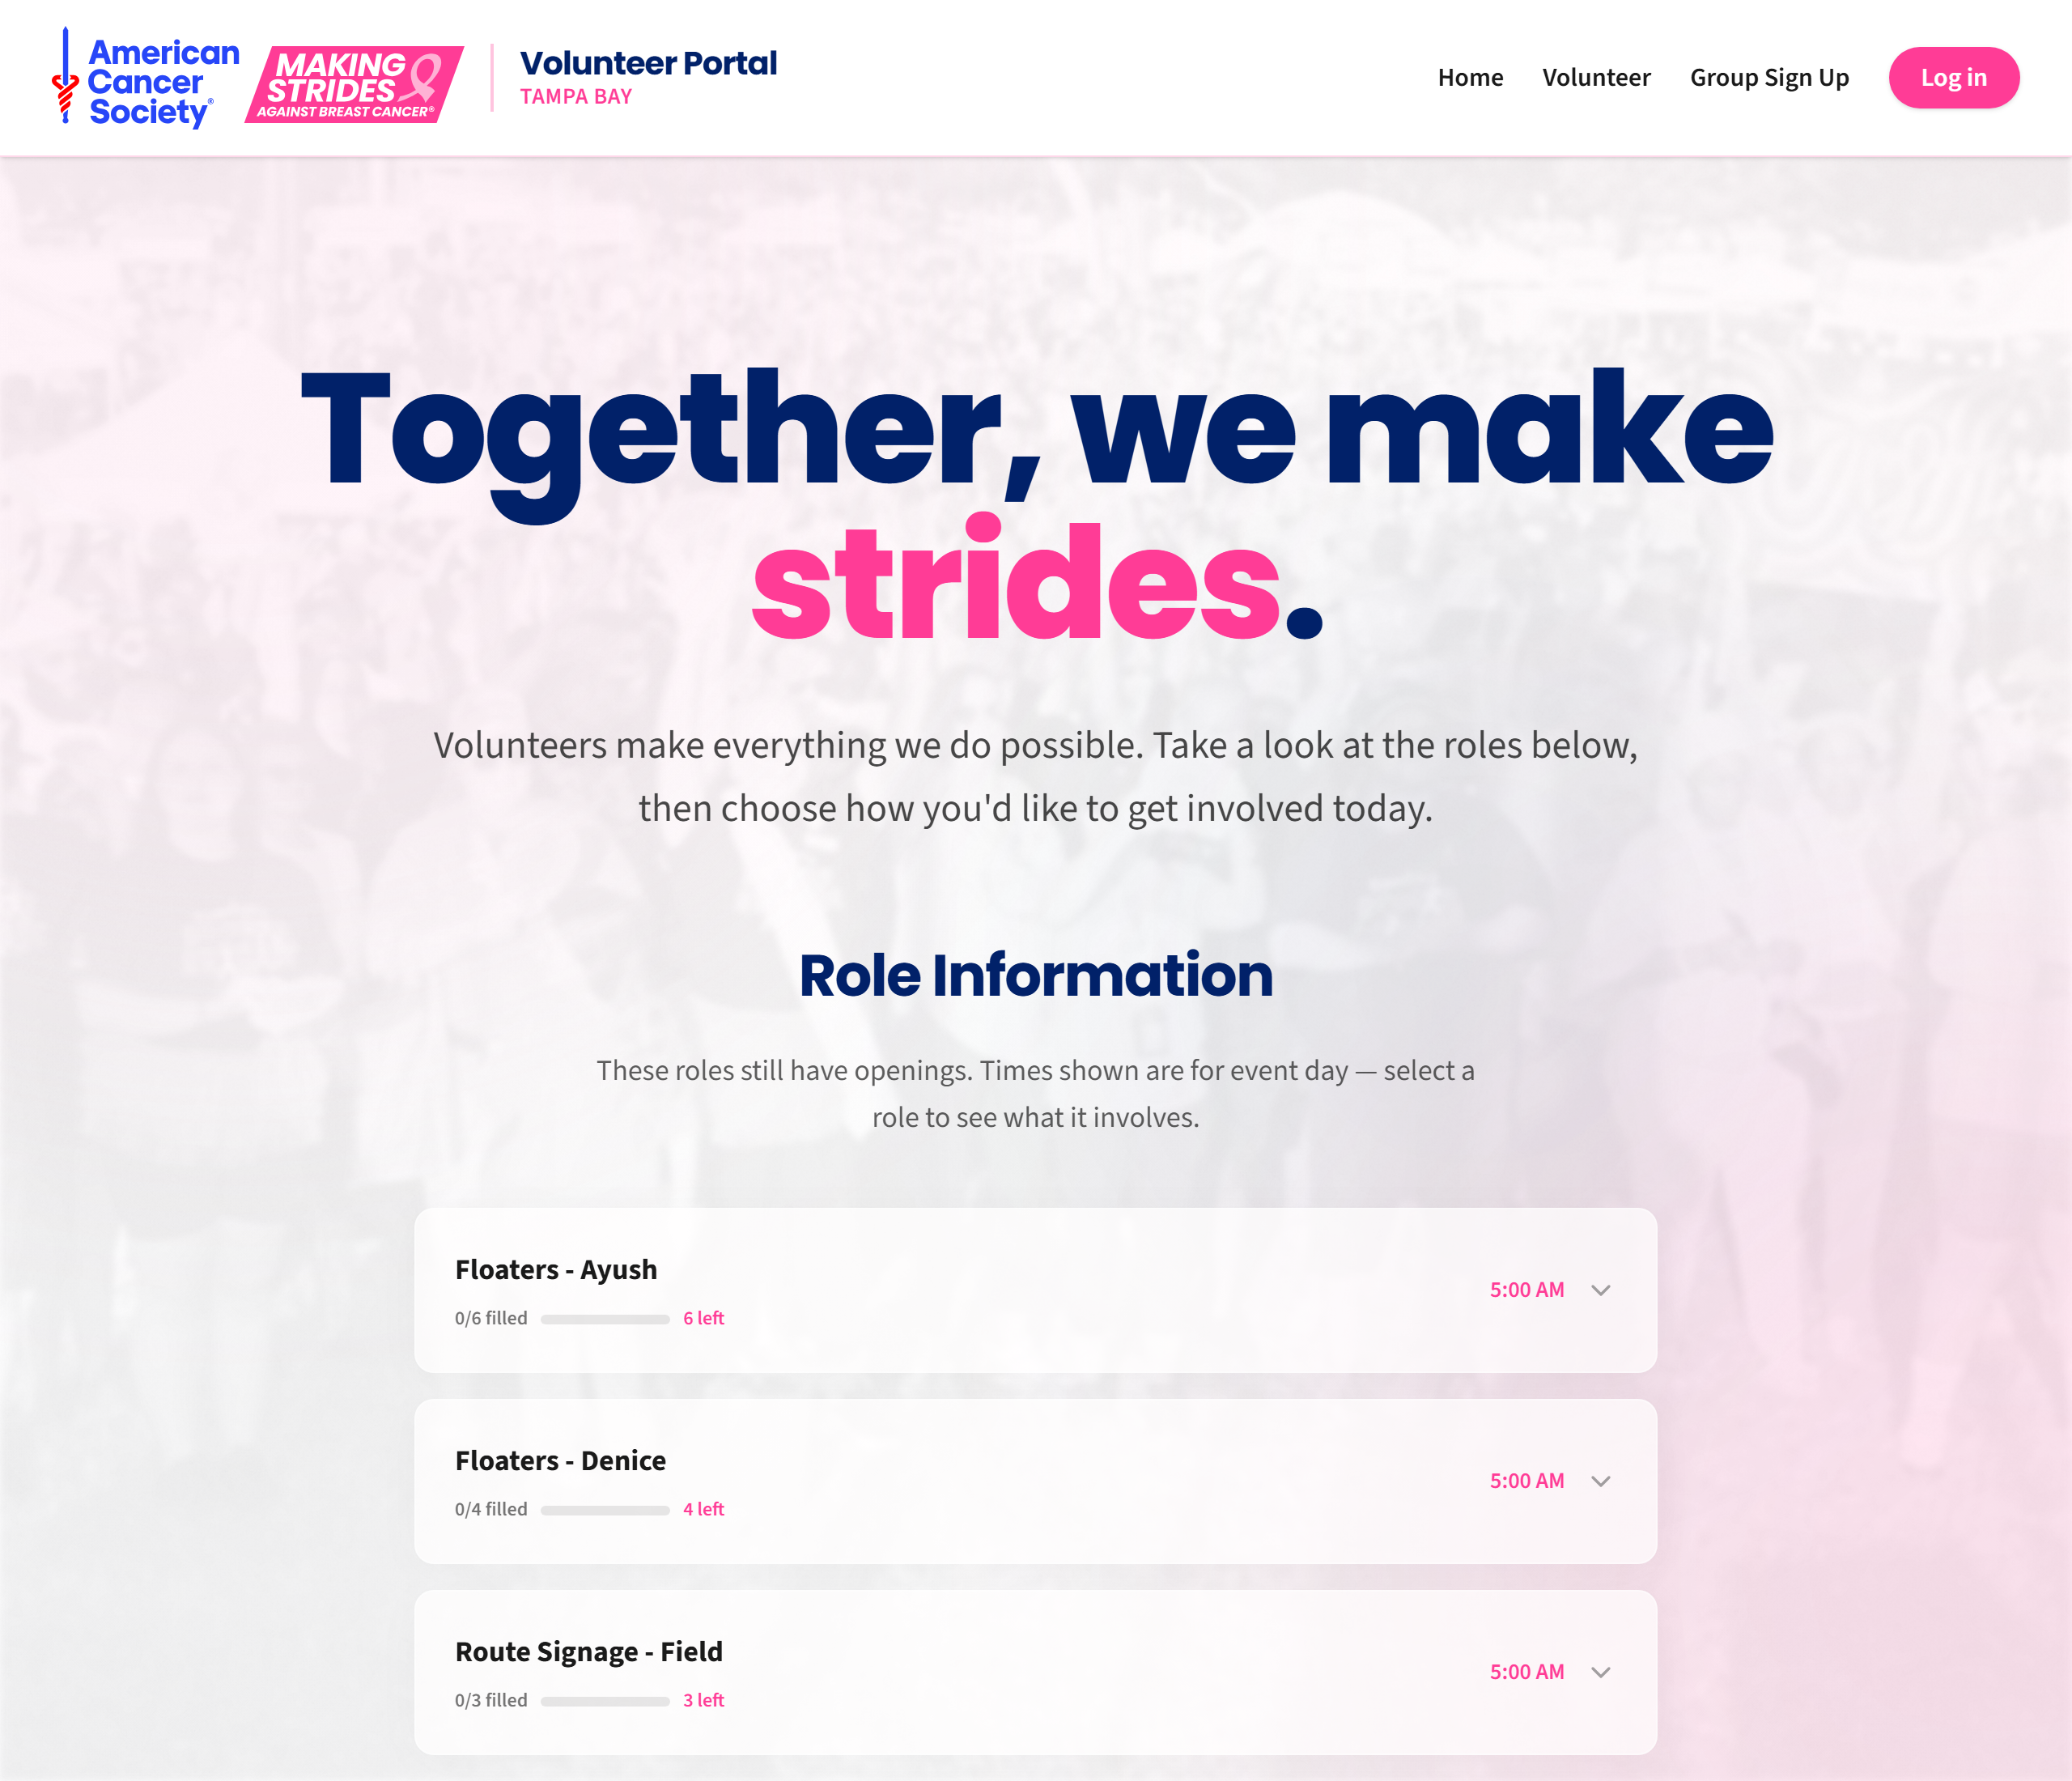
For each job you can see:
- The name of the job, such as “Route Signage”.
- How full it is — for example
0/6 filledwith6 leftbeside it, or Unlimited spots for jobs with no cap. - The time it starts on event day, or Start time TBD if that is not settled yet.
If a job has a small arrow on the right, click anywhere on the row to open it and read a description of what the job involves.
Jobs that are already full are not listed at all. The list changes as people sign up, so if a job you wanted has disappeared, it has filled.
1. Signing up on your own
Use this if you are volunteering alone or with fewer than 10 people. If you are bringing more than 10 people, use the group leader guide instead.
Step 1. Go to https://stridesvolunteers.org and click Volunteer in the menu at the top.
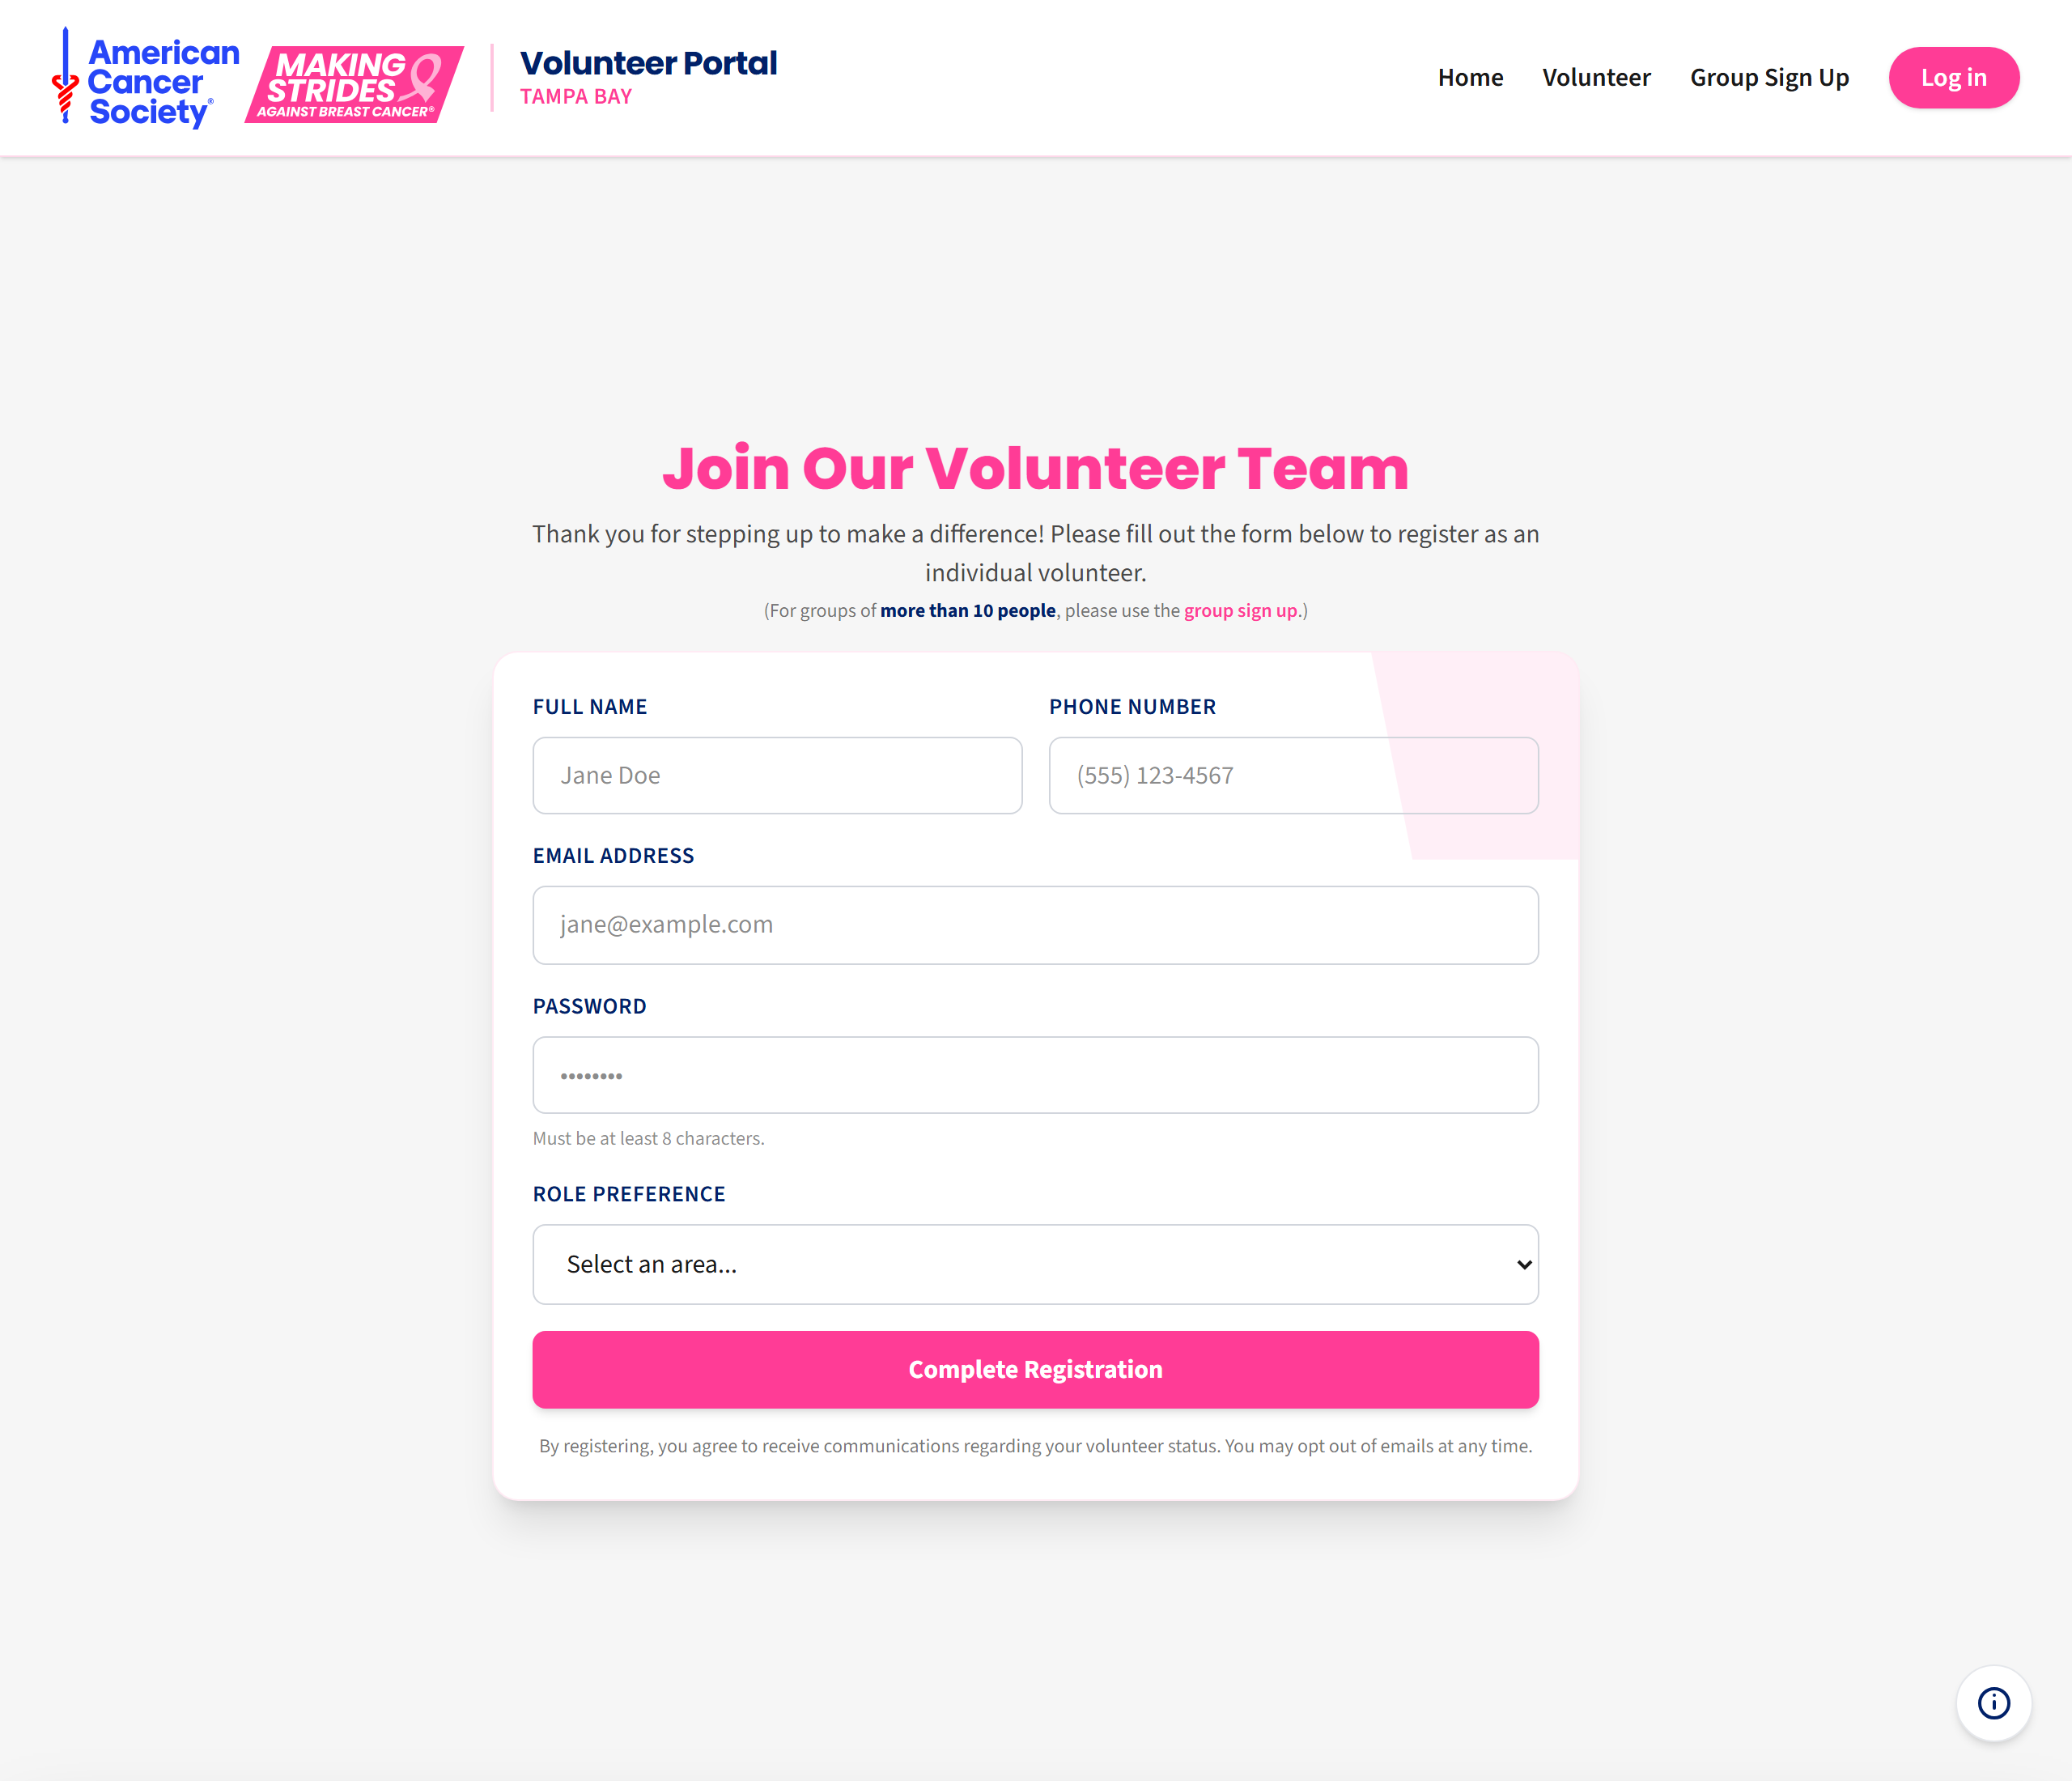
Step 2. Fill in all five boxes:
| Box | What to type |
|---|---|
| Full name | Your first and last name. |
| Phone number | A number we can reach you on during the event. |
| Email address | An email you can open today — we send your confirmation there. |
| Password | Make one up. It must be at least 8 characters. Write it down somewhere safe. |
| Role preference | The job you would like. Click the box to see the list. |
Step 3. When you pick a job from the Role preference list, a box pops up describing that job and asking if you are sure.
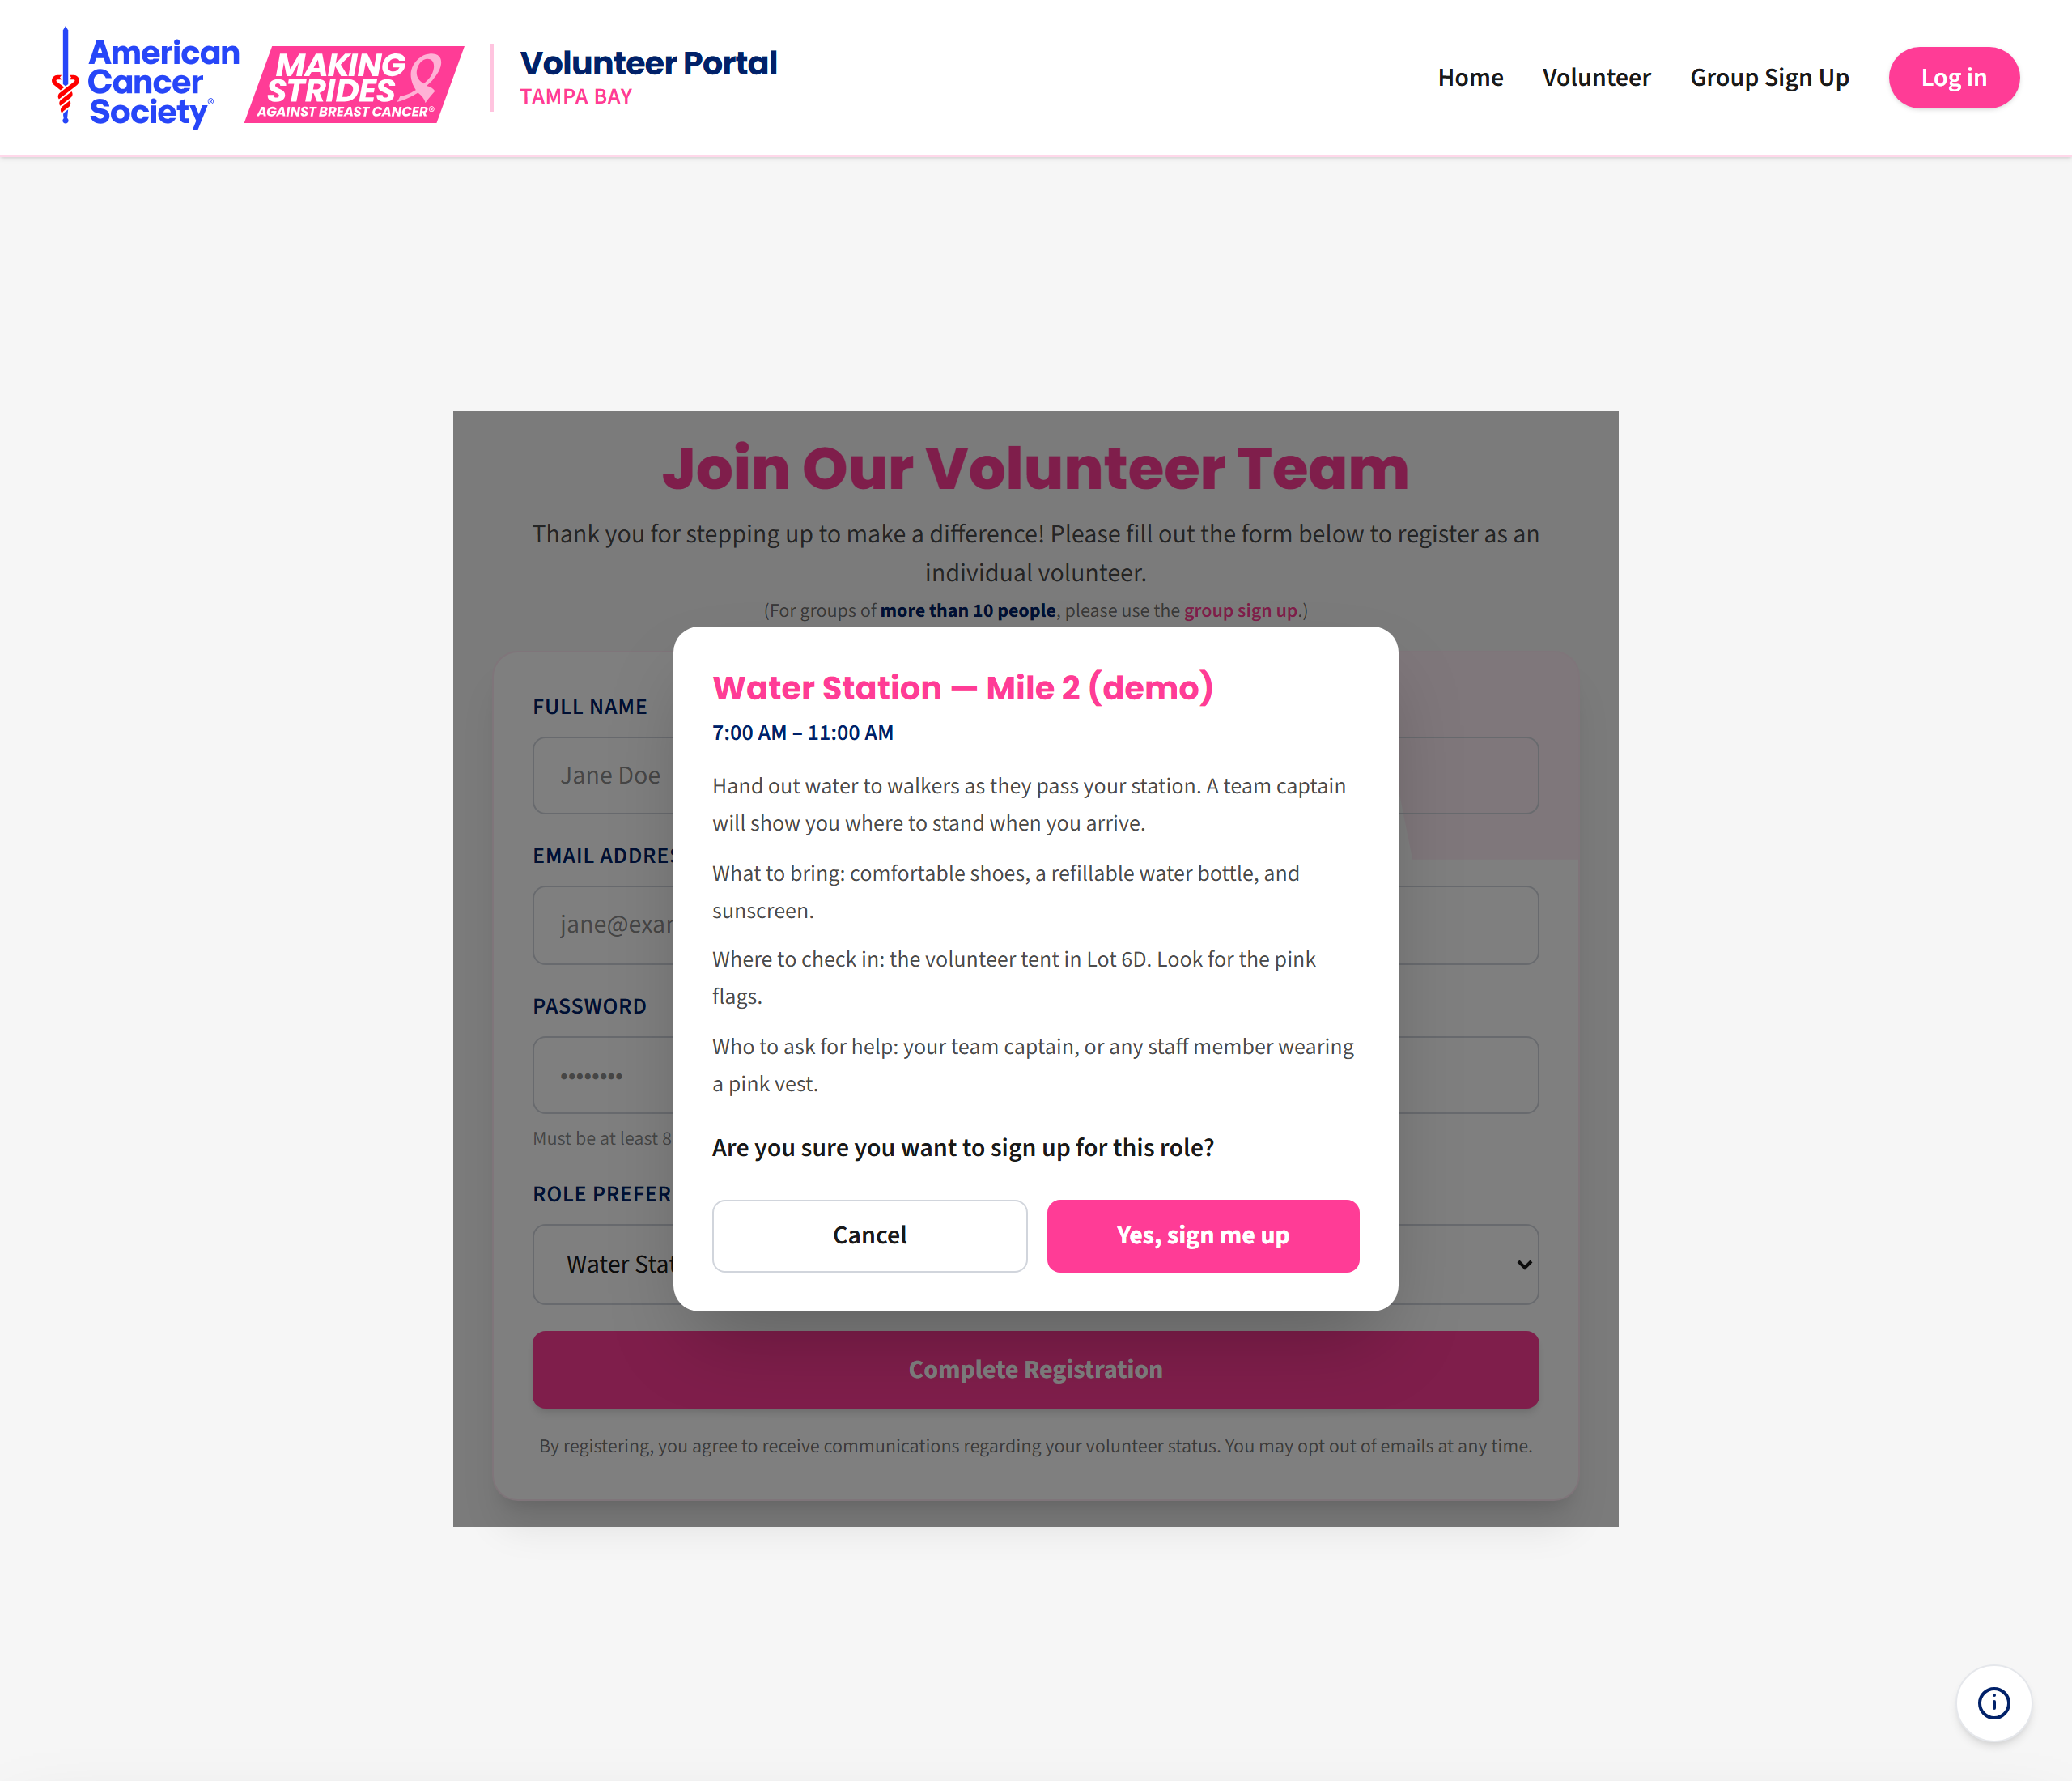
- Click Yes, sign me up to keep it.
- Click Cancel to go back and pick something else.
Note: Jobs that are already full do not appear in the list at all. If you cannot find a job you were told about, it has most likely filled up — pick another one, and a coordinator can move you later if needed.
Step 4. Tick the small box that says “I’m not a robot” (a security check).
Step 5. Click the pink Complete Registration button.
Step 6. You will see a green message confirming we have emailed you.
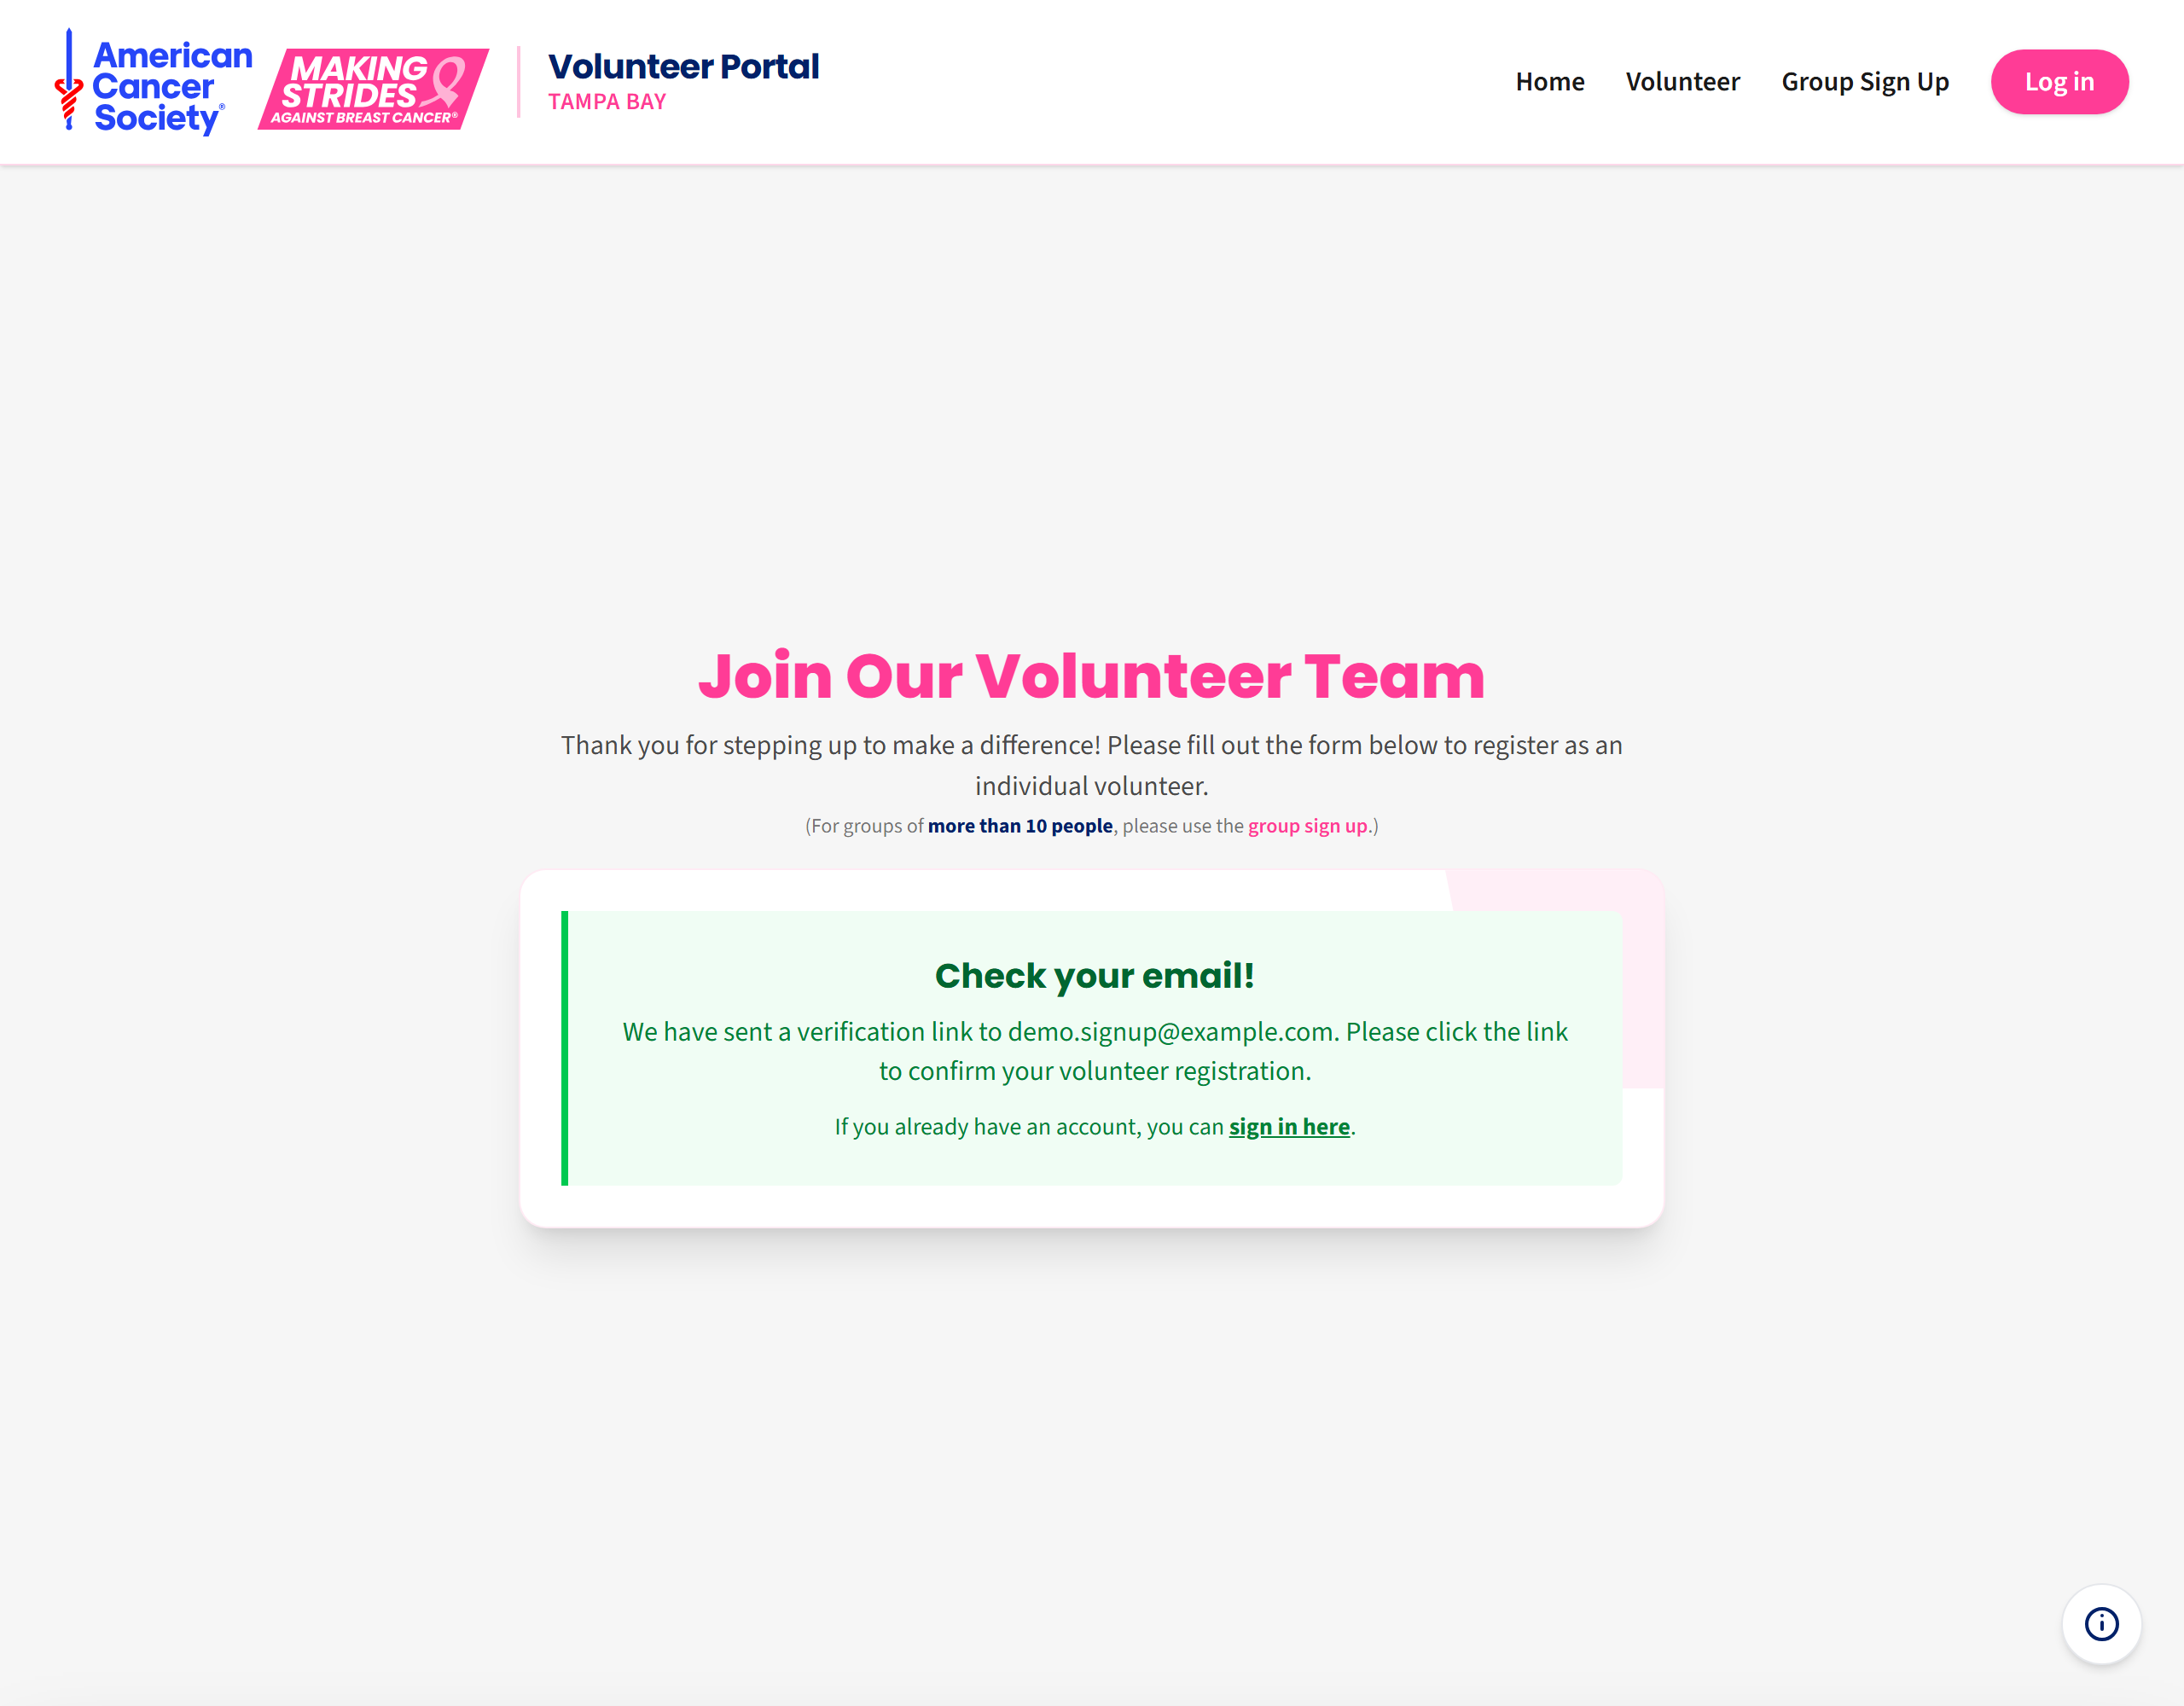
Your sign-up is not finished yet. Go to step 2 below.
2. Verifying your email
Verifying just means clicking a link so we know your email address is real. Without it you cannot sign in.
Step 1. Open your email inbox and look for a message titled “Verify your volunteer registration — Making Strides Tampa Bay”.
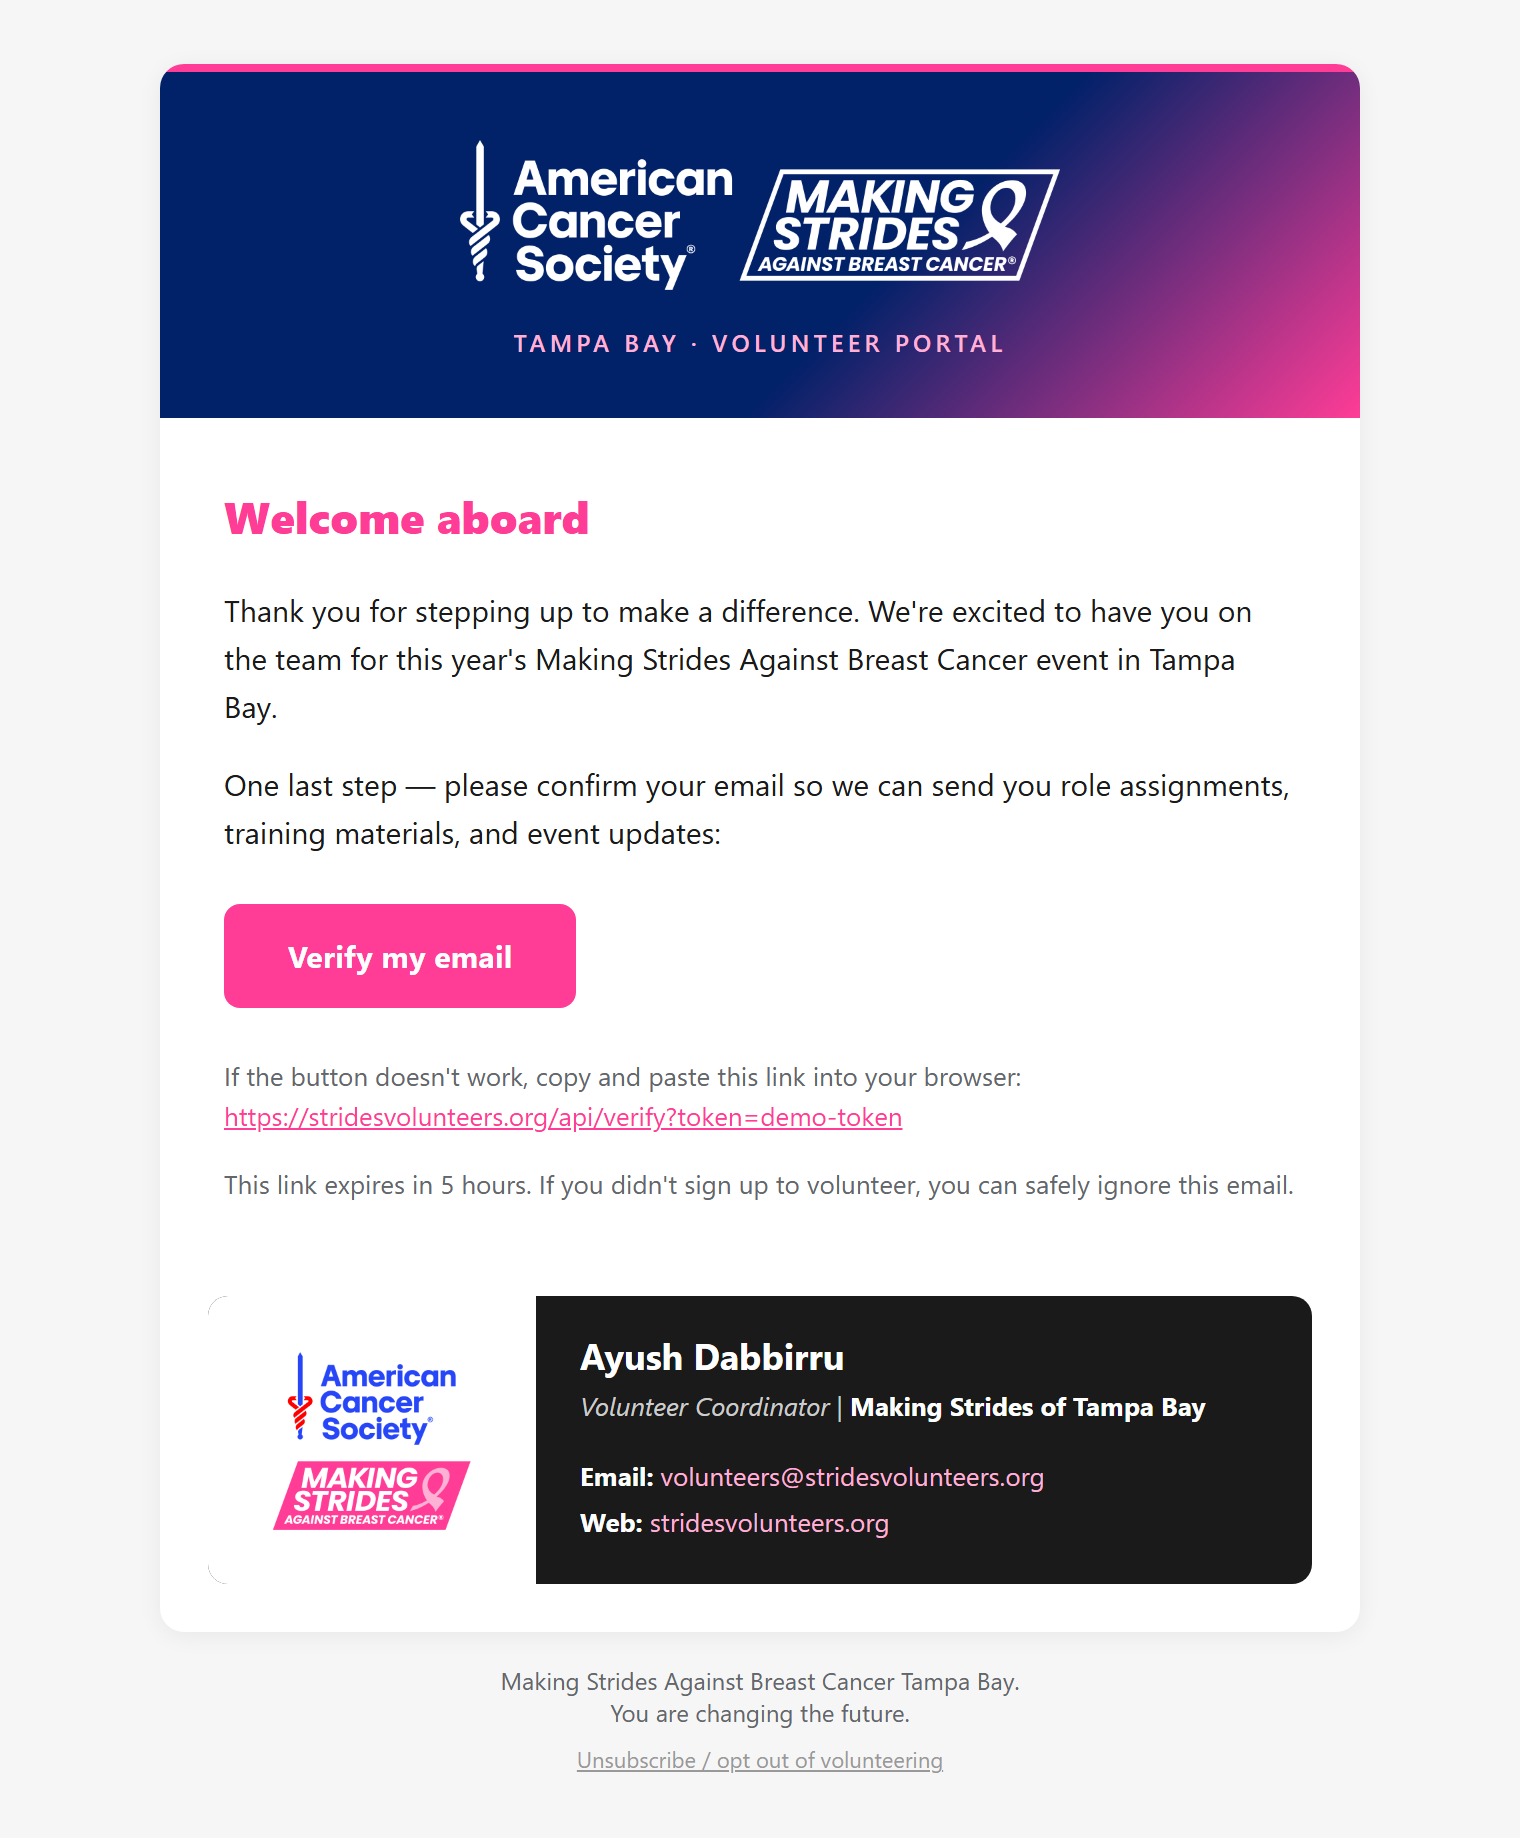
Step 2. Click the pink Verify my email button.
If the button does not work in your email program, there is a long web address printed underneath it. Copy that whole address and paste it into your web browser’s address bar.
Step 3. The website opens and signs you in automatically. You are done — you should now see your Volunteer Portal.
Important things to know
- The link stops working after 5 hours. If yours has expired, see Troubleshooting → My verification link expired.
- Can’t find the email? Check your spam or junk folder, and search for stridesvolunteers.
- Already had an account? If you signed up with an email that is already registered, you will still see the green “Check your email!” message, but no new email is sent and no second account is created. Just sign in with your original password instead, or reset your password.
3. Joining a group with an invite link
If someone is organising a group — a workplace, church, school or club — they will send you a link that looks like this:
https://stridesvolunteers.org/groups/join?token=xxxxxxxxxxxxStep 1. Click that link, or paste it into your browser.
Step 2. You will see the group’s name at the top of the page, so you can check you are joining the right one.
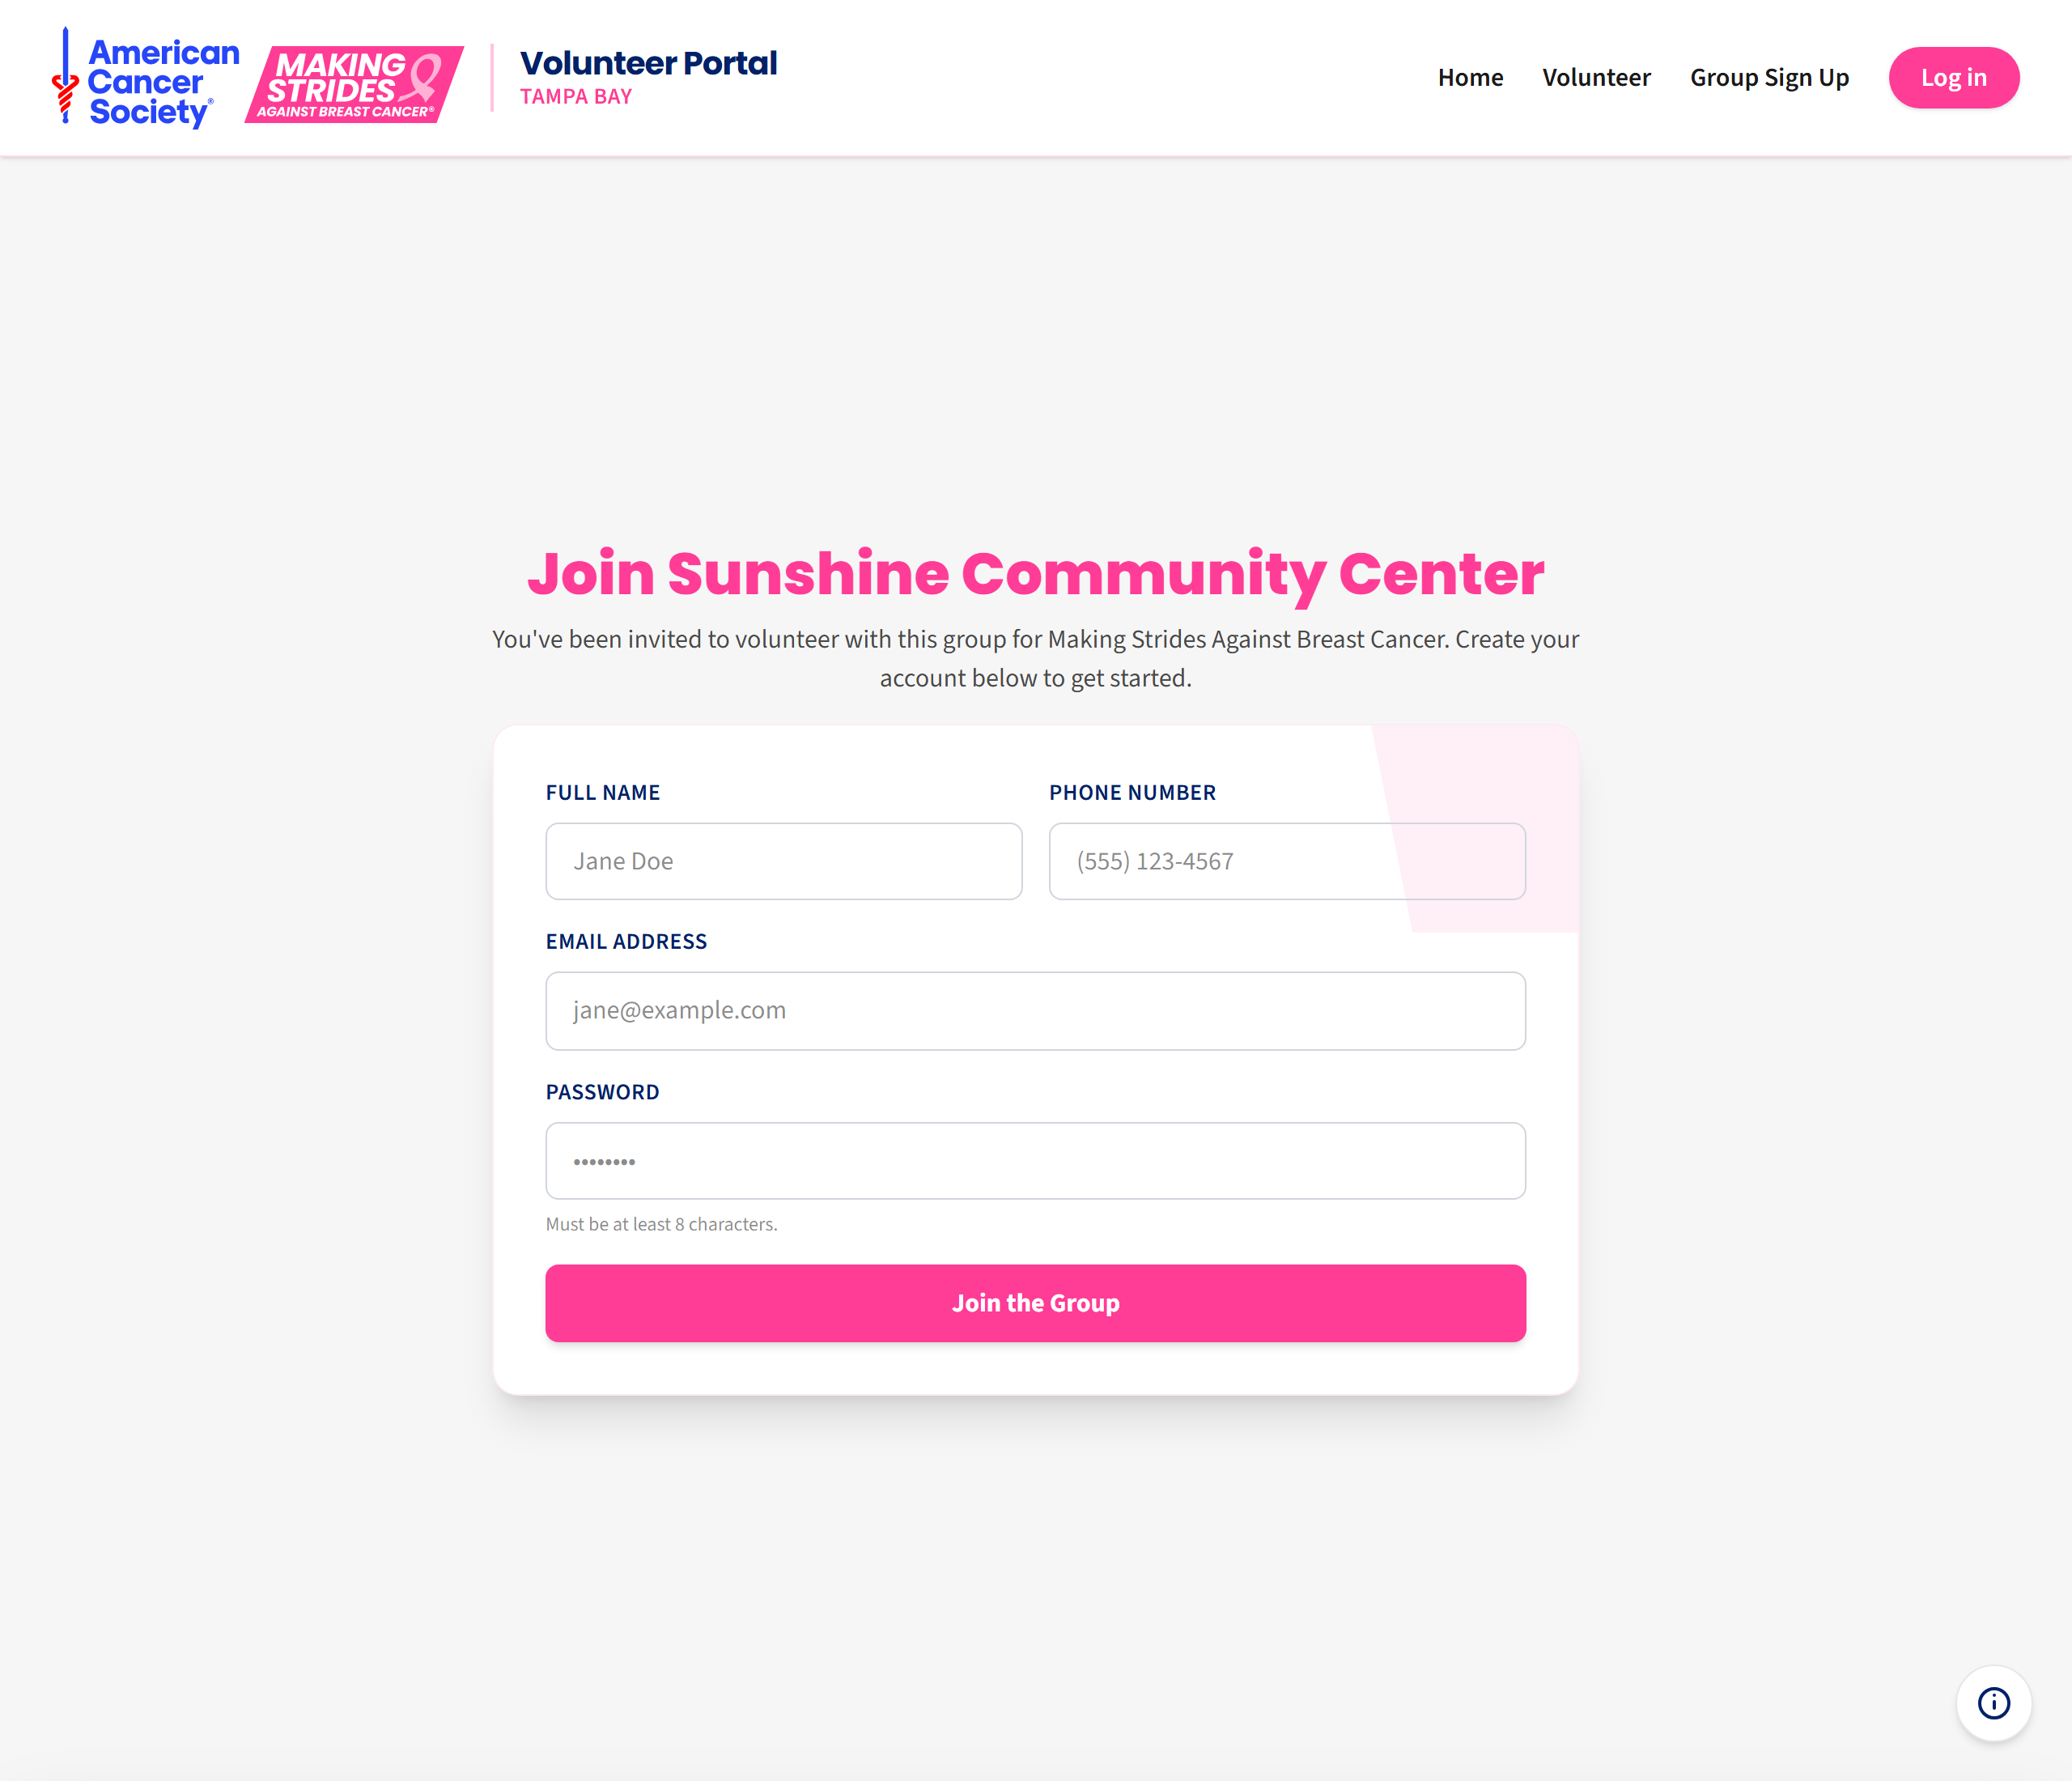
Step 3. Fill in your name, phone number, email address and a password of at least 8 characters, then click Join the Group.
Step 4. Check your email and click Verify my email, exactly as in section 2.
If the page says “Invite not found”
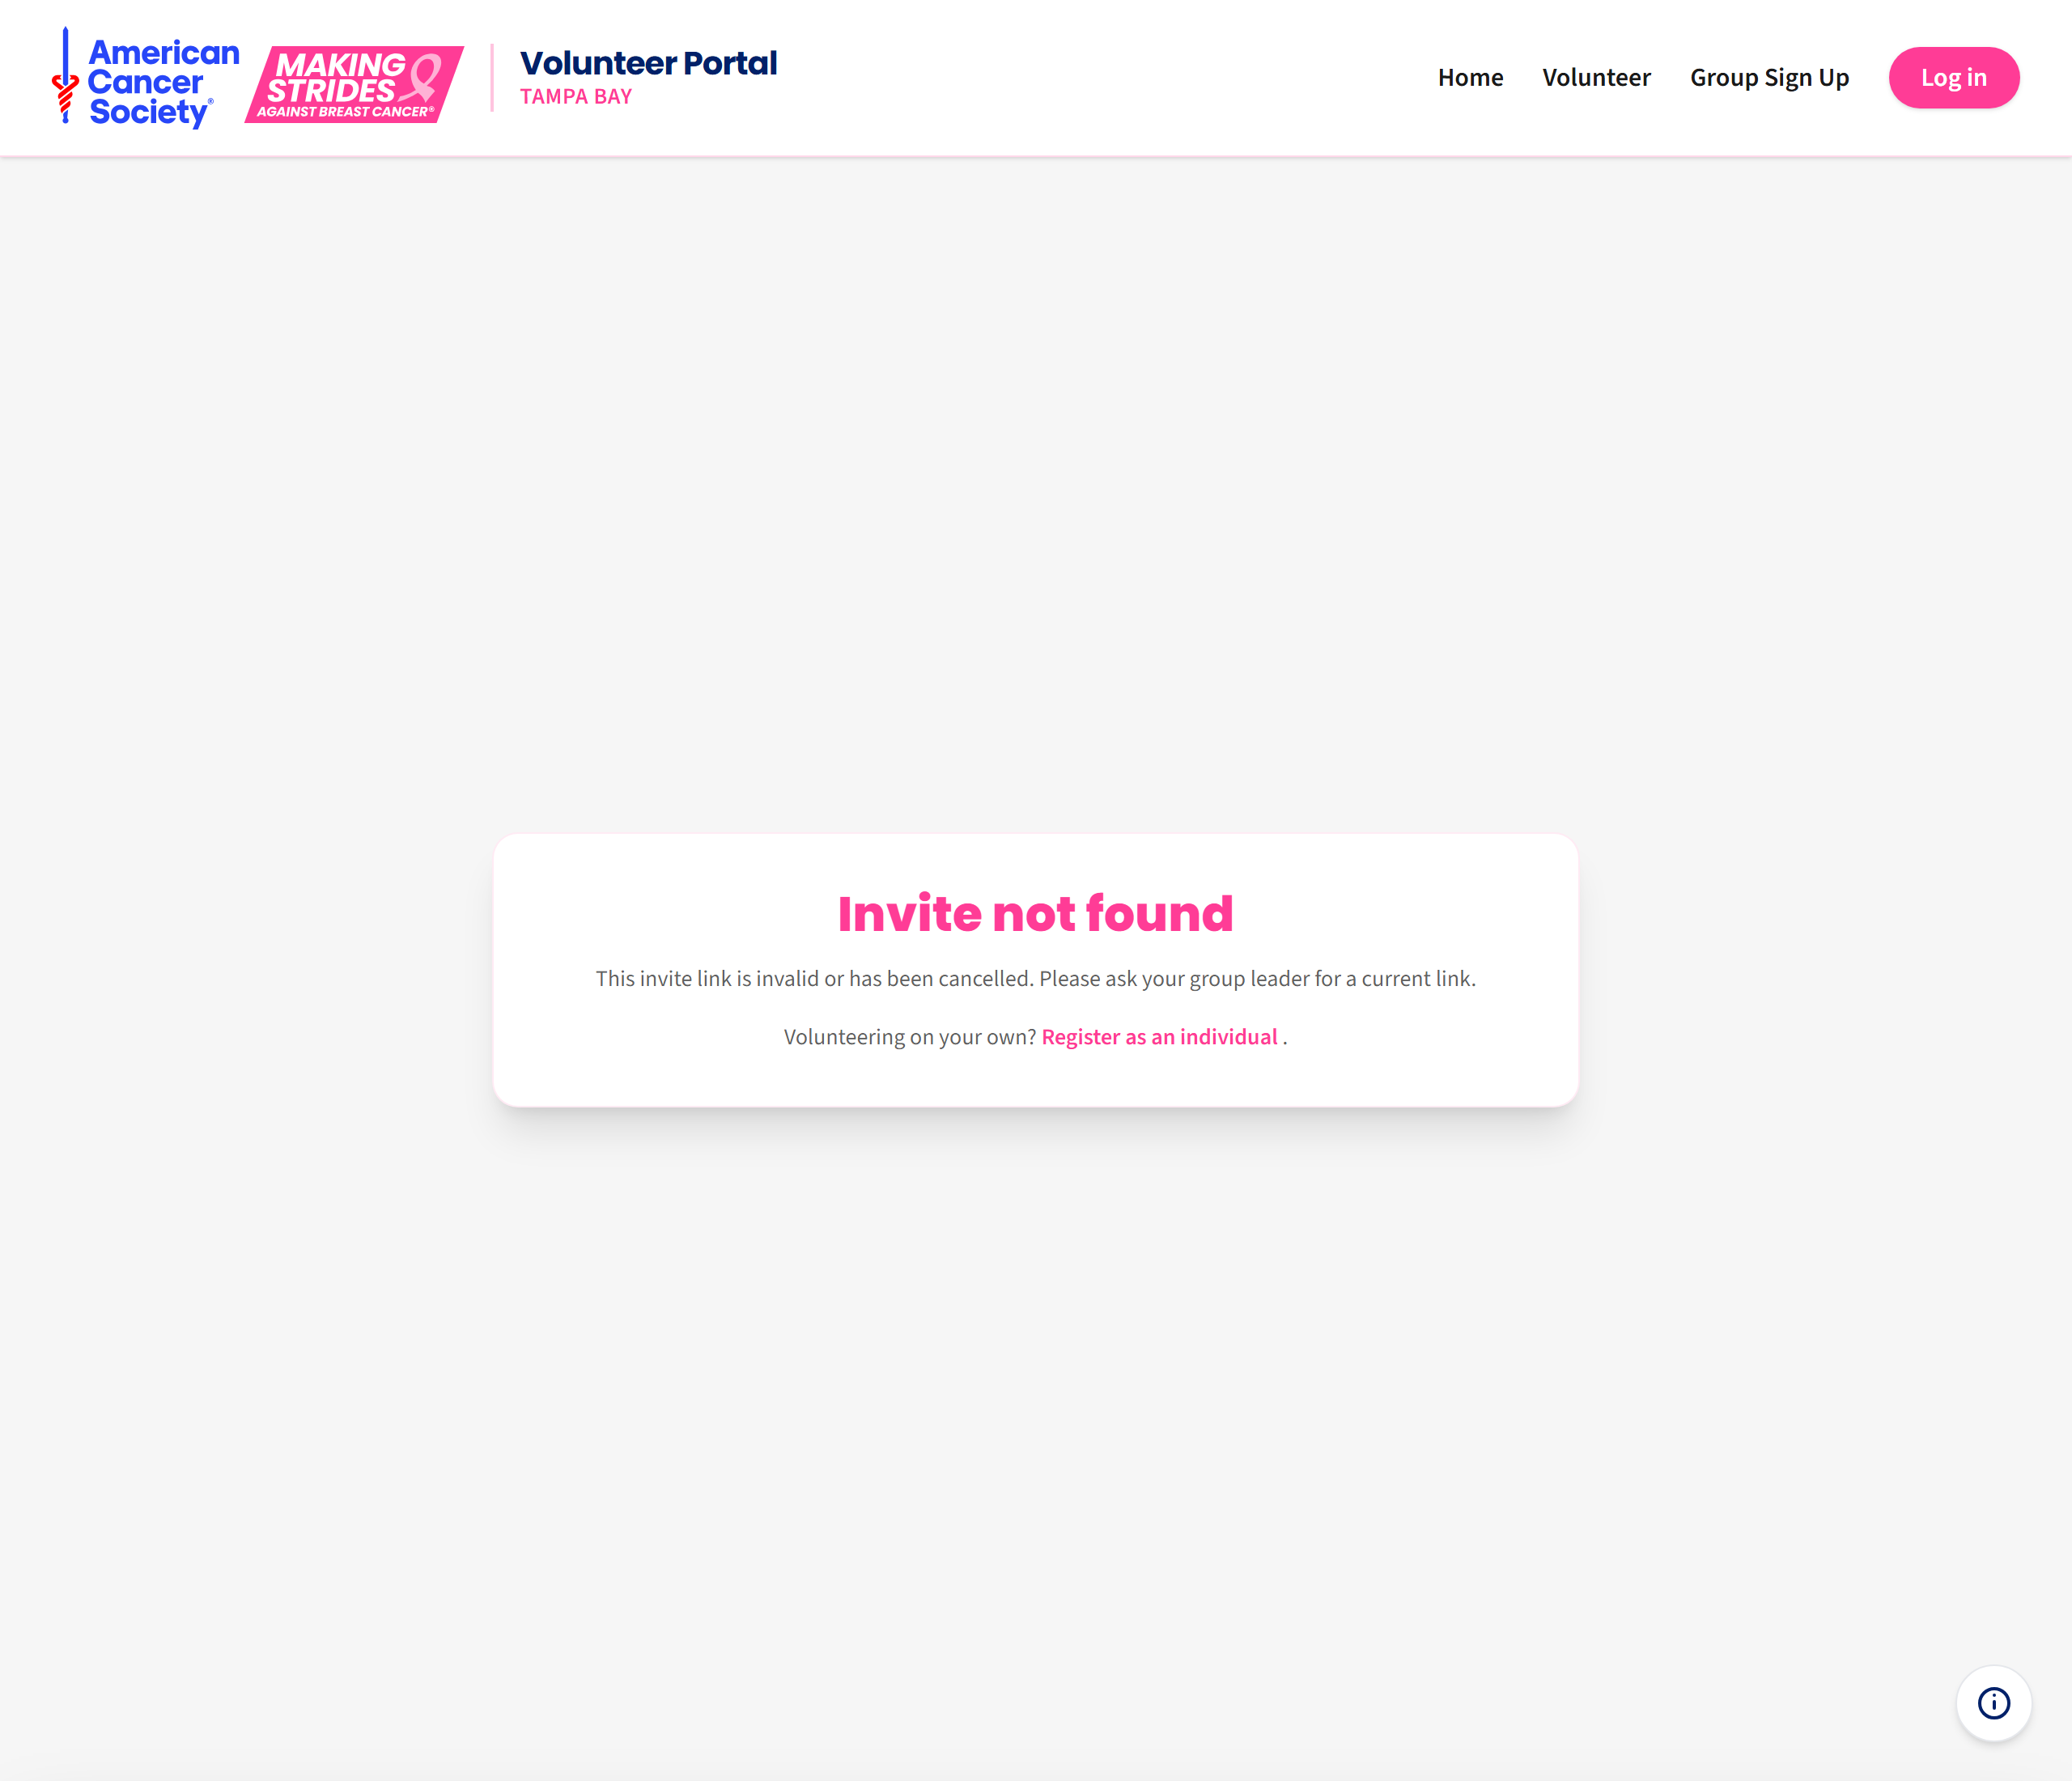
This means the link is no longer valid — usually because your group leader
cancelled it or created a new one. Ask your group leader for the current
link. The link may also have been broken in half by your email program; make
sure you copied the whole thing, including the part after token=.
4. Setting up an account your leader created for you
Sometimes a group leader adds you to their roster themselves. If they included your email address, you will get this message:
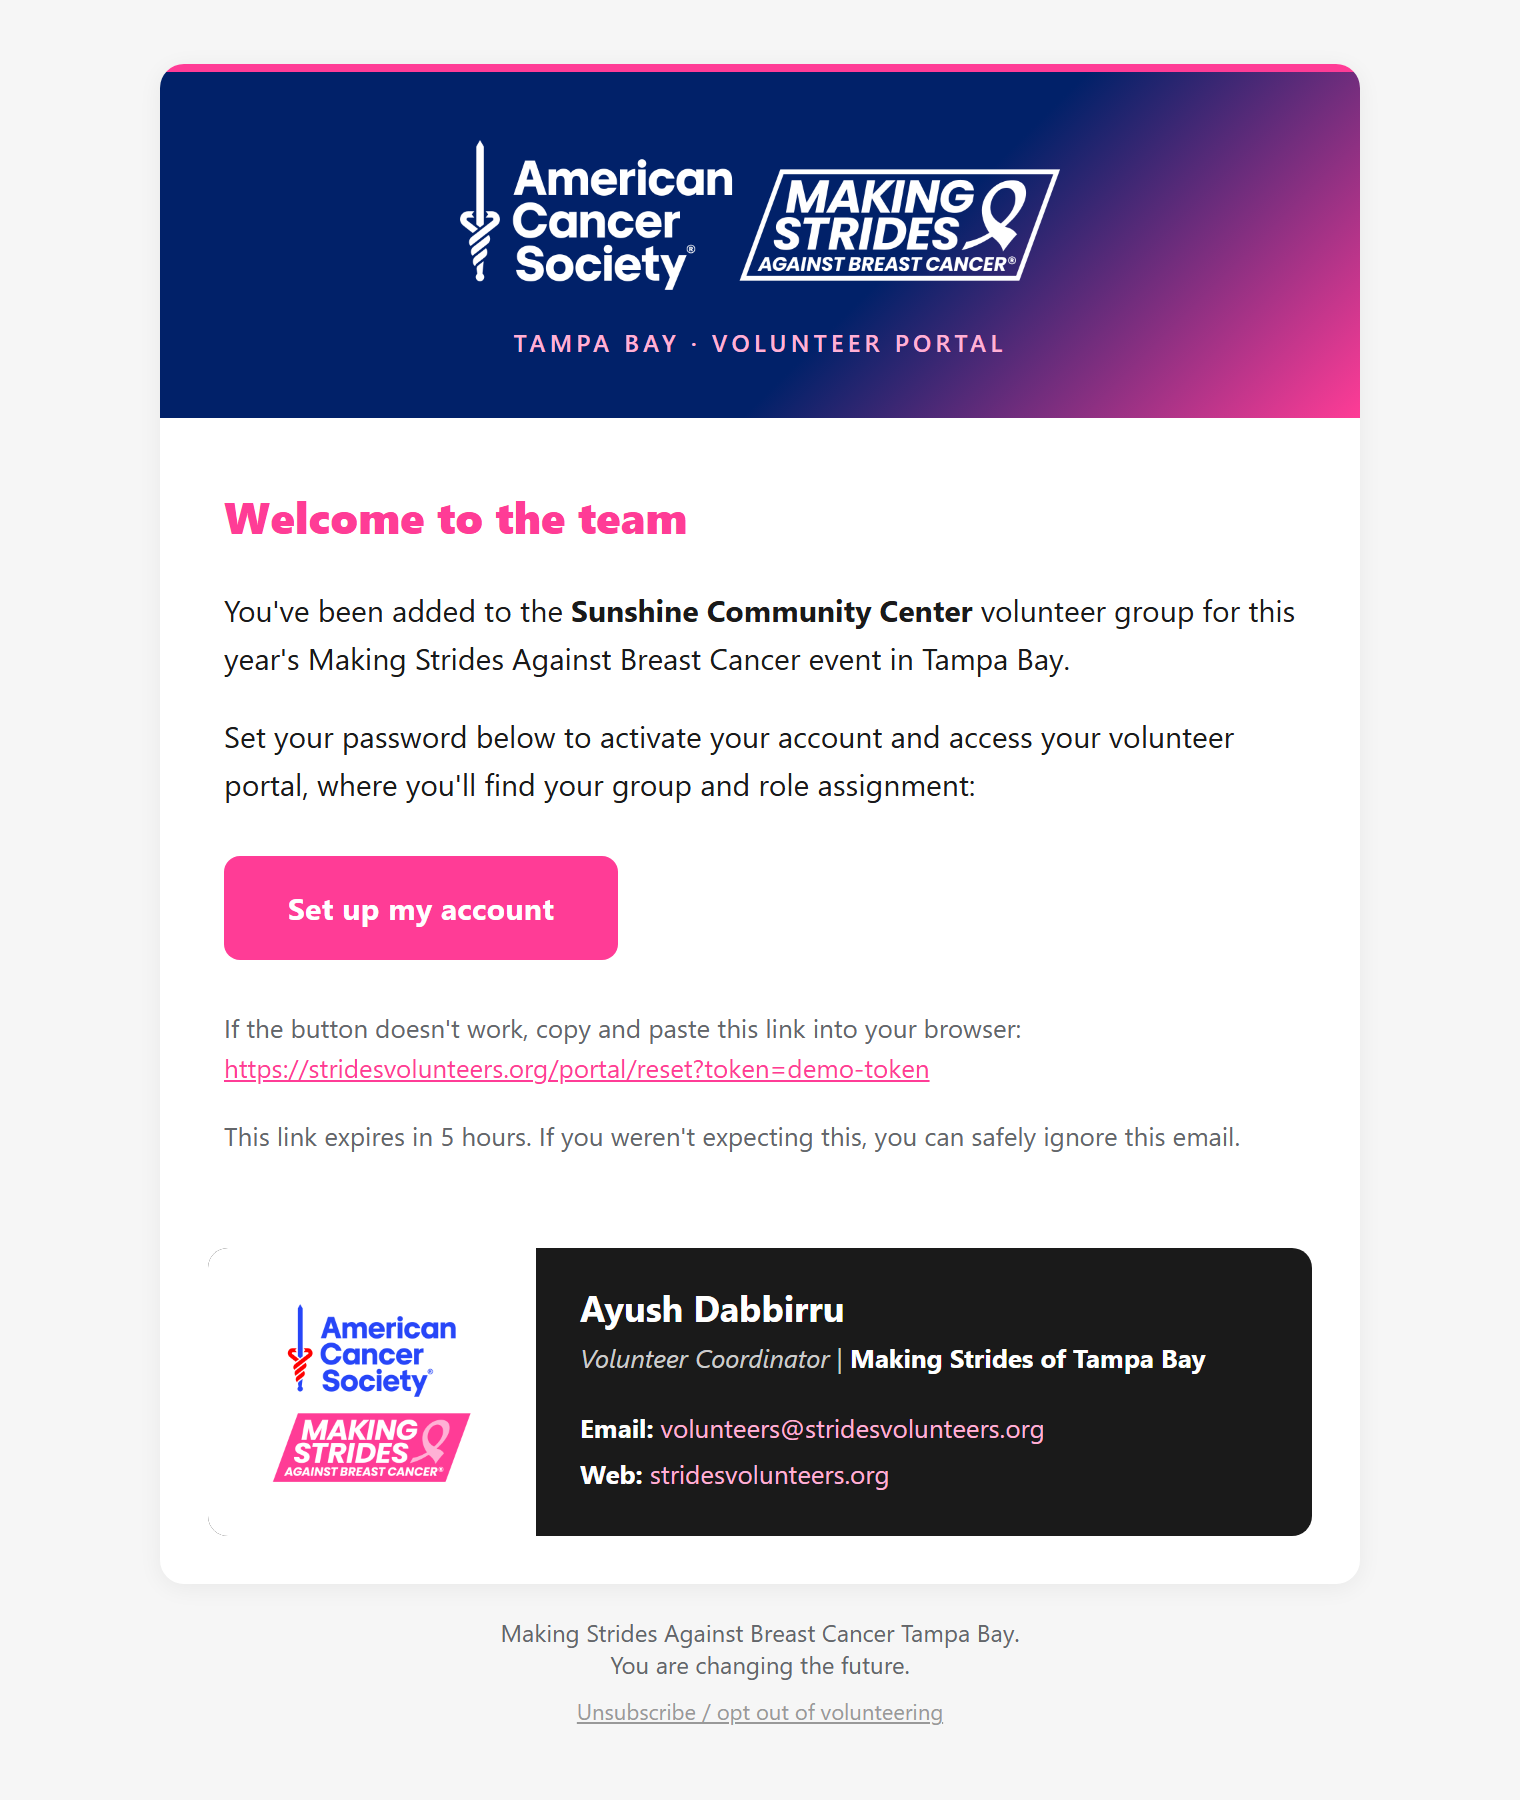
Step 1. Click Set up my account.
Step 2. Choose a password of at least 8 characters and click Update Password.
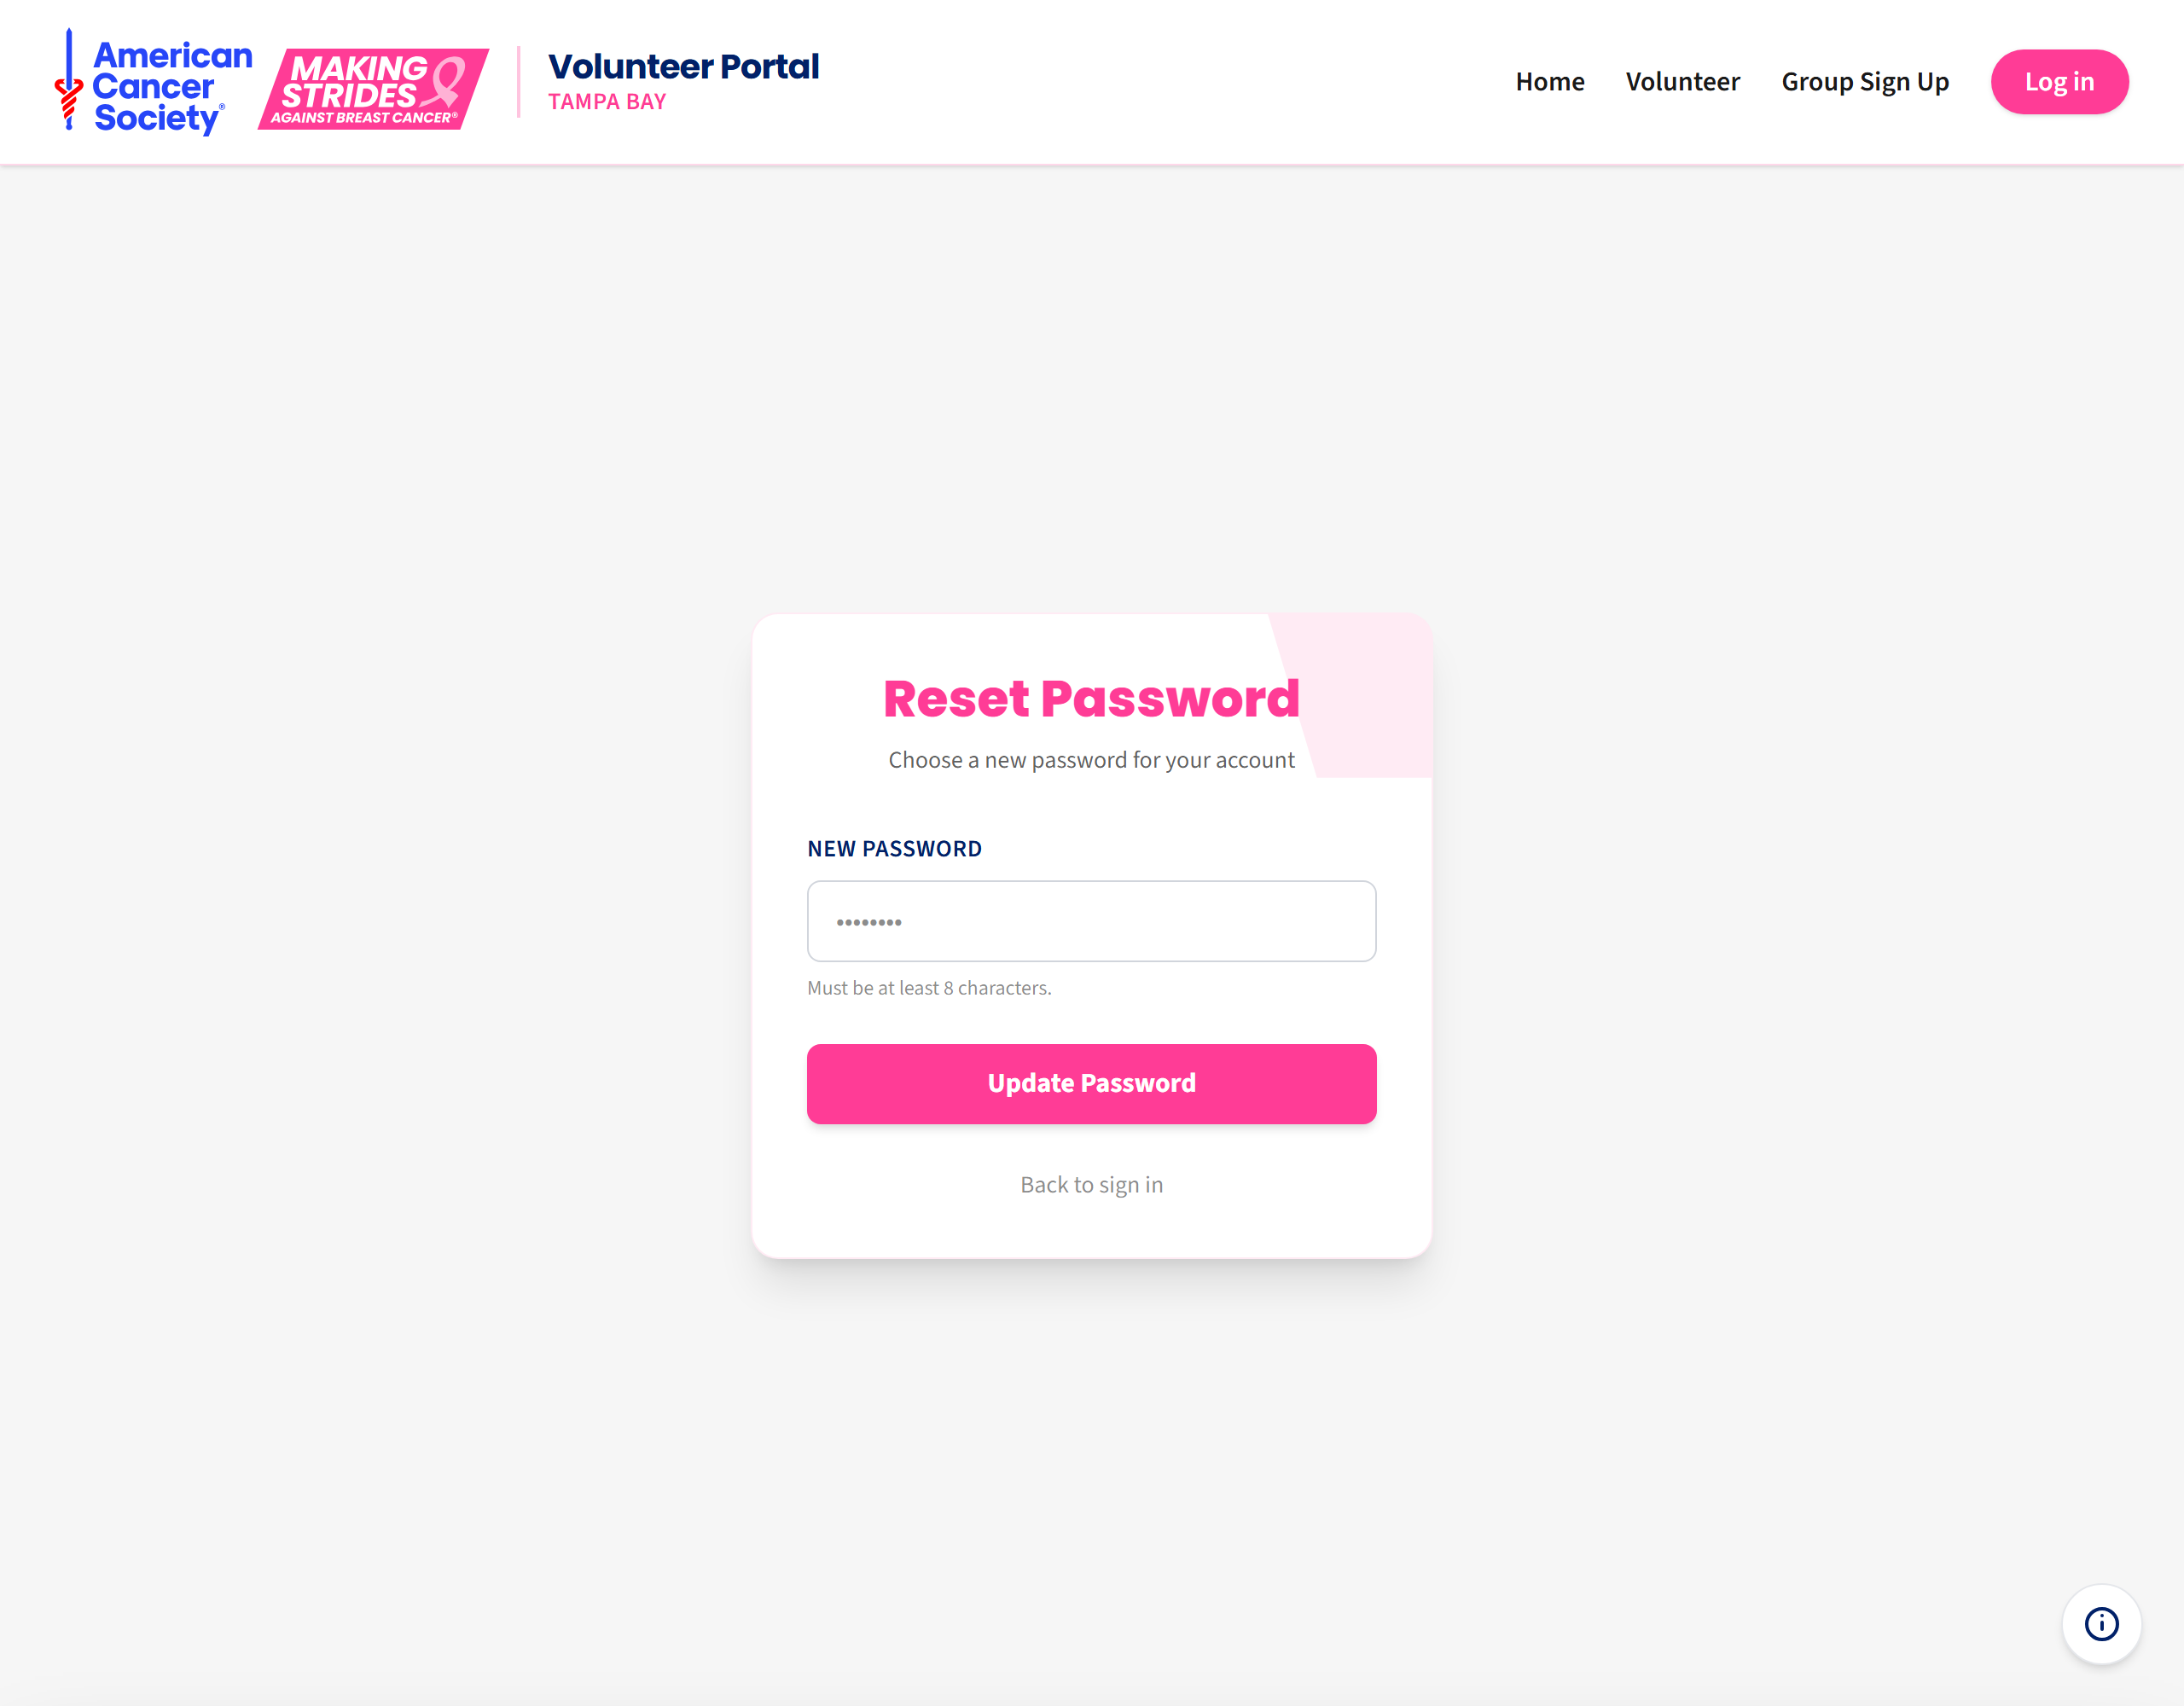
Step 3. You are signed in straight away. Your name, group and job are already filled in — you only needed to add a password.
This link also expires after 5 hours. If it has expired, use Forgot your password with the email address your leader added, and you will get a fresh link.
5. Signing in
Step 1. Go to https://stridesvolunteers.org and click Log in at the top right.
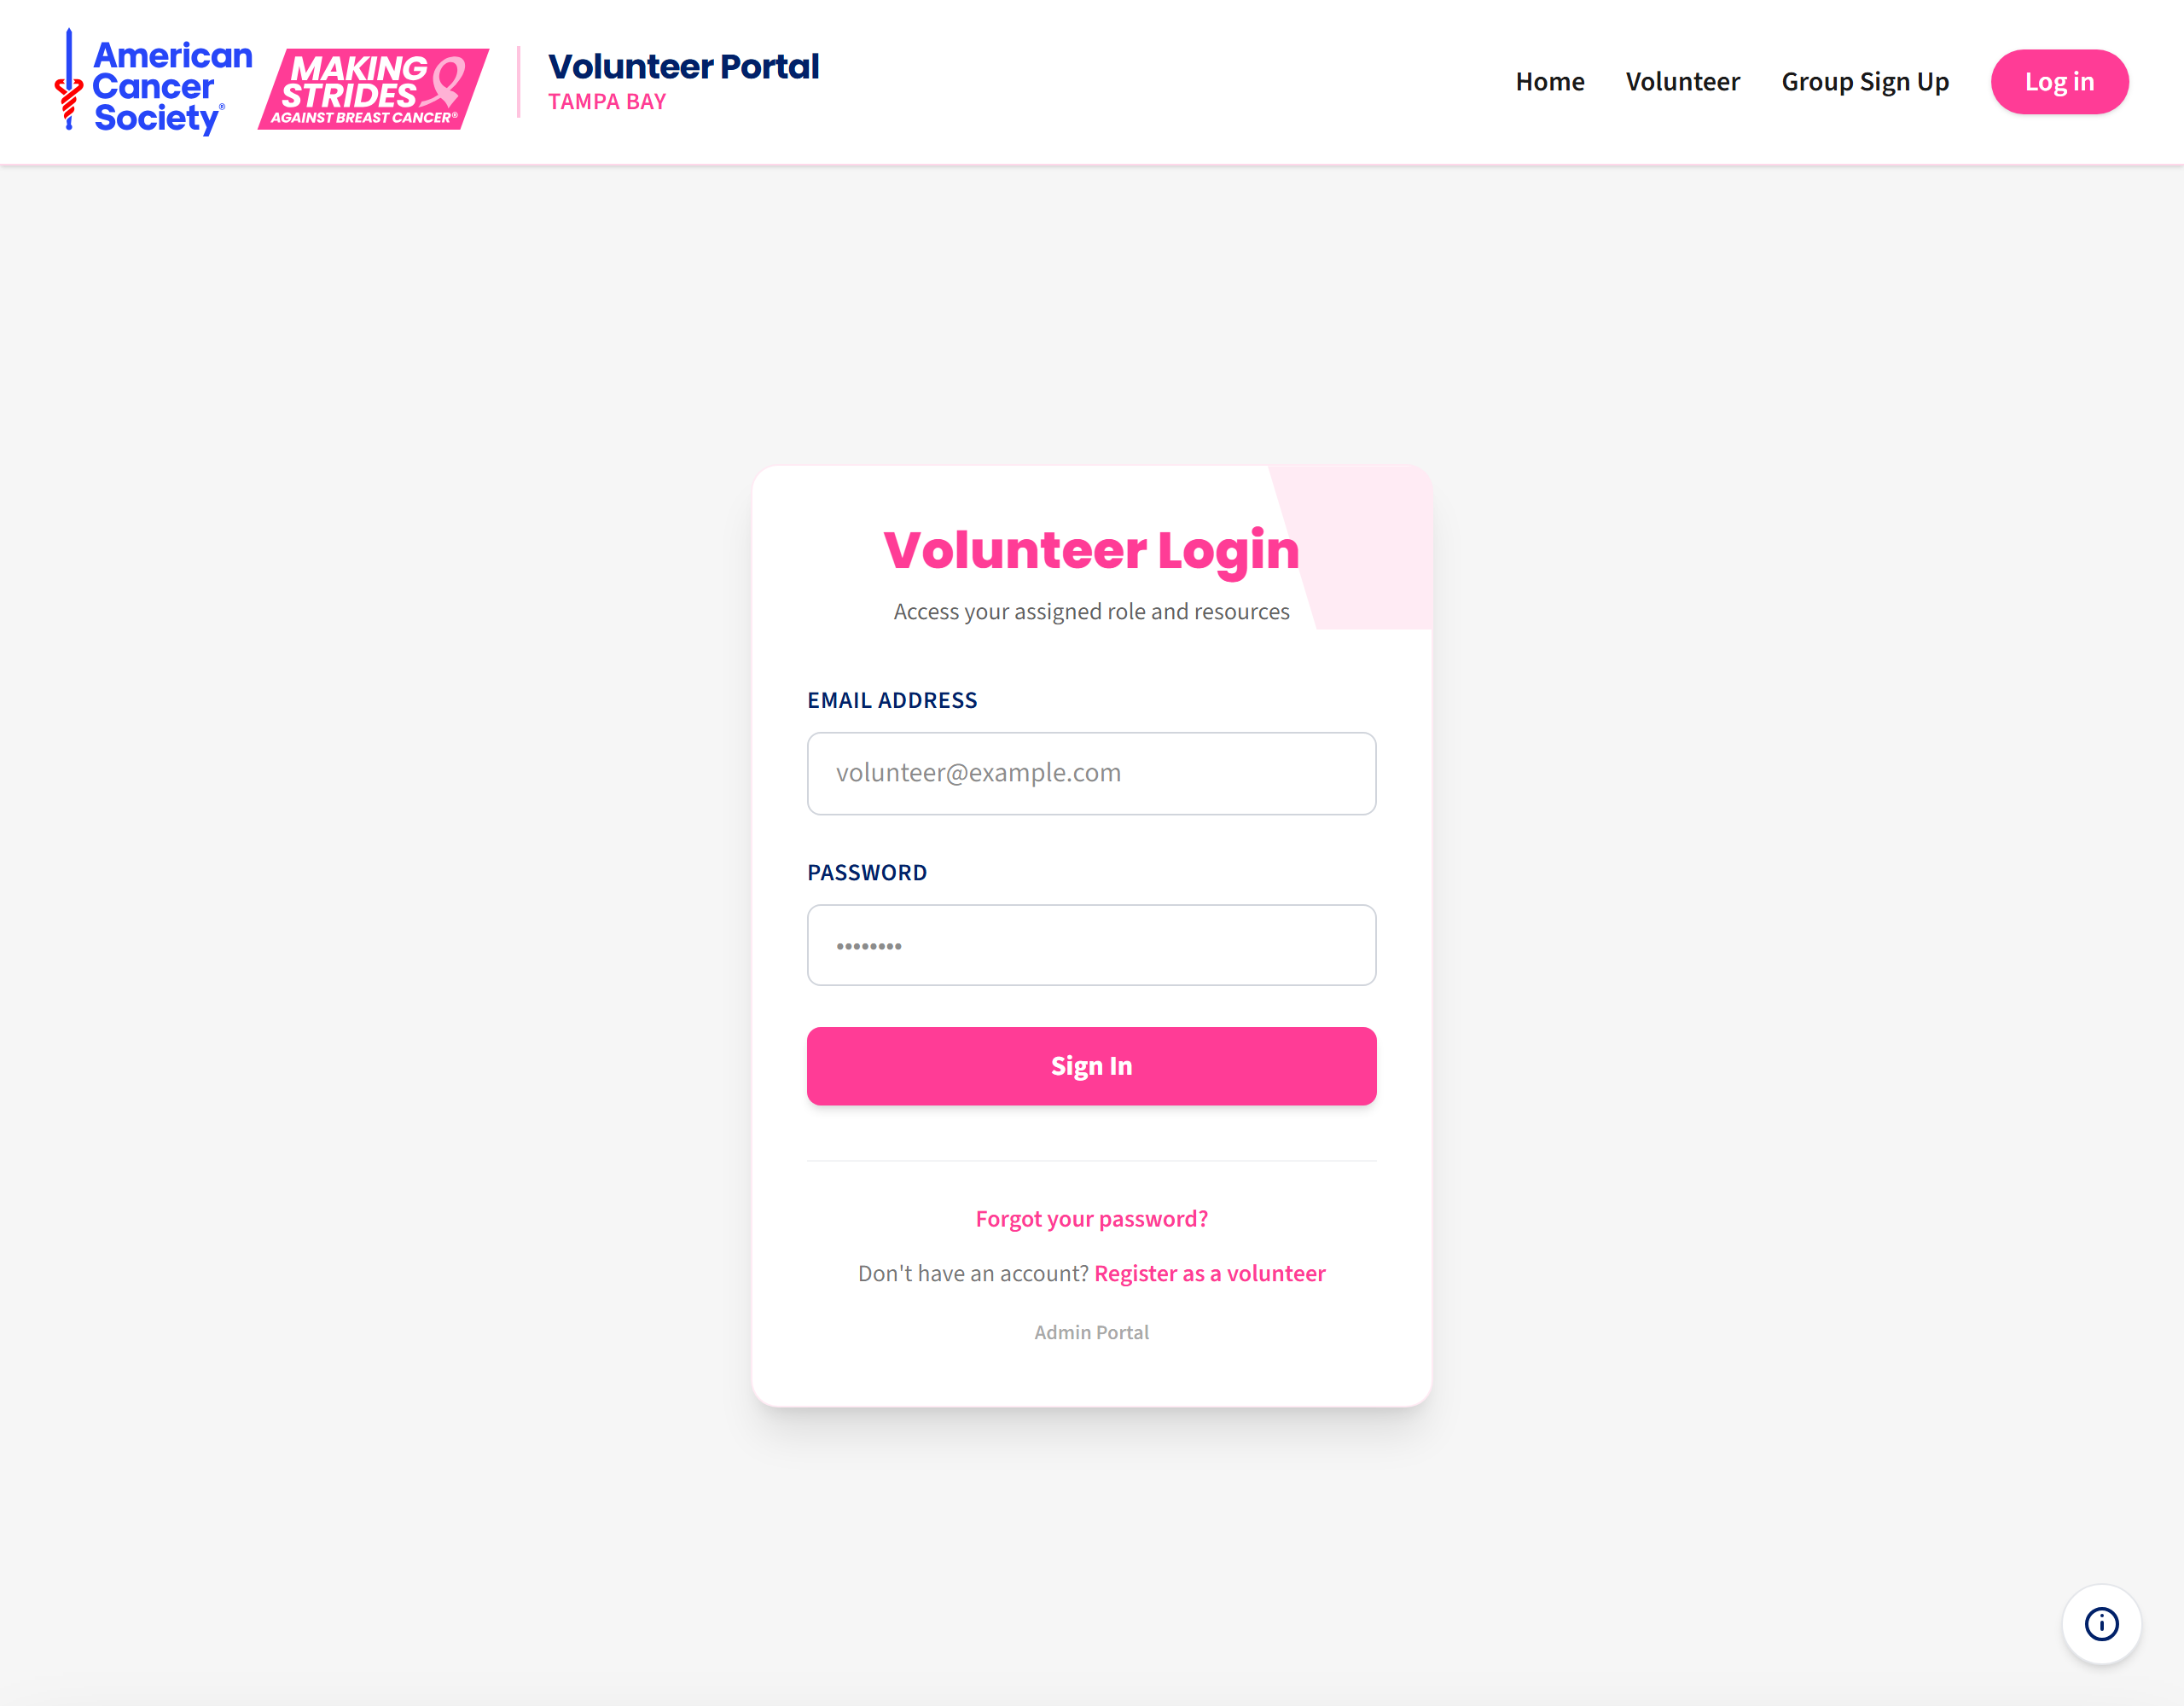
Step 2. Type your email address and password, then click Sign In.
If it says your email isn’t verified
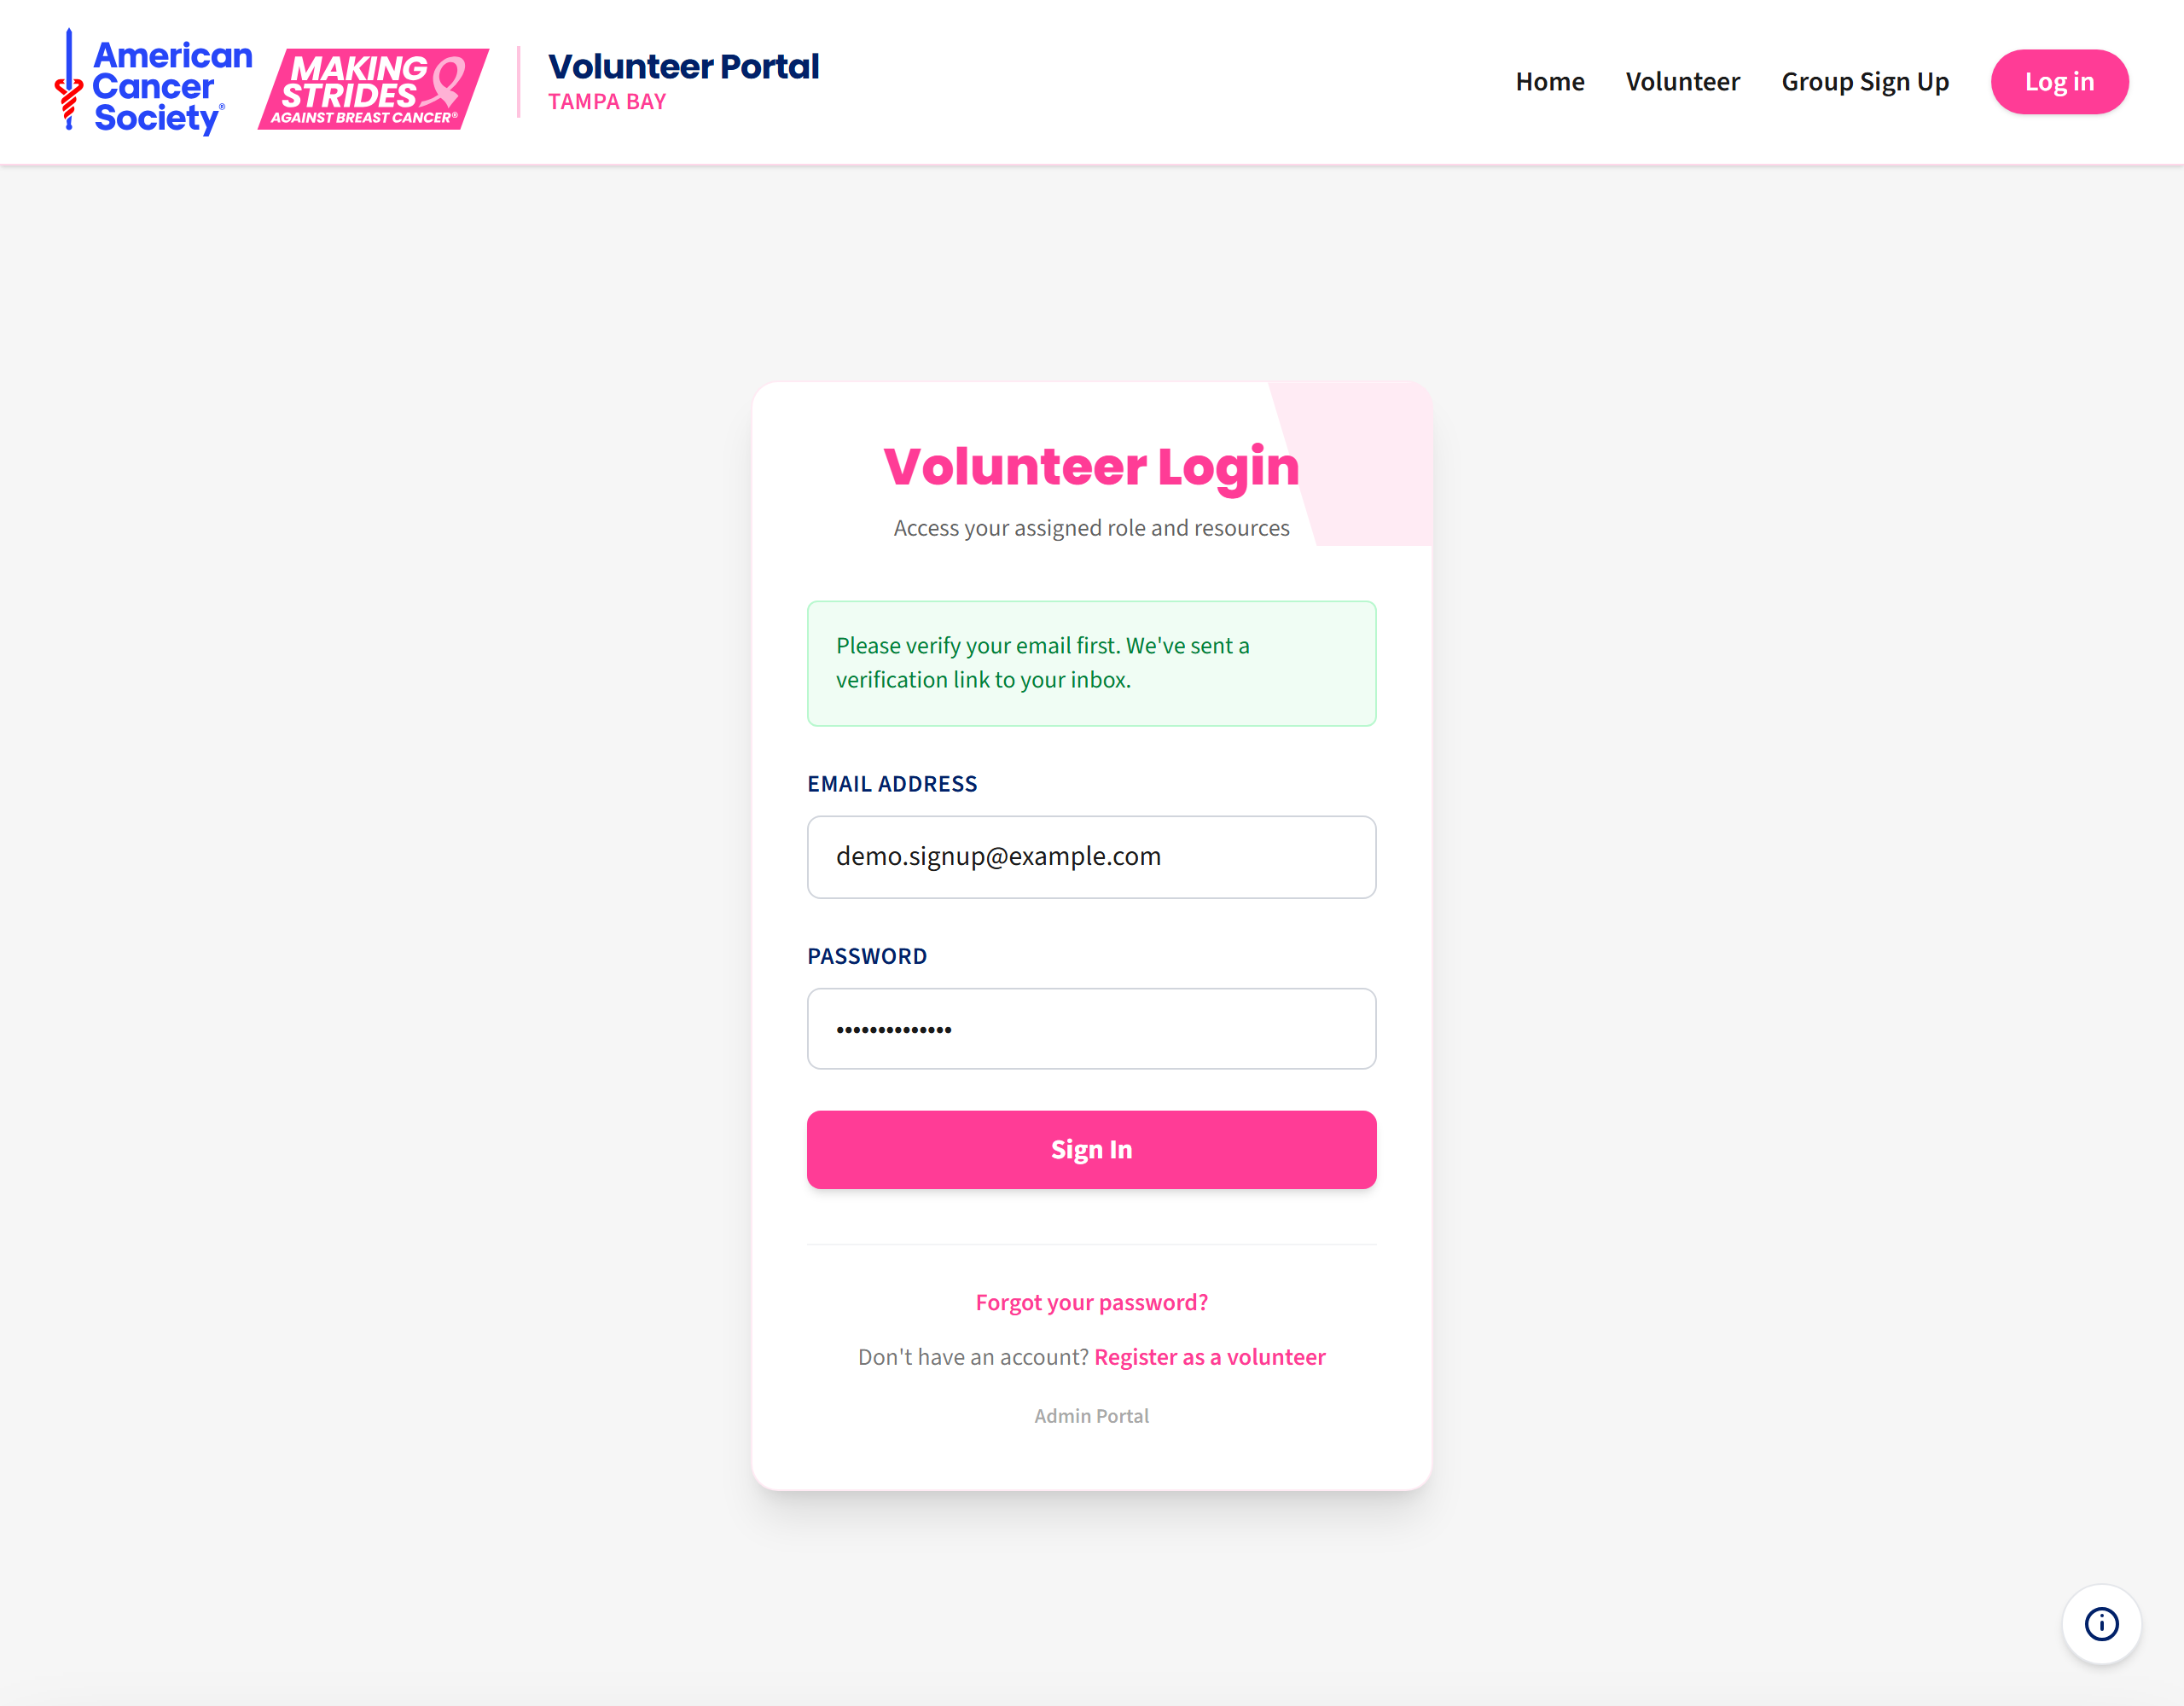
You have not clicked the link in your confirmation email yet. Go to your inbox and click Verify my email. The site tries to send you a fresh copy when this happens — but if you already requested one in the last 5 hours, look for that earlier email instead of waiting for a new one.
If it says the account doesn’t exist or the password is wrong
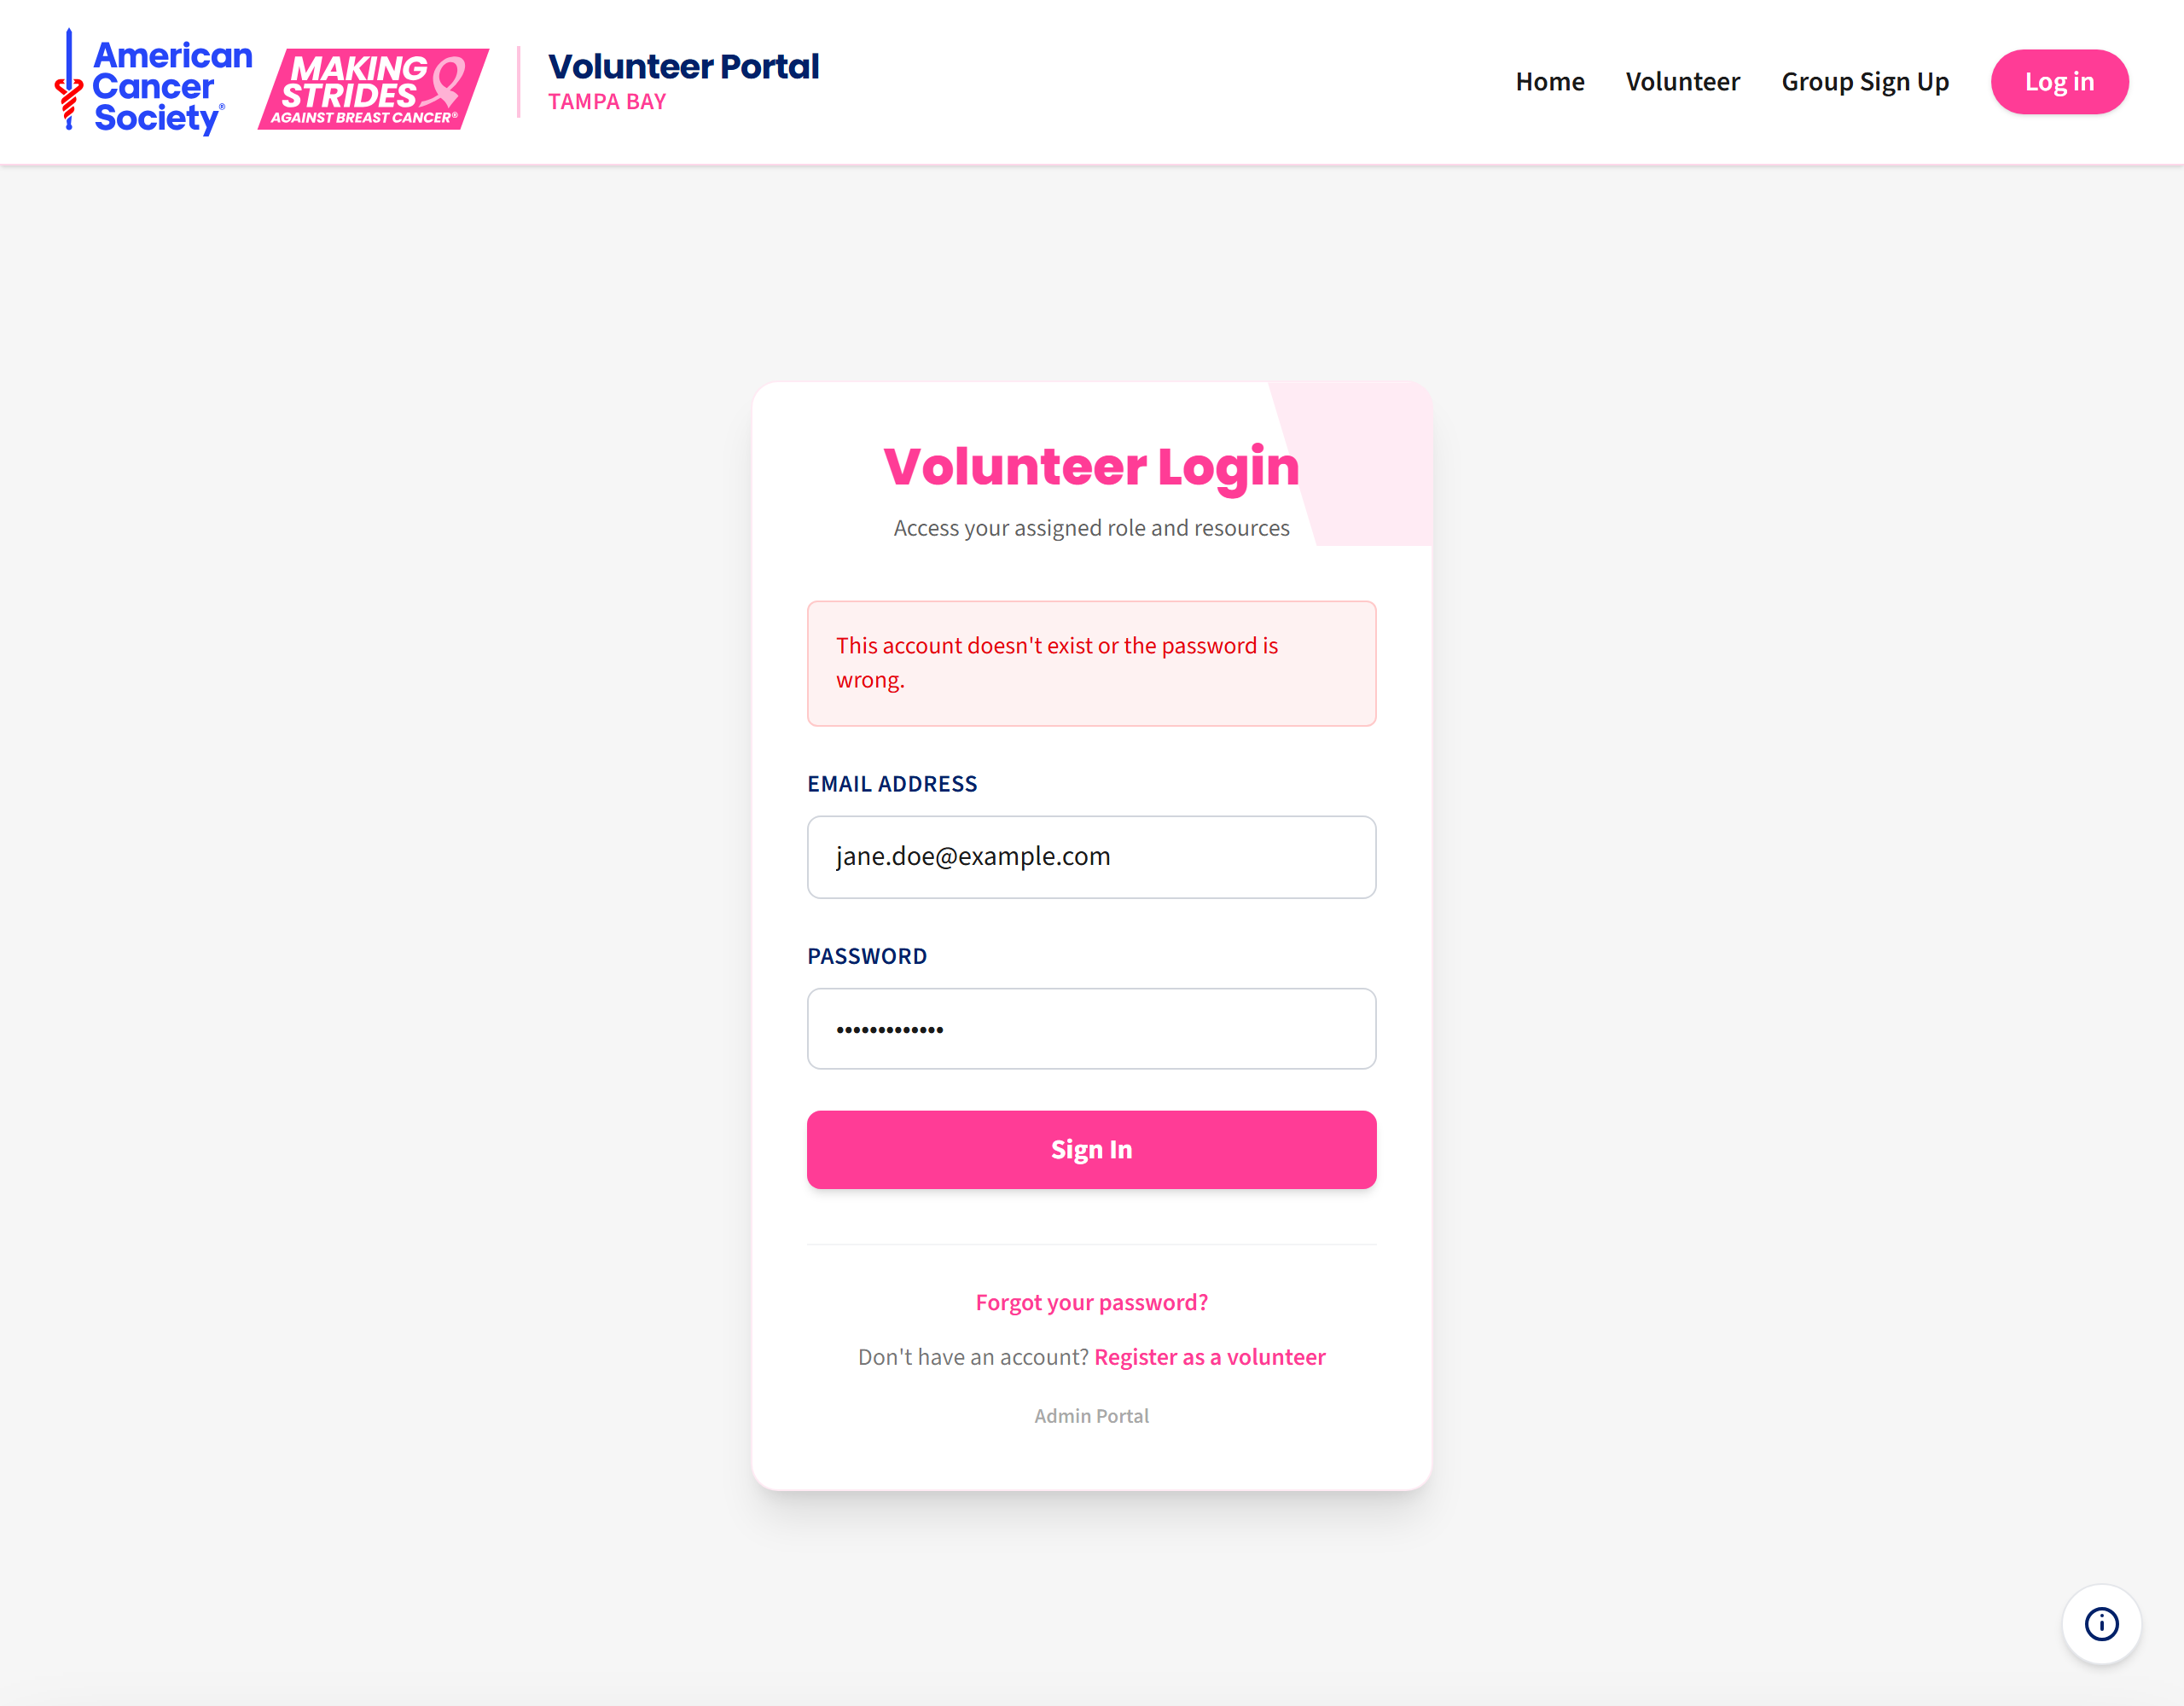
For your safety the site does not say which one was wrong. Check for typos, then:
- Make sure you are using the same email address you signed up with.
- If you still cannot get in, use Forgot your password.
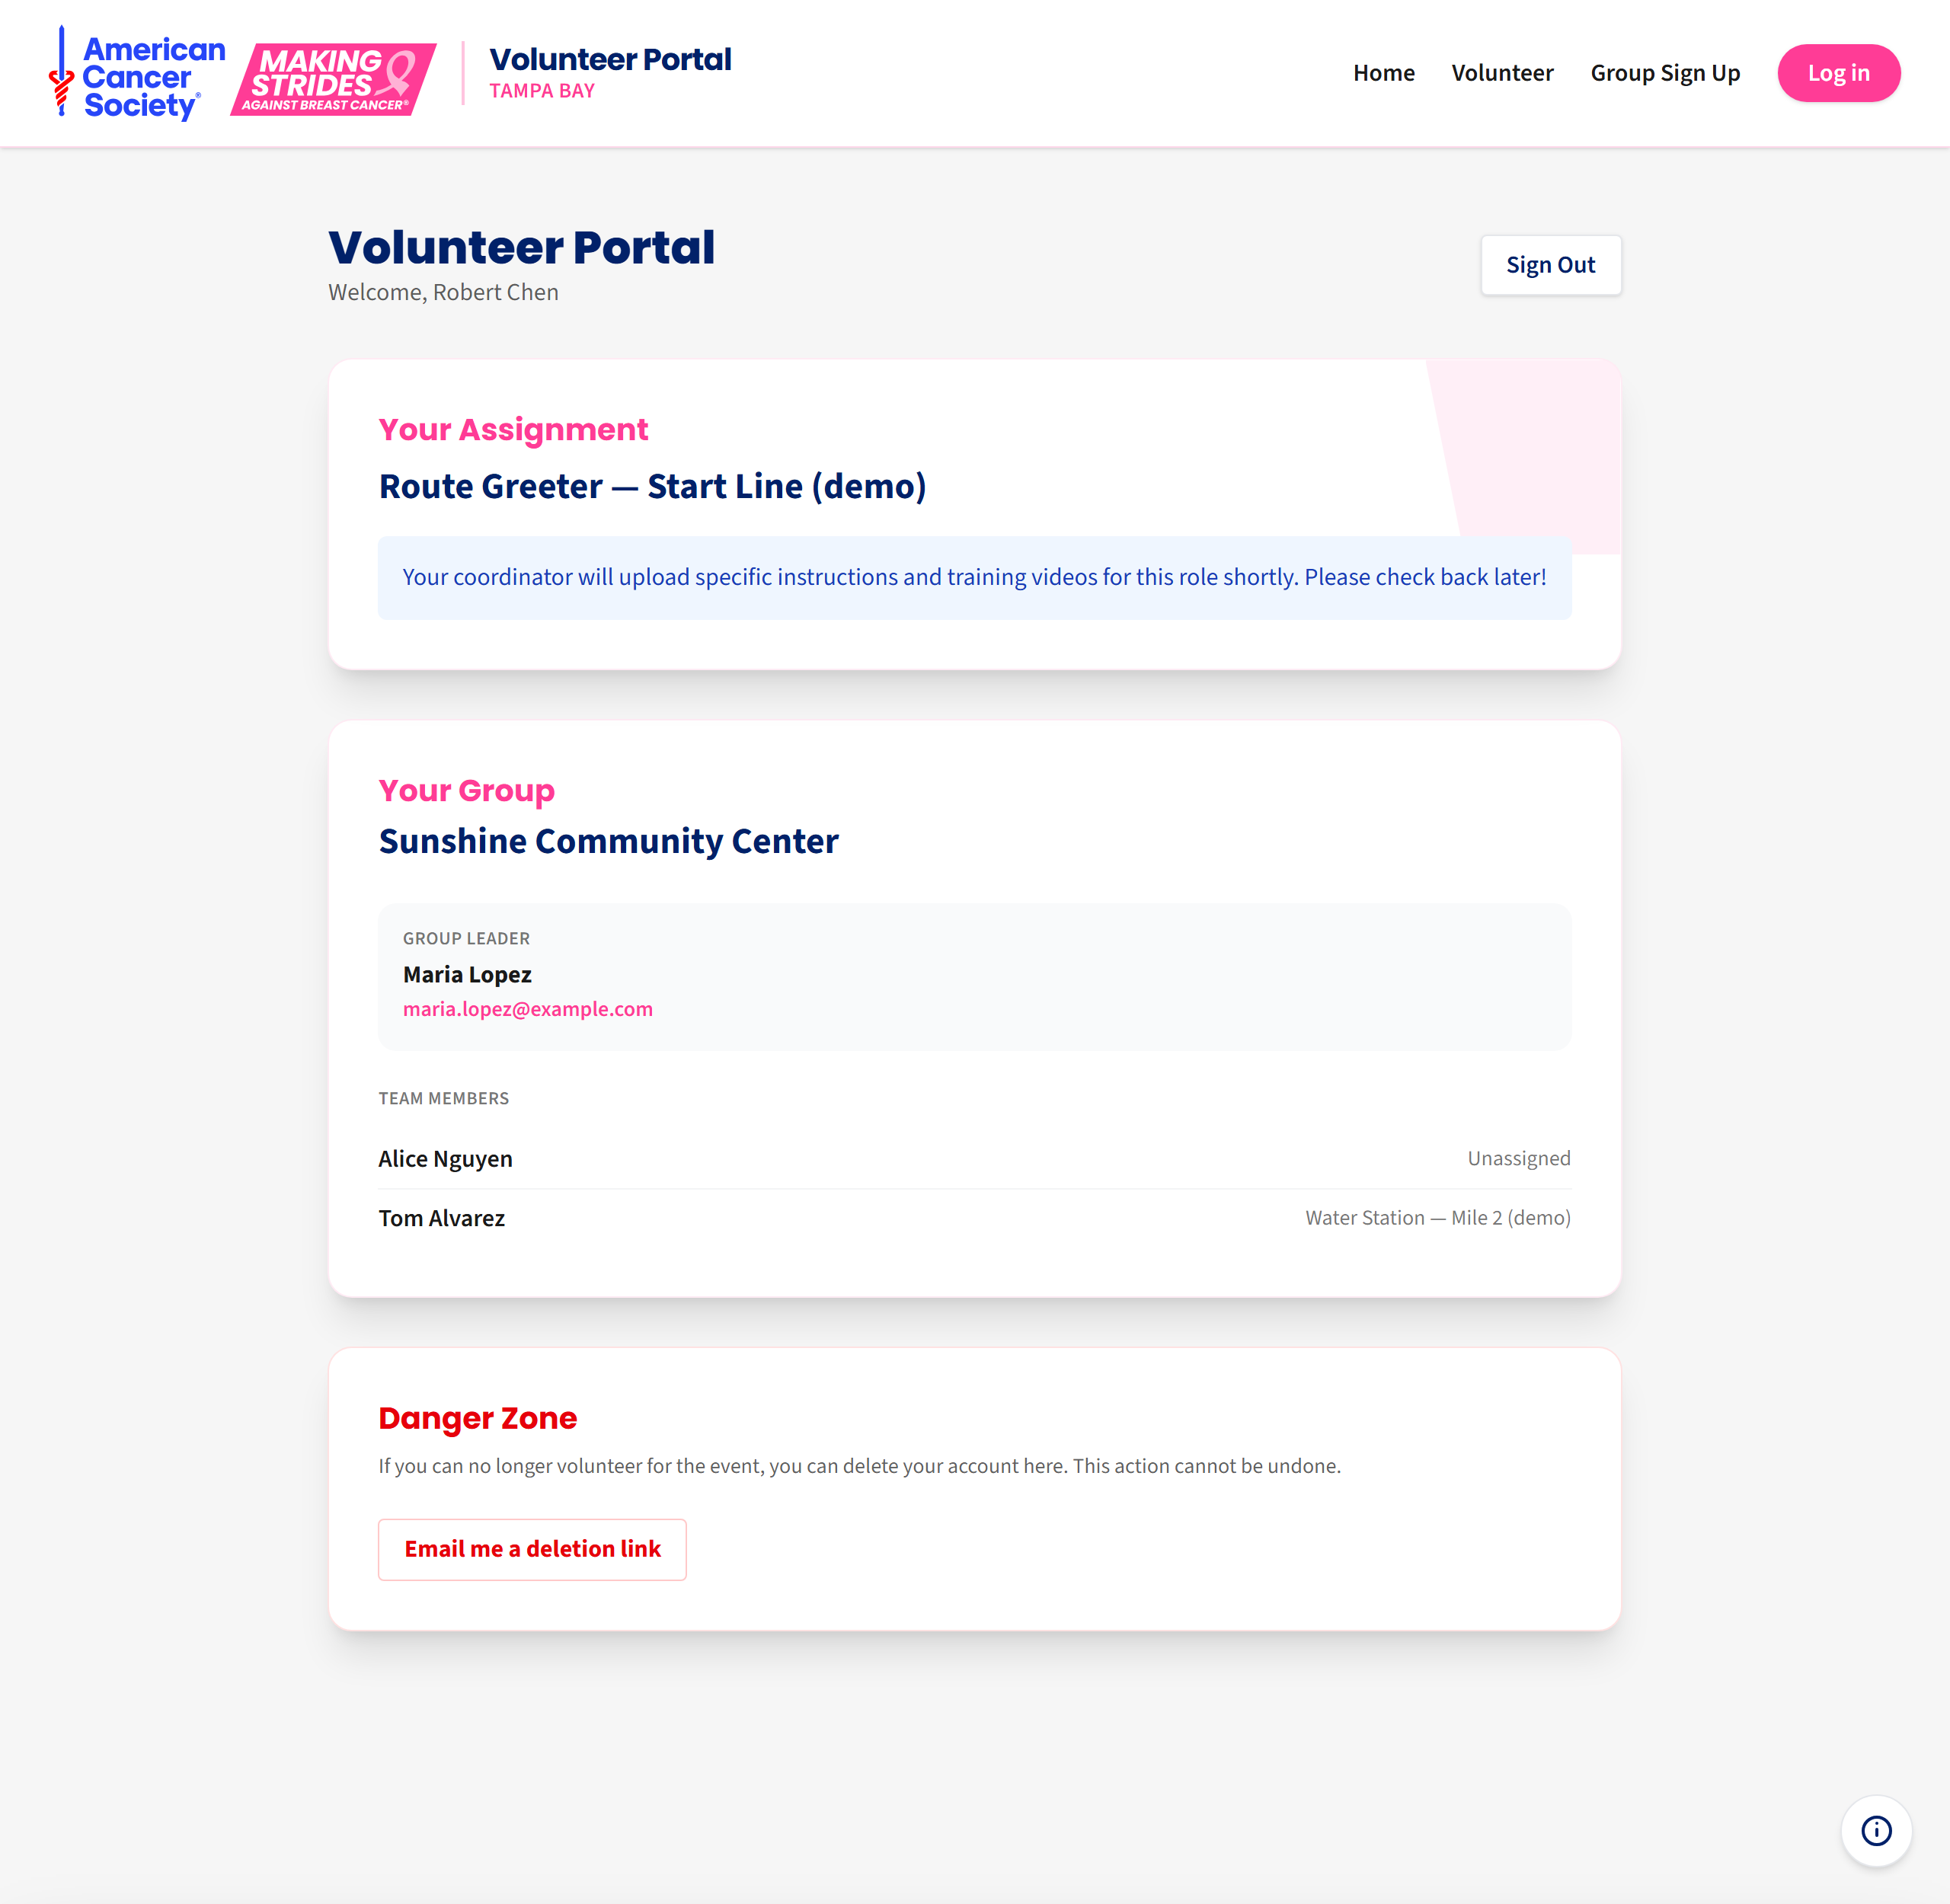
6. Your portal: seeing your job
Once signed in, you land on your Volunteer Portal.
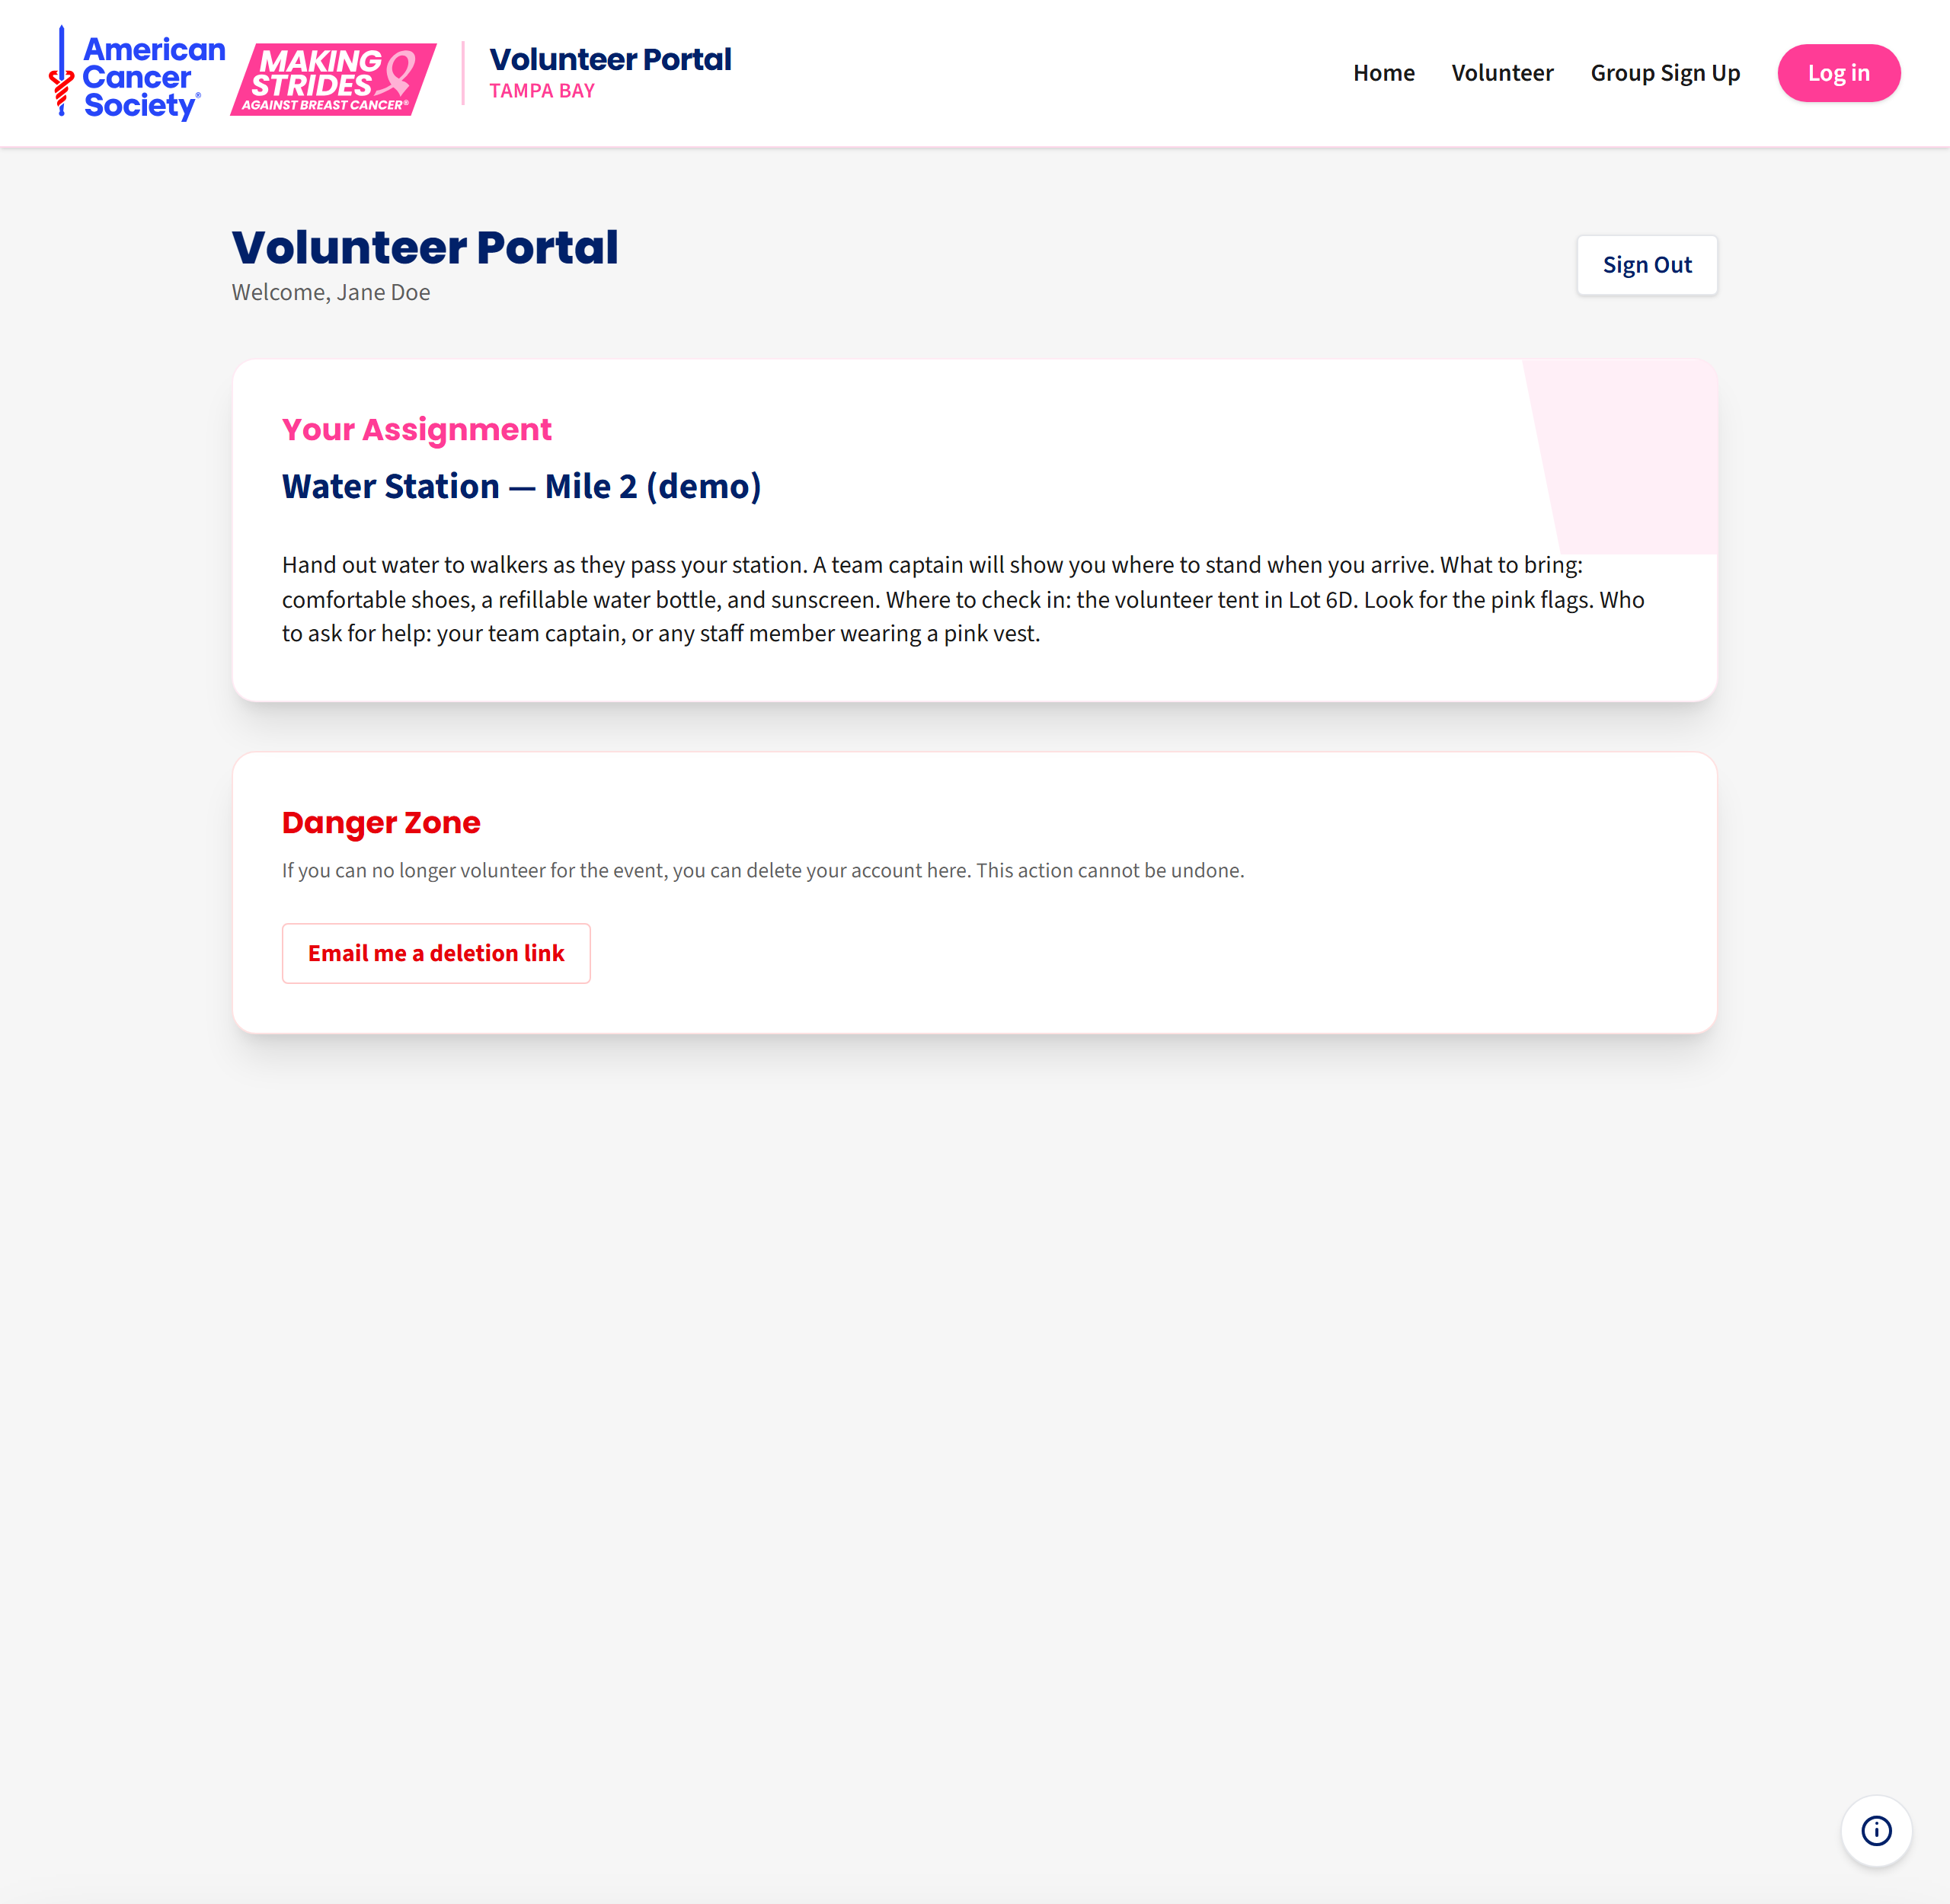
Your Assignment
This card shows the job you have been given.
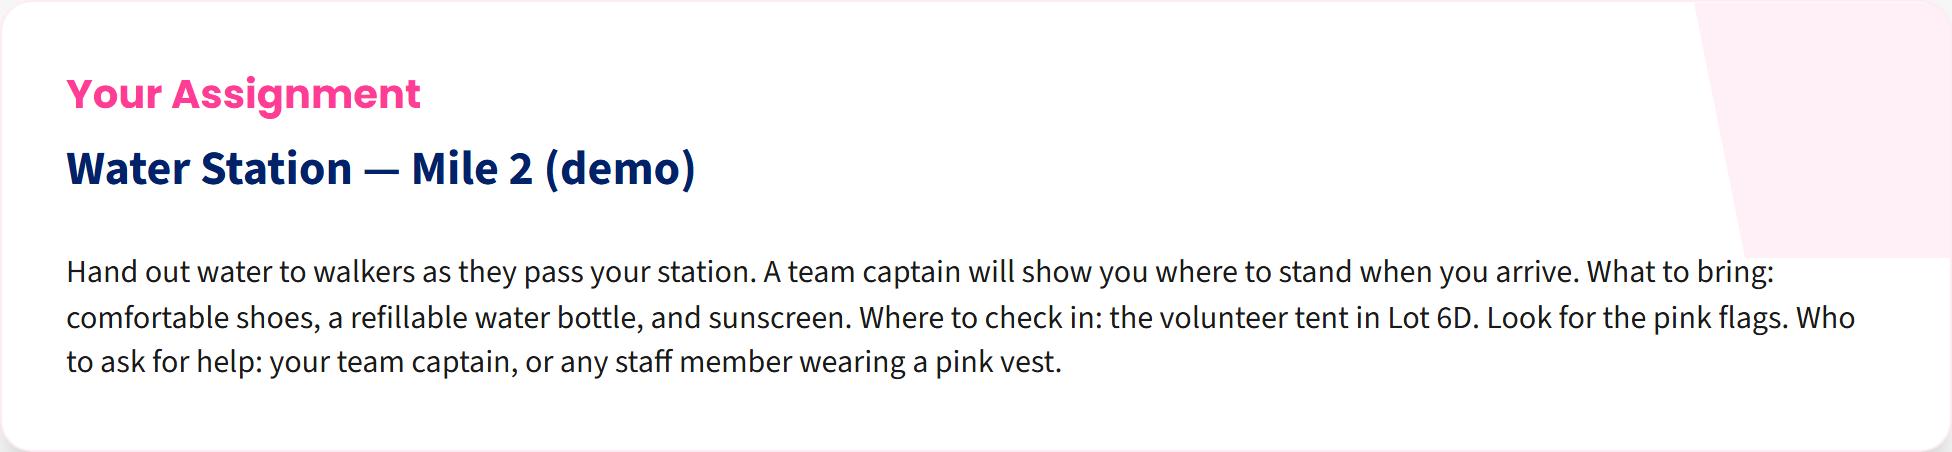
It may also include a training video and written instructions — what to bring, where to check in, and who to ask for help. Read these before event day.
If nothing has been decided yet, you will see this instead:
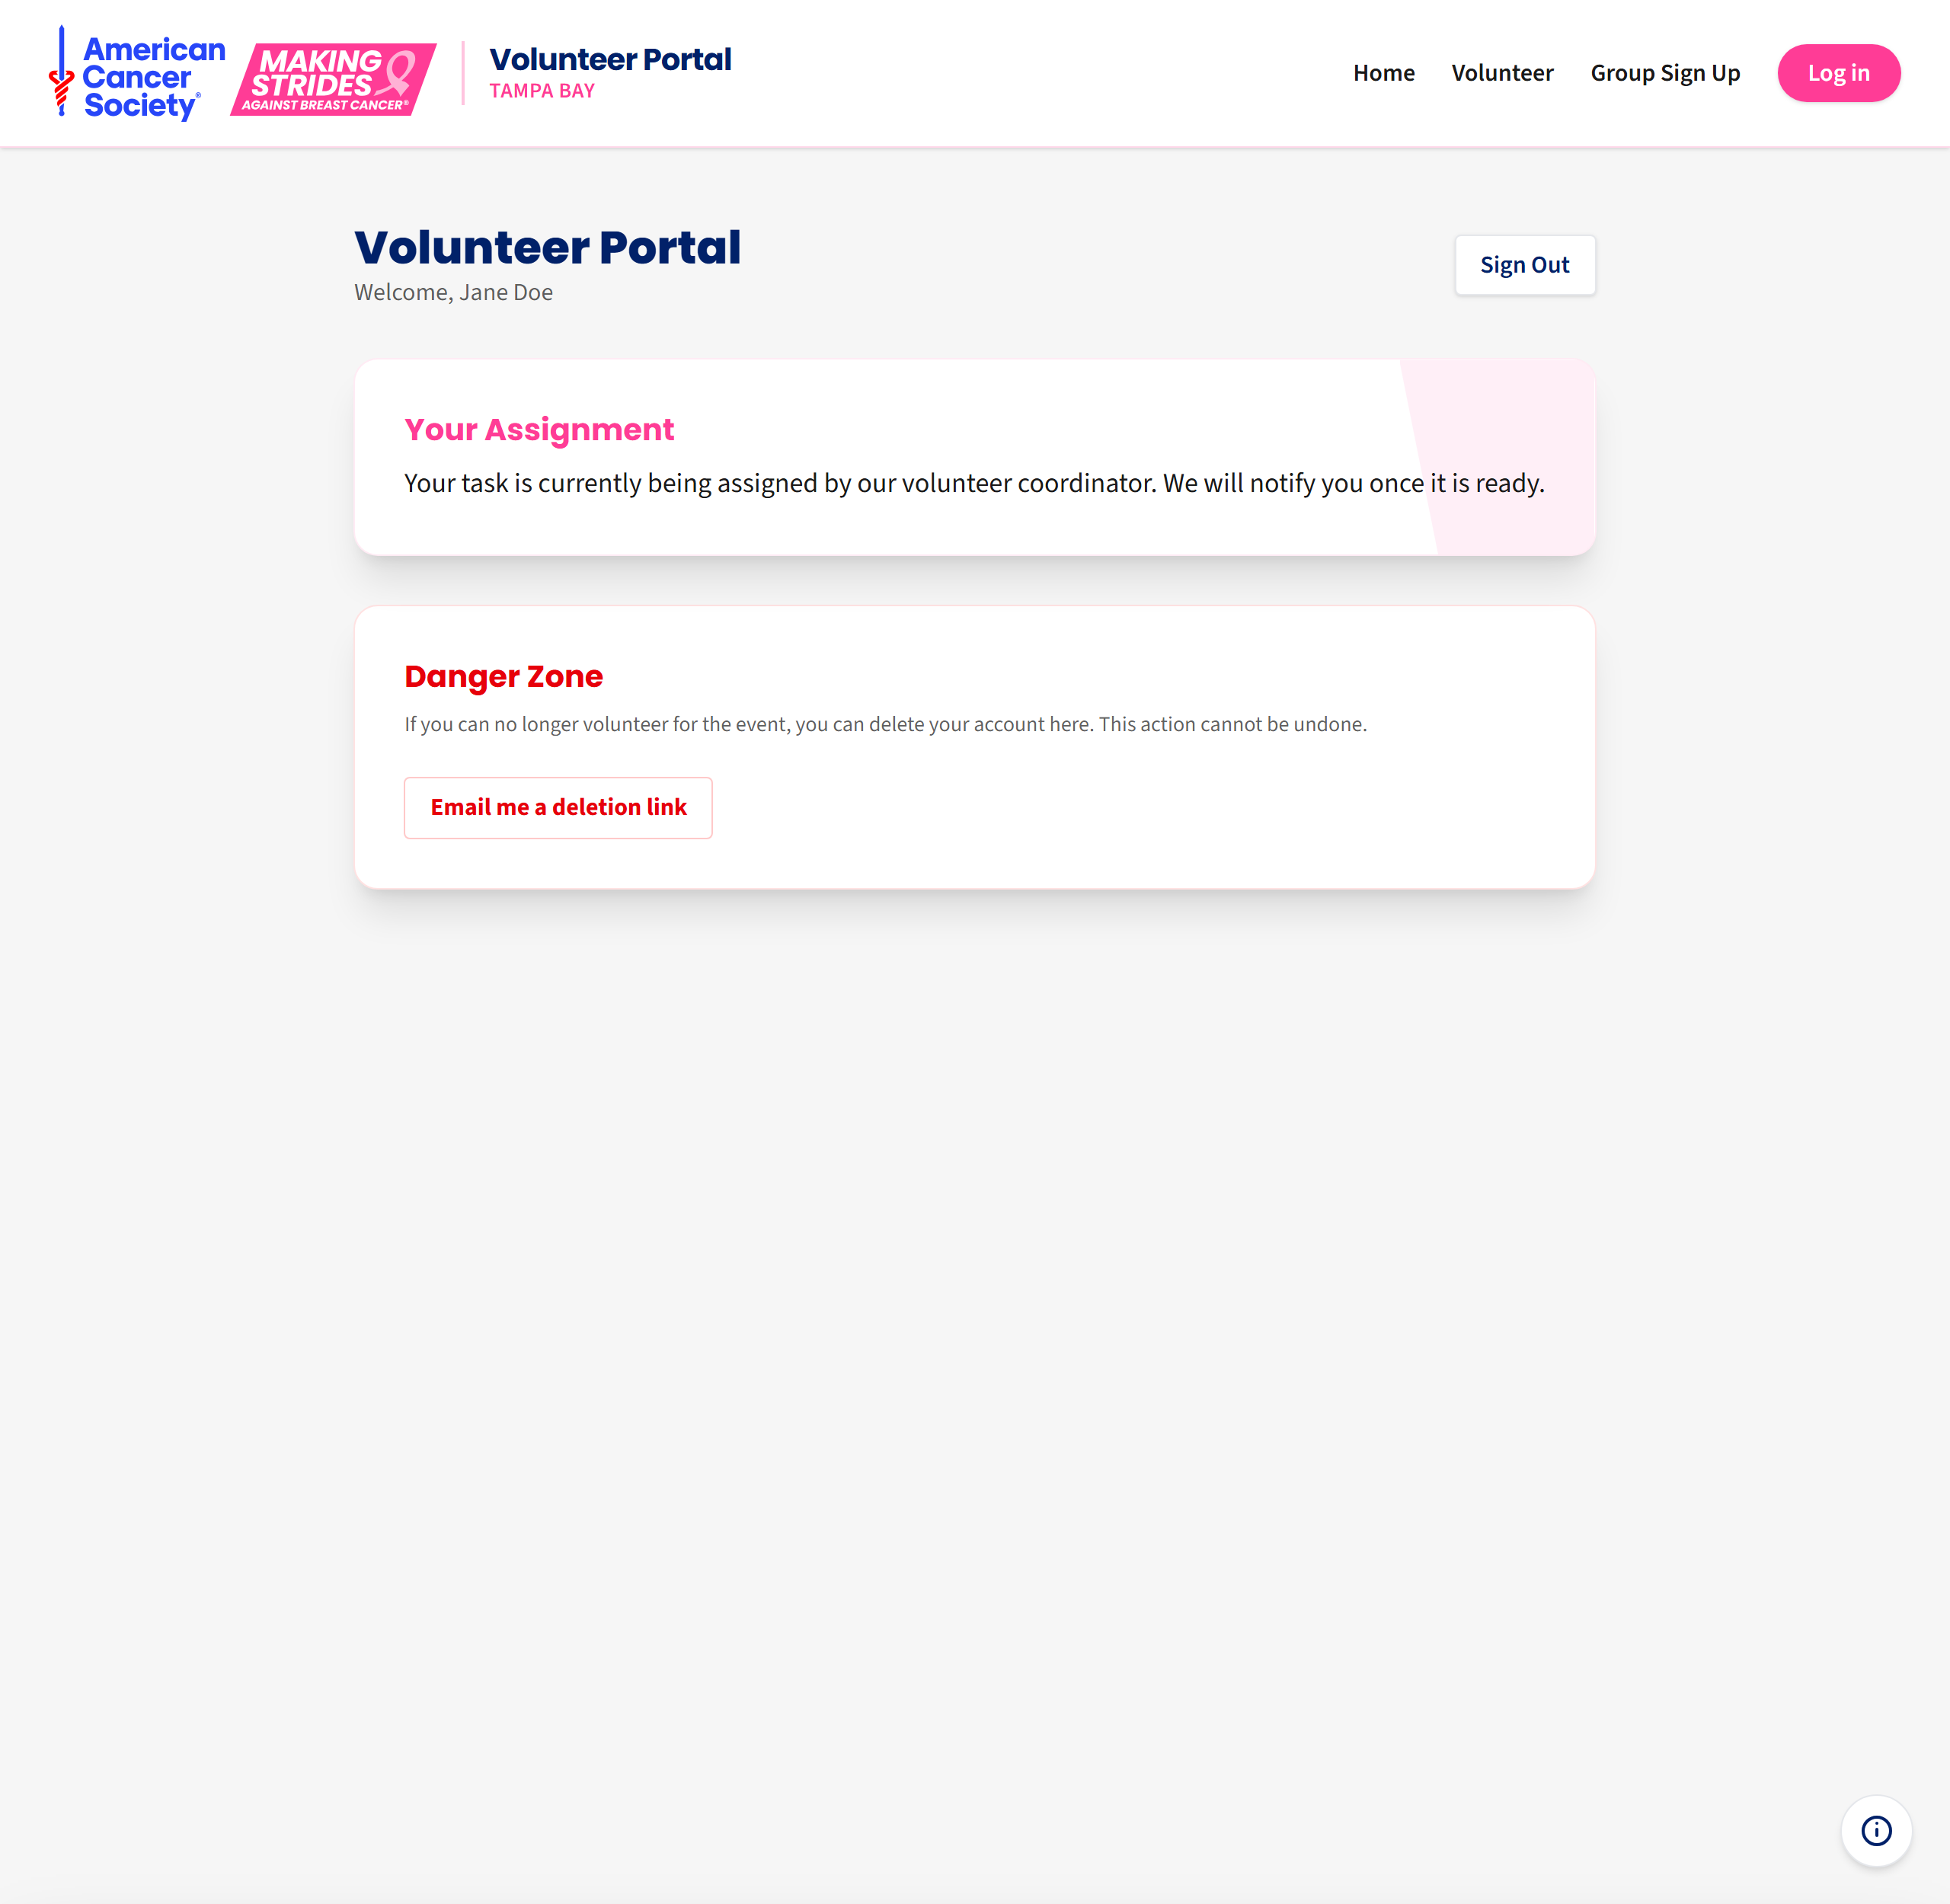
That is normal. A coordinator will assign your job and email you when it is ready. You do not need to do anything.
Your Group
If you are part of a group, a second card shows your group’s name, your leader’s name and email address, and who else is on the team.
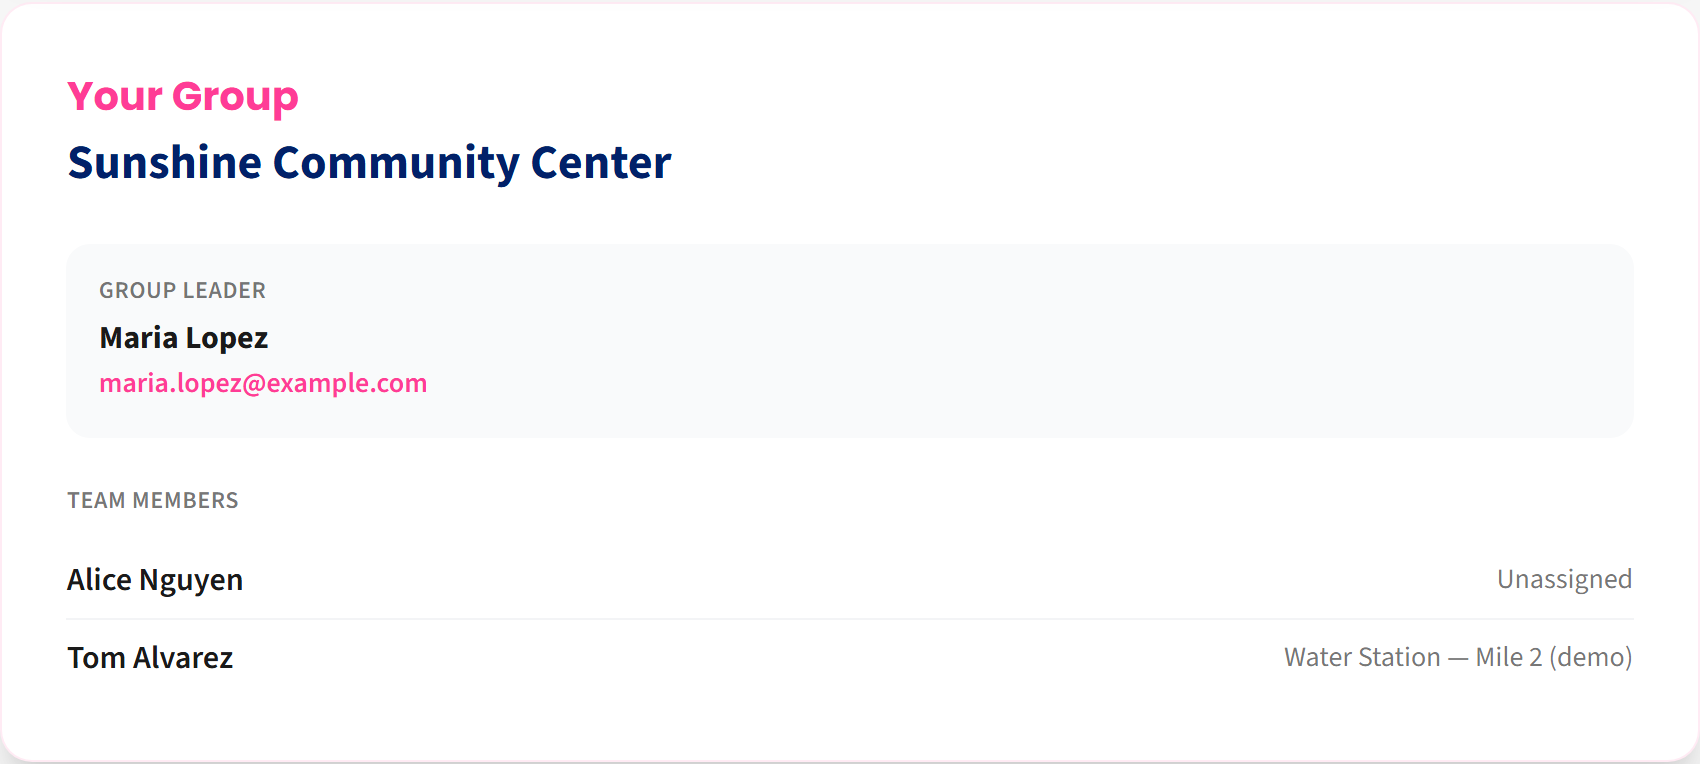
Here is the whole page as a group member sees it:
Signing out
Click Sign Out at the top right. On a shared or public computer, always sign out when you finish.
7. Forgot your password
Step 1. On the sign-in page, click Forgot your password?
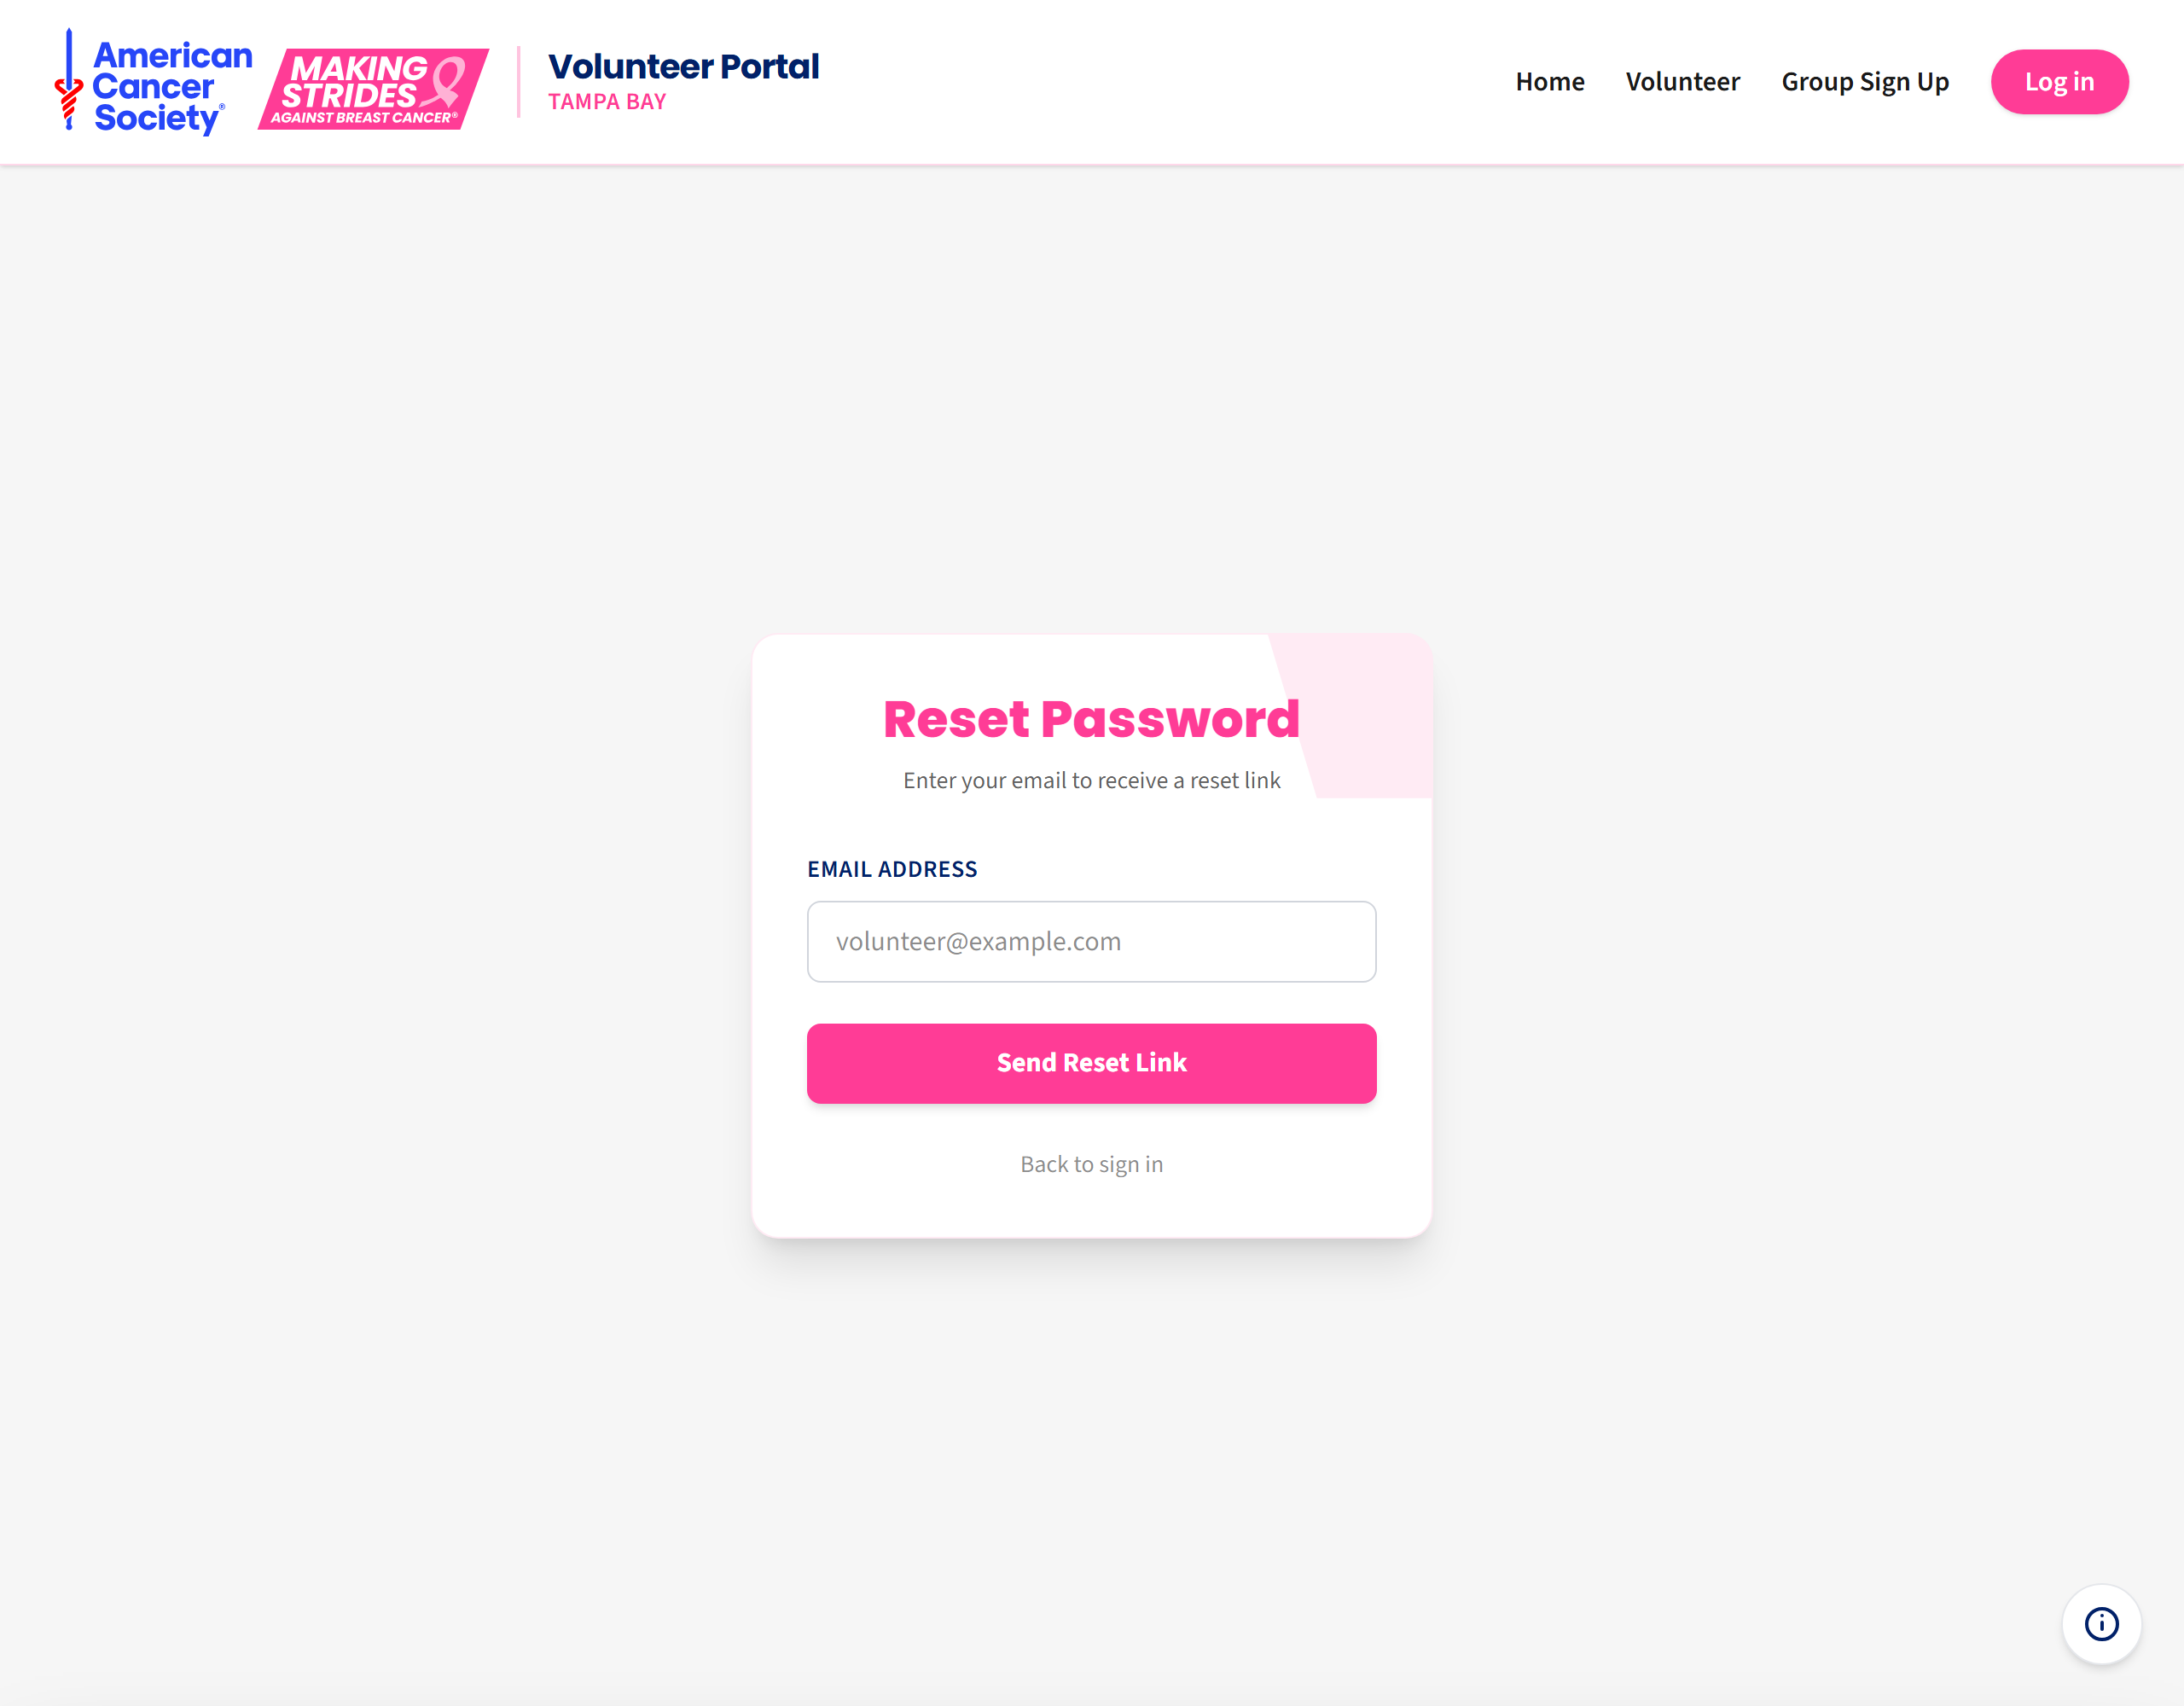
Step 2. Type your email address and click Send Reset Link.
Step 3. You will see this confirmation:
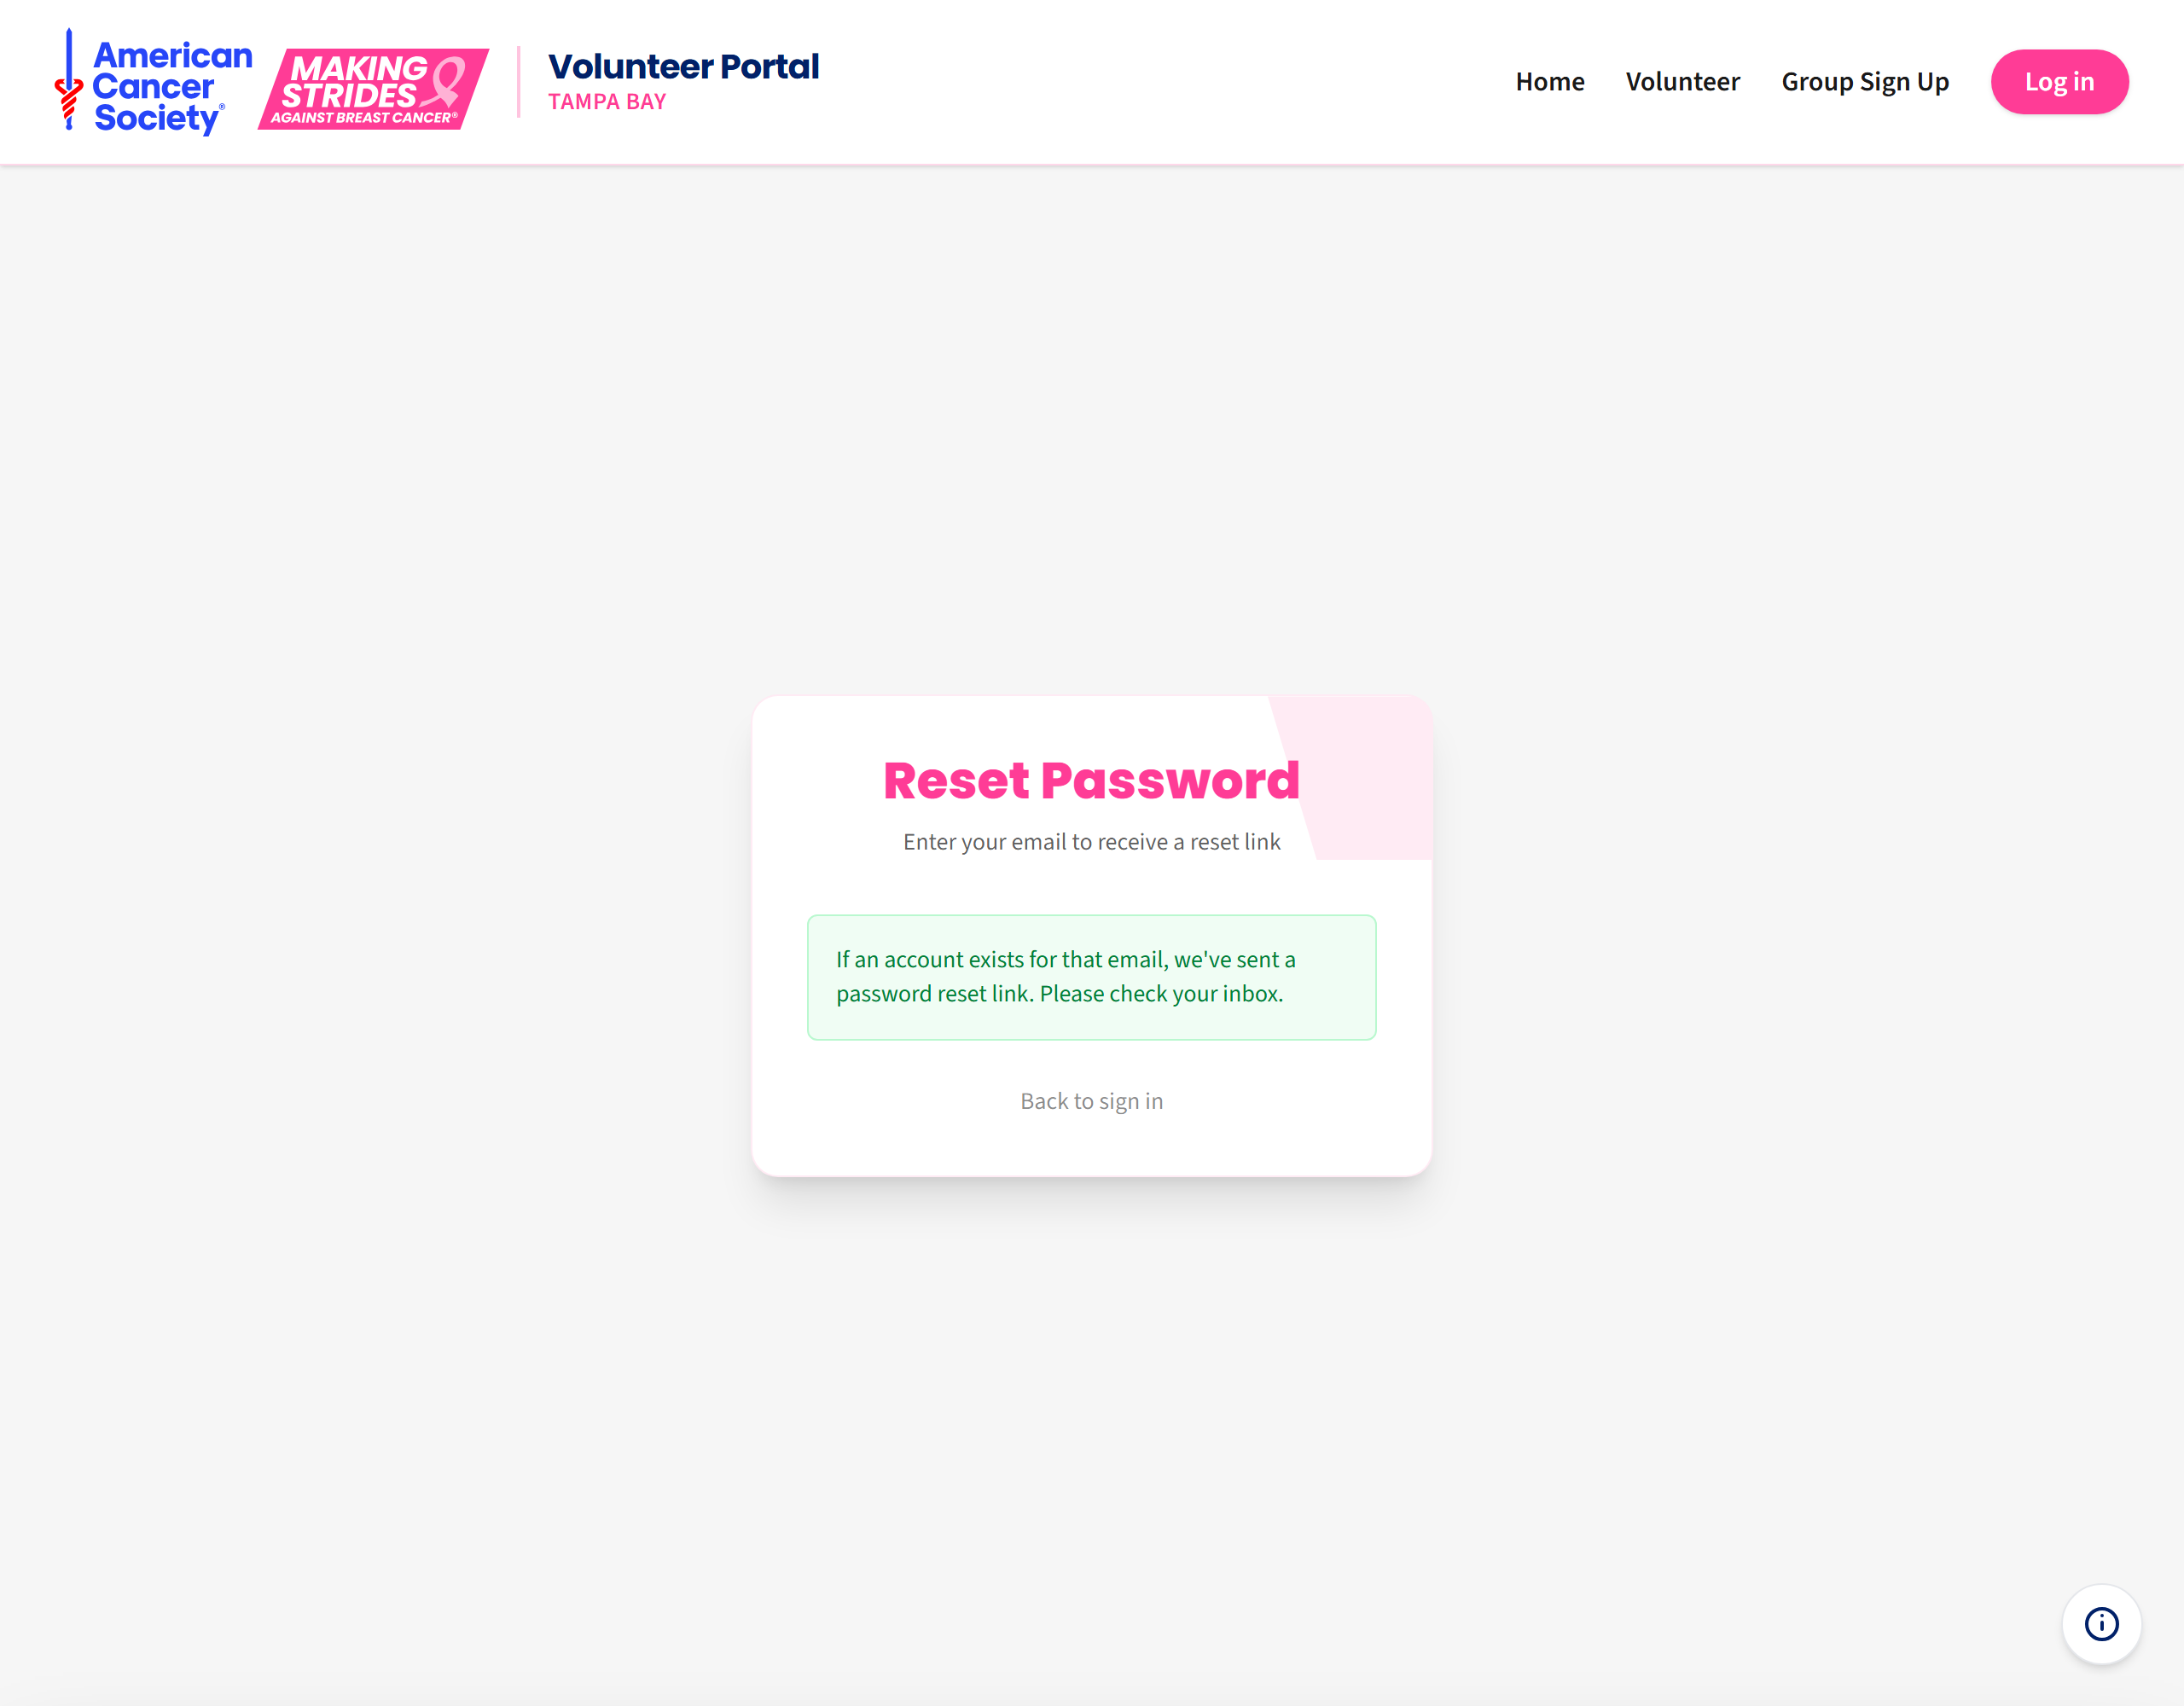
The message deliberately says “if an account exists”. This is a privacy measure — the site never reveals whether an address is registered.
Step 4. Open the email titled “Reset your password” and click Reset my password.
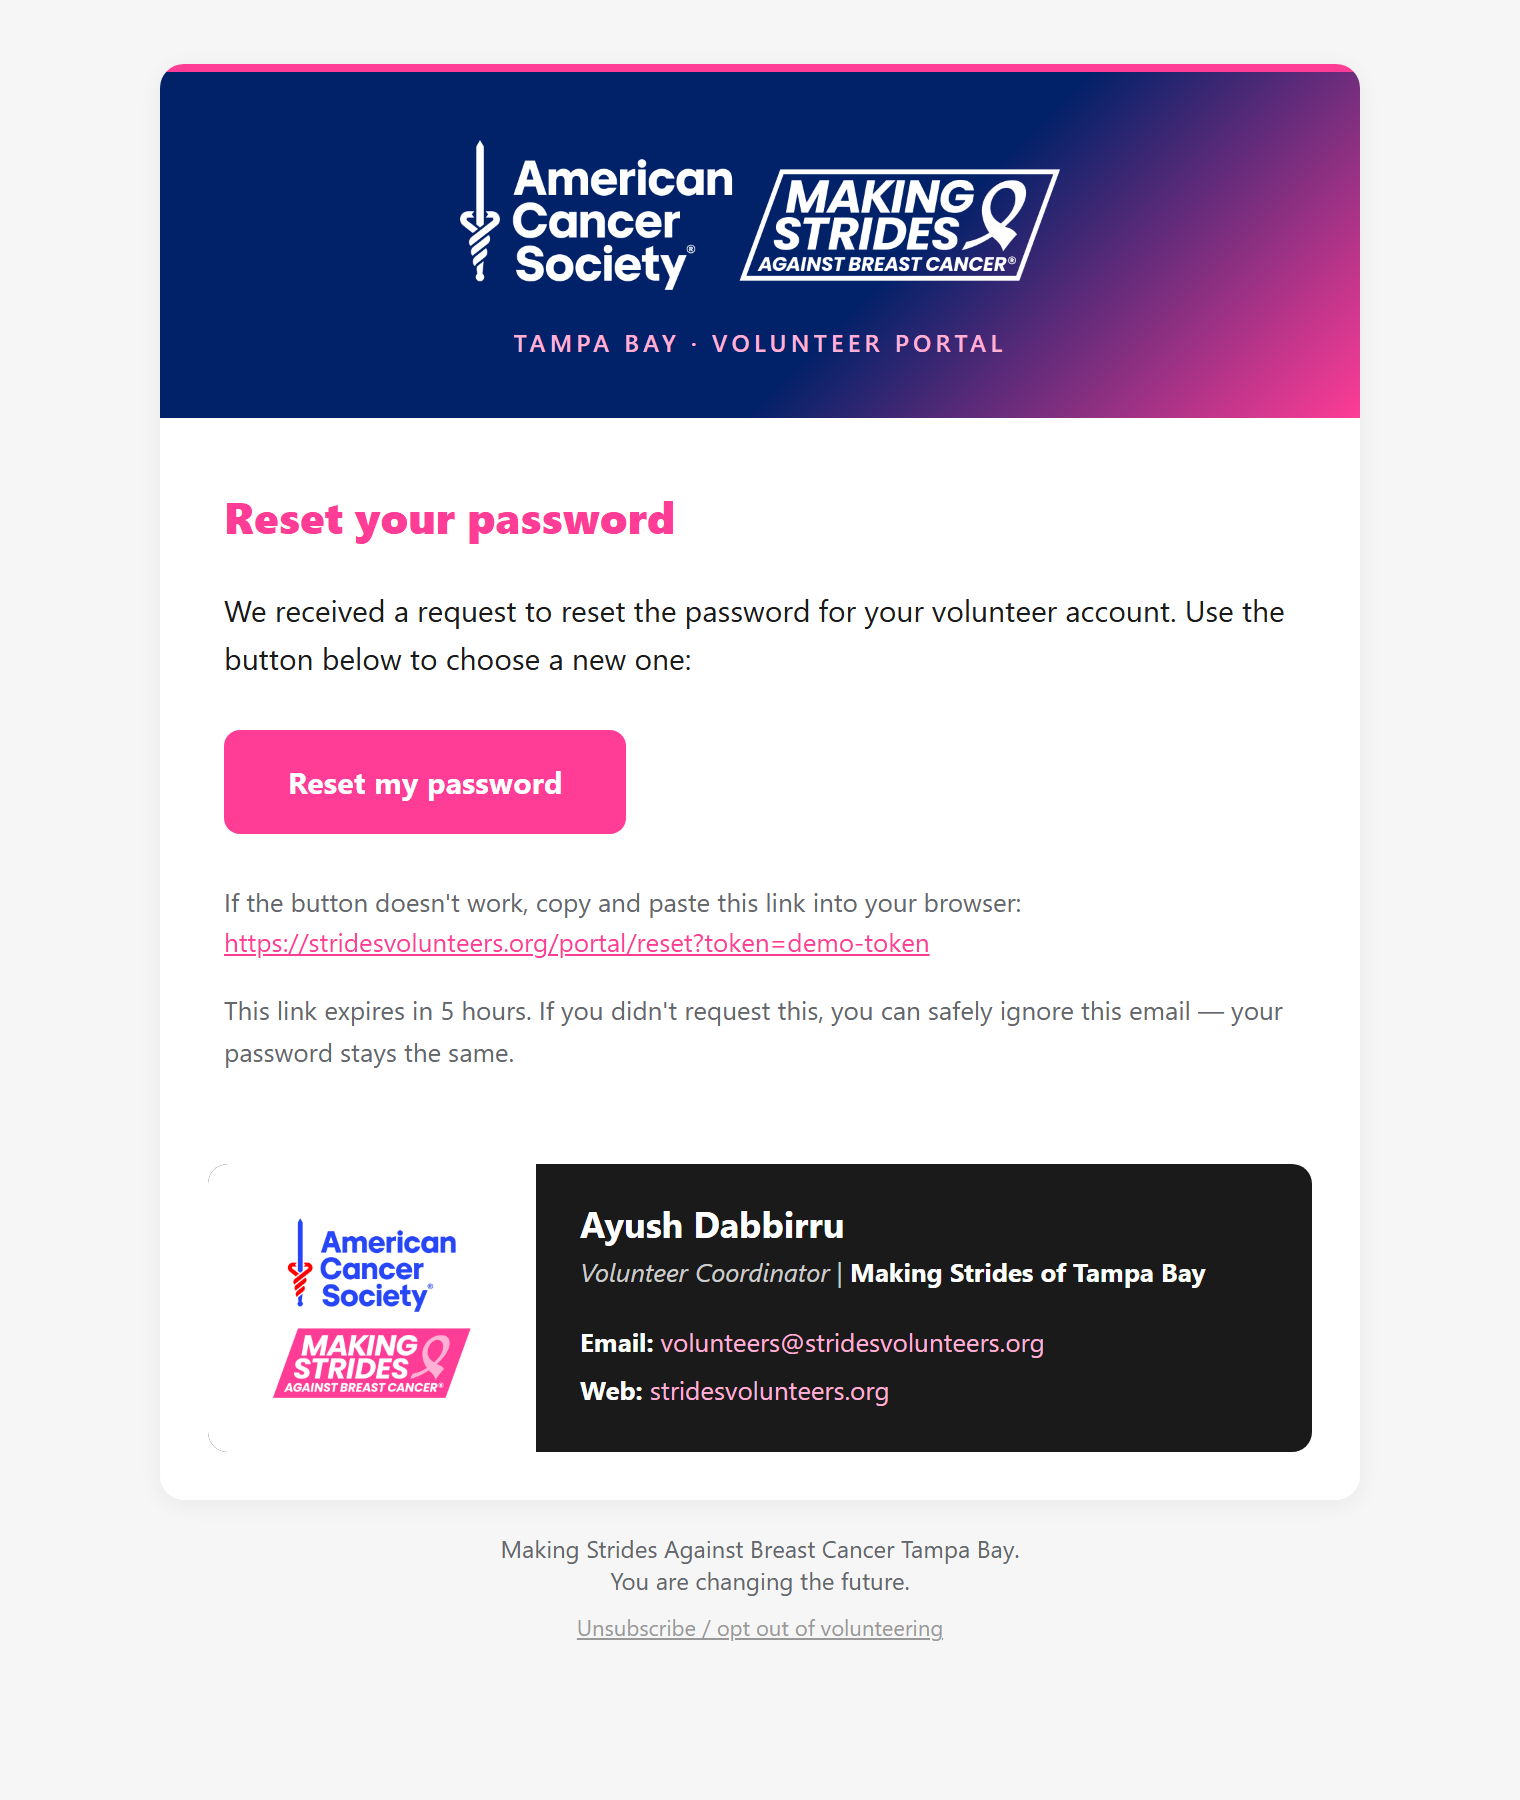
Step 5. Type a new password of at least 8 characters and click Update Password.
You are signed in immediately with the new password.
Useful to know: resetting your password also verifies your email address. If you never managed to click your original confirmation link, a password reset gets you into your account.
Limits: you can request at most 3 reset emails per hour for the same address. If you request more, wait an hour and try again.
8. Getting an email when your job changes
Whenever a coordinator or group leader gives you a job — or changes it — you get this email:
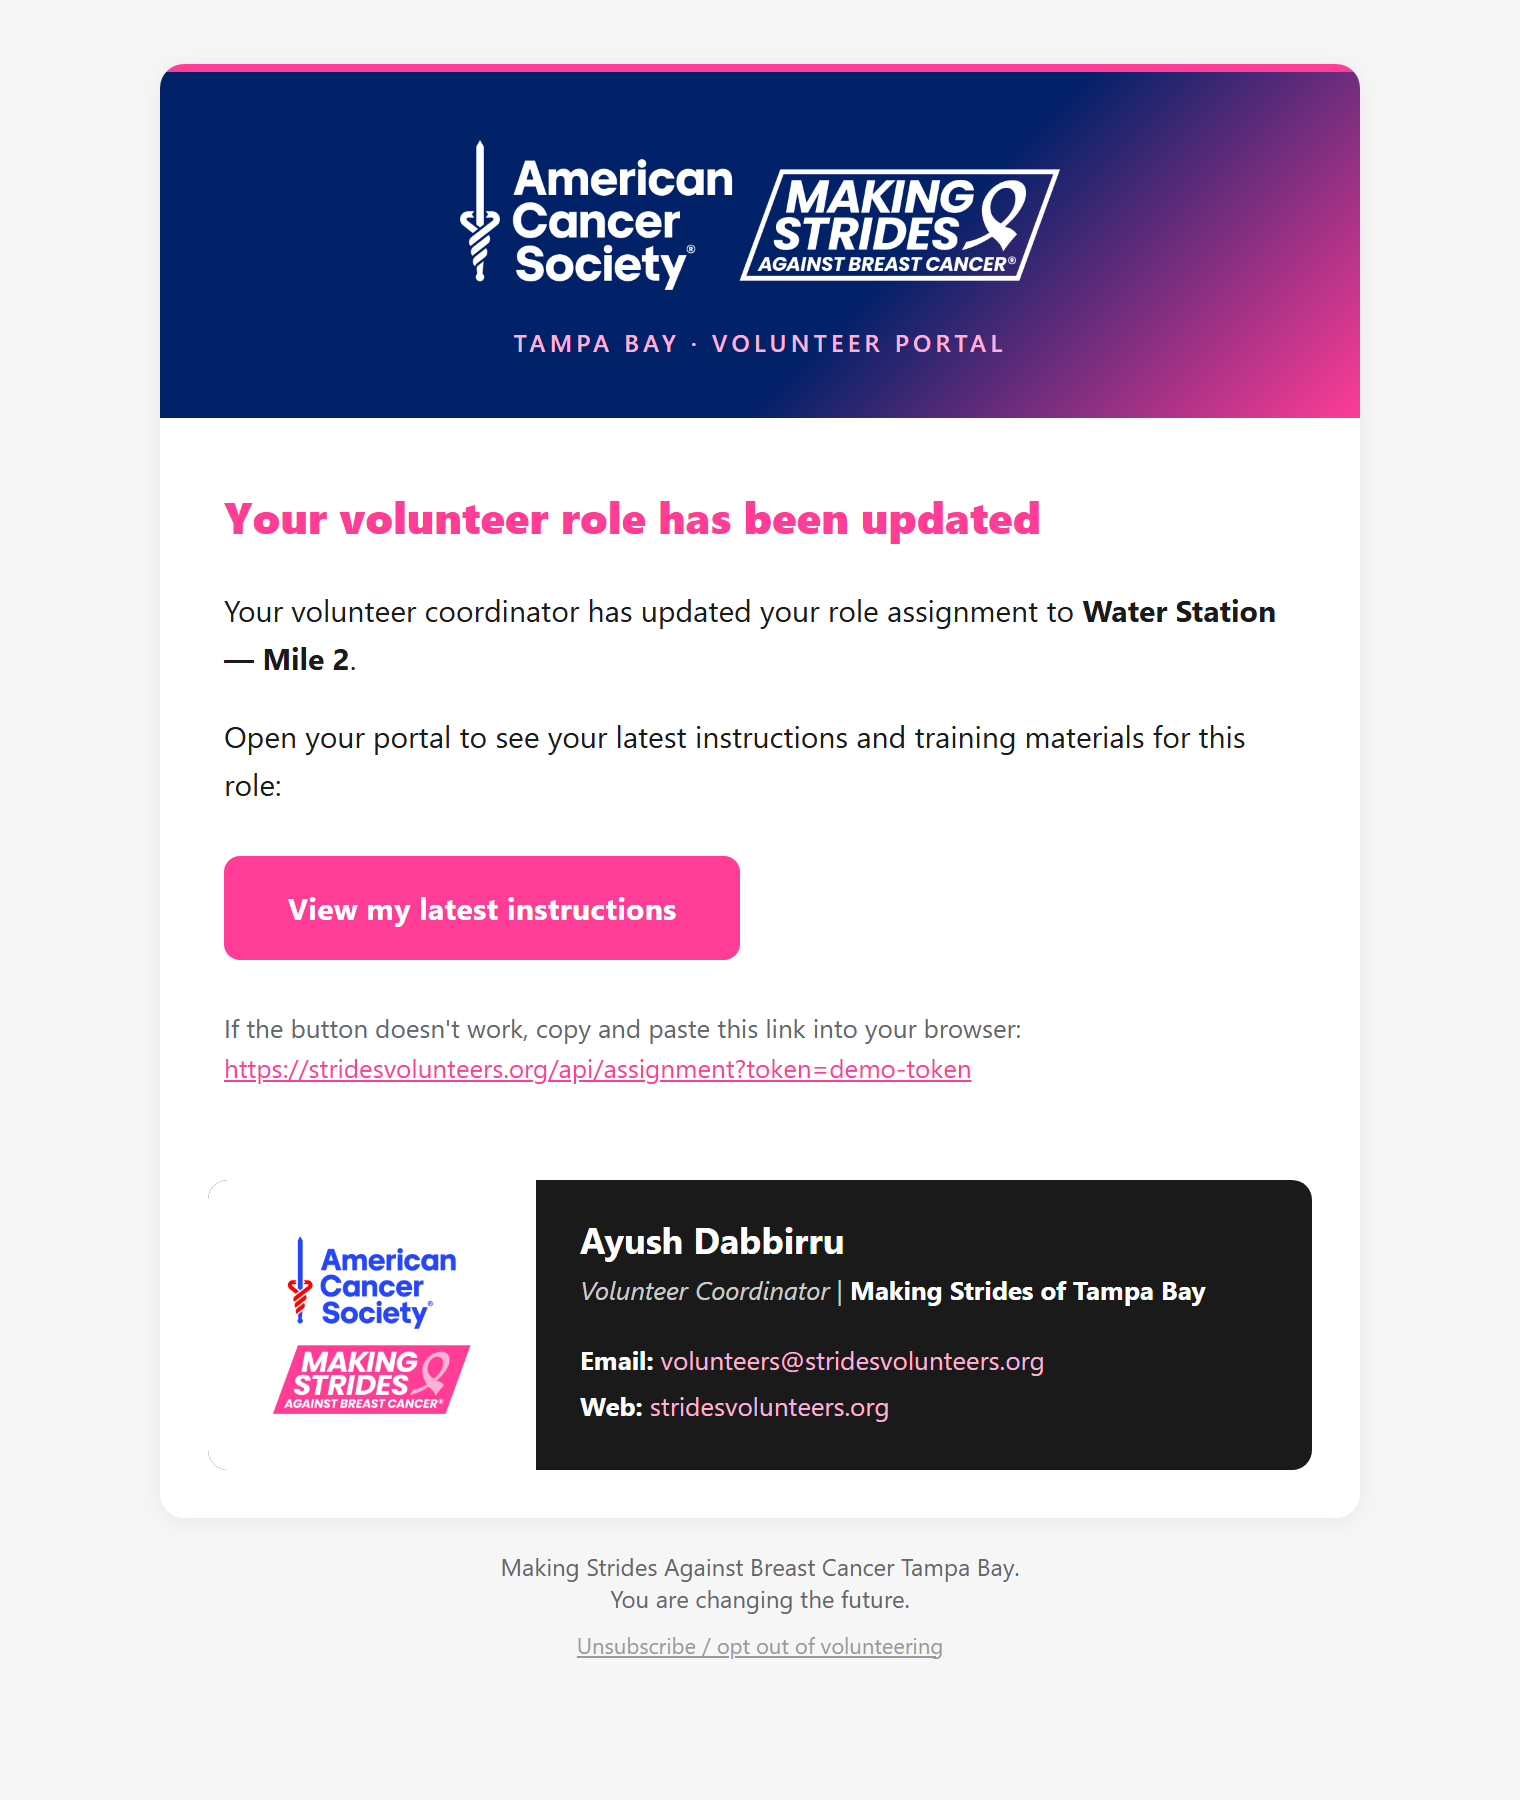
Click View my latest instructions to open your portal and read the details for your new job. Clicking it also tells your coordinator you have seen it, so they know they do not need to chase you.
Simply opening your portal counts as seeing it too.
9. Leaving: deleting your account
If you can no longer volunteer, you can remove yourself completely.
Step 1. Sign in and scroll to the bottom of your portal, to the red Danger Zone.
Step 2. Click Email me a deletion link.
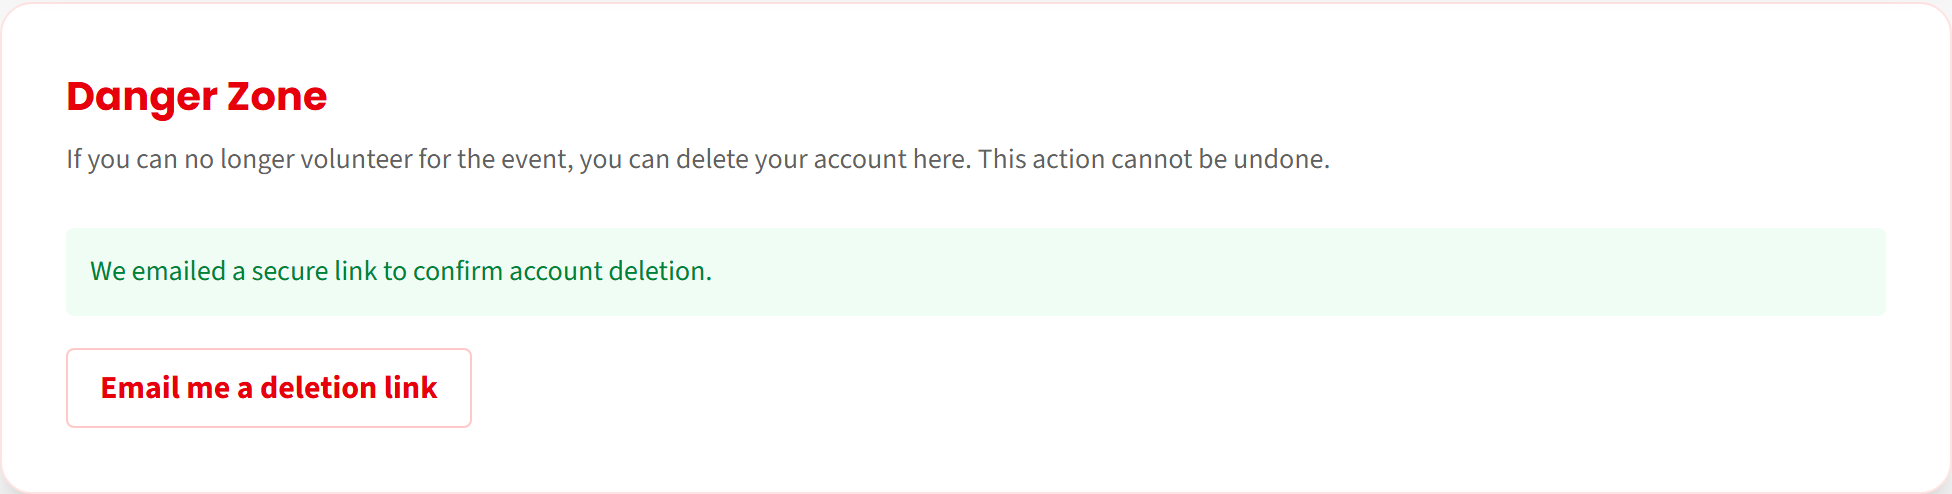
Step 3. Open the email titled “Confirm account deletion”.
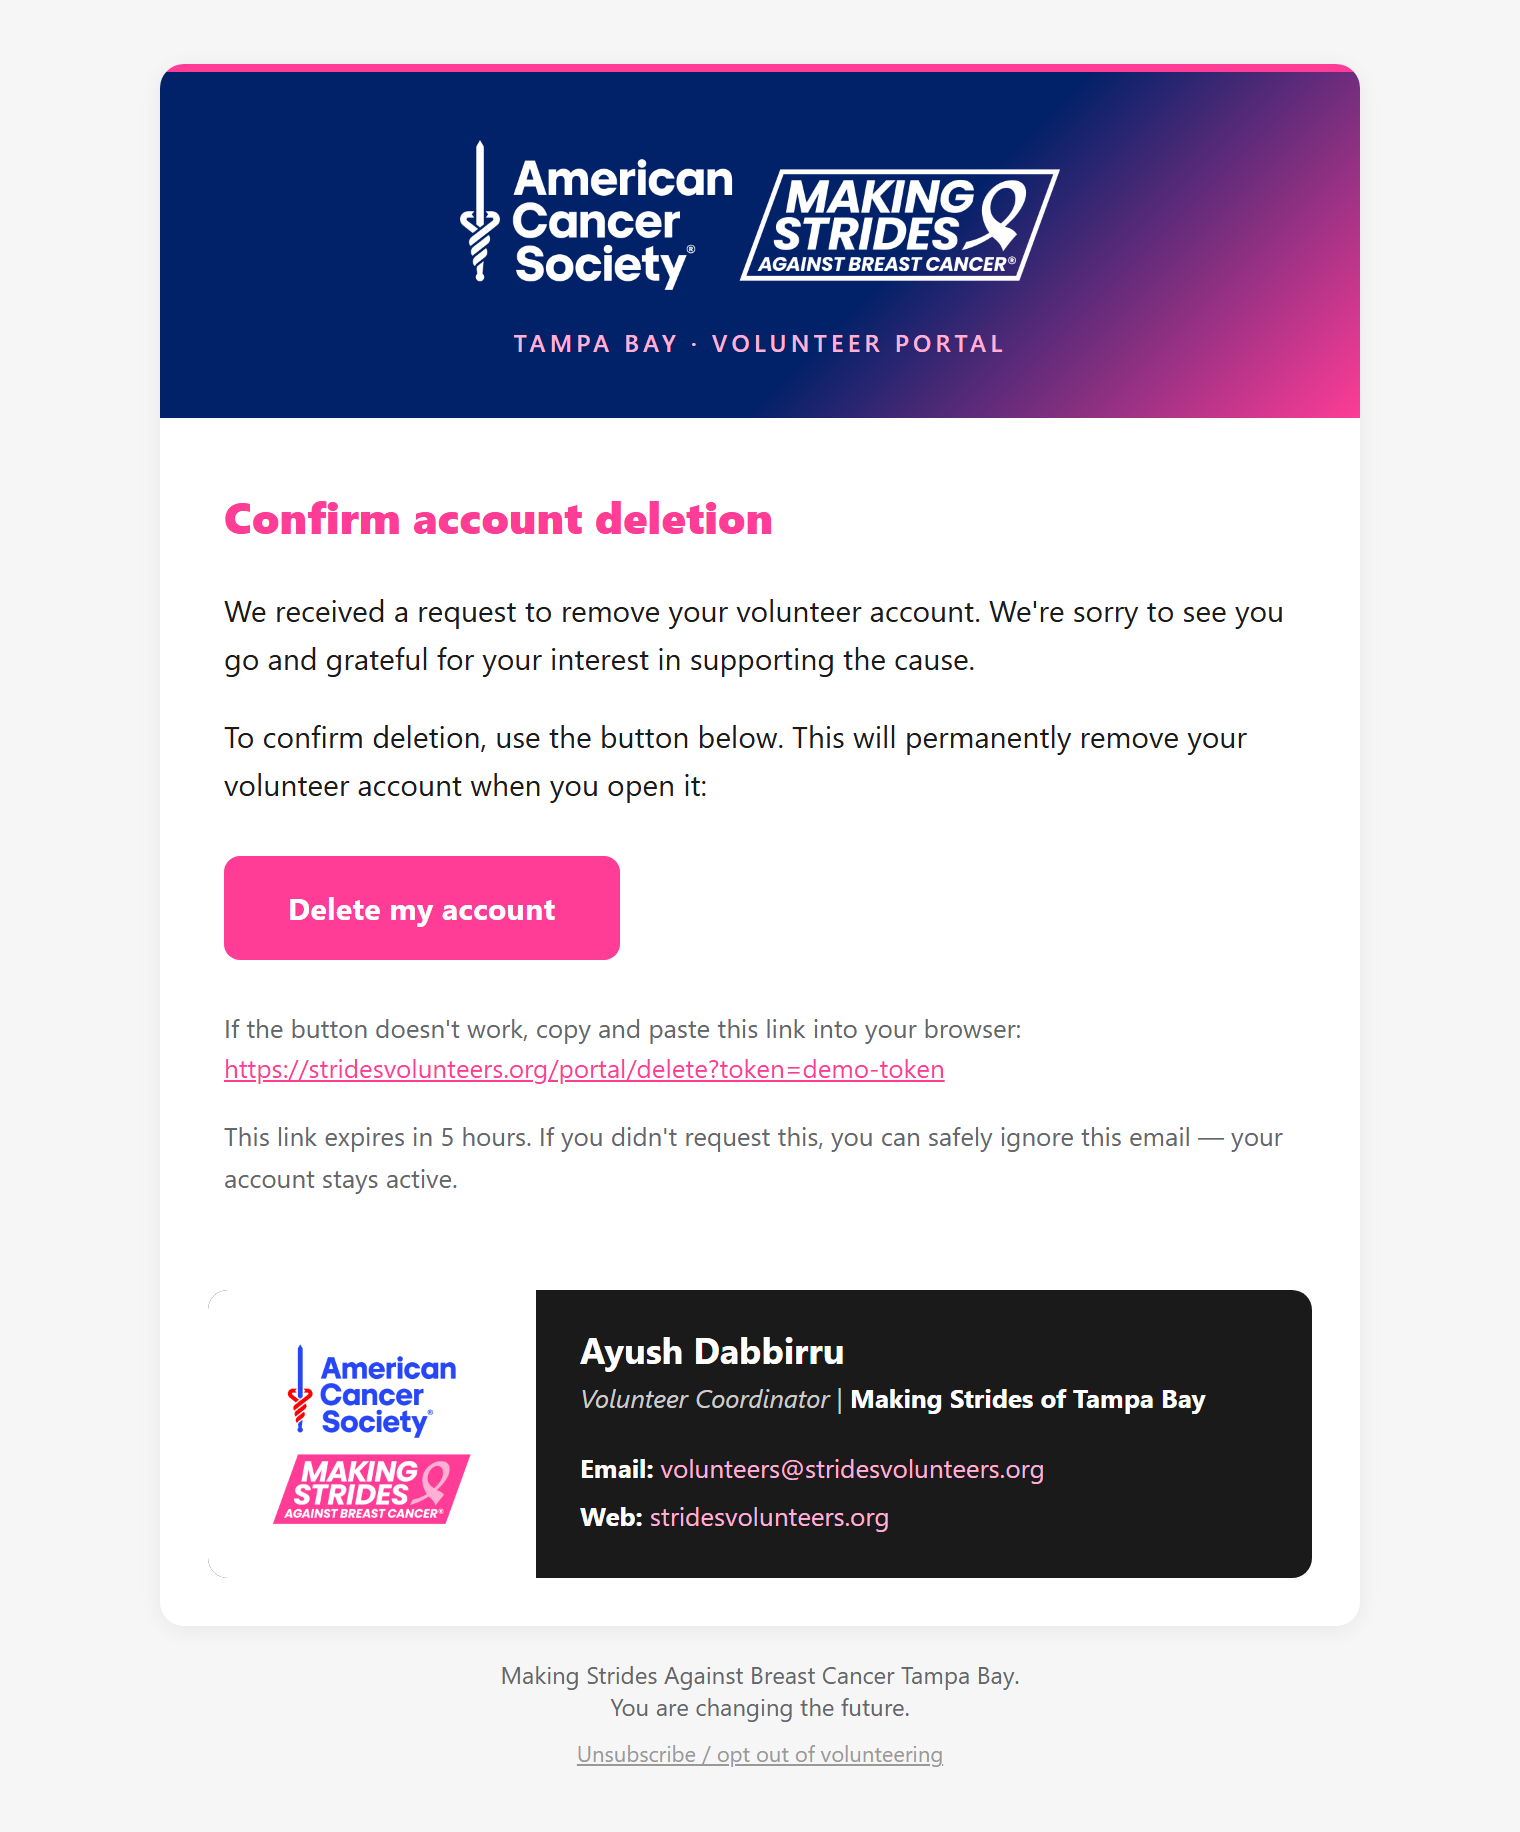
Step 4. Click Delete my account. Your account is deleted the moment that page opens.
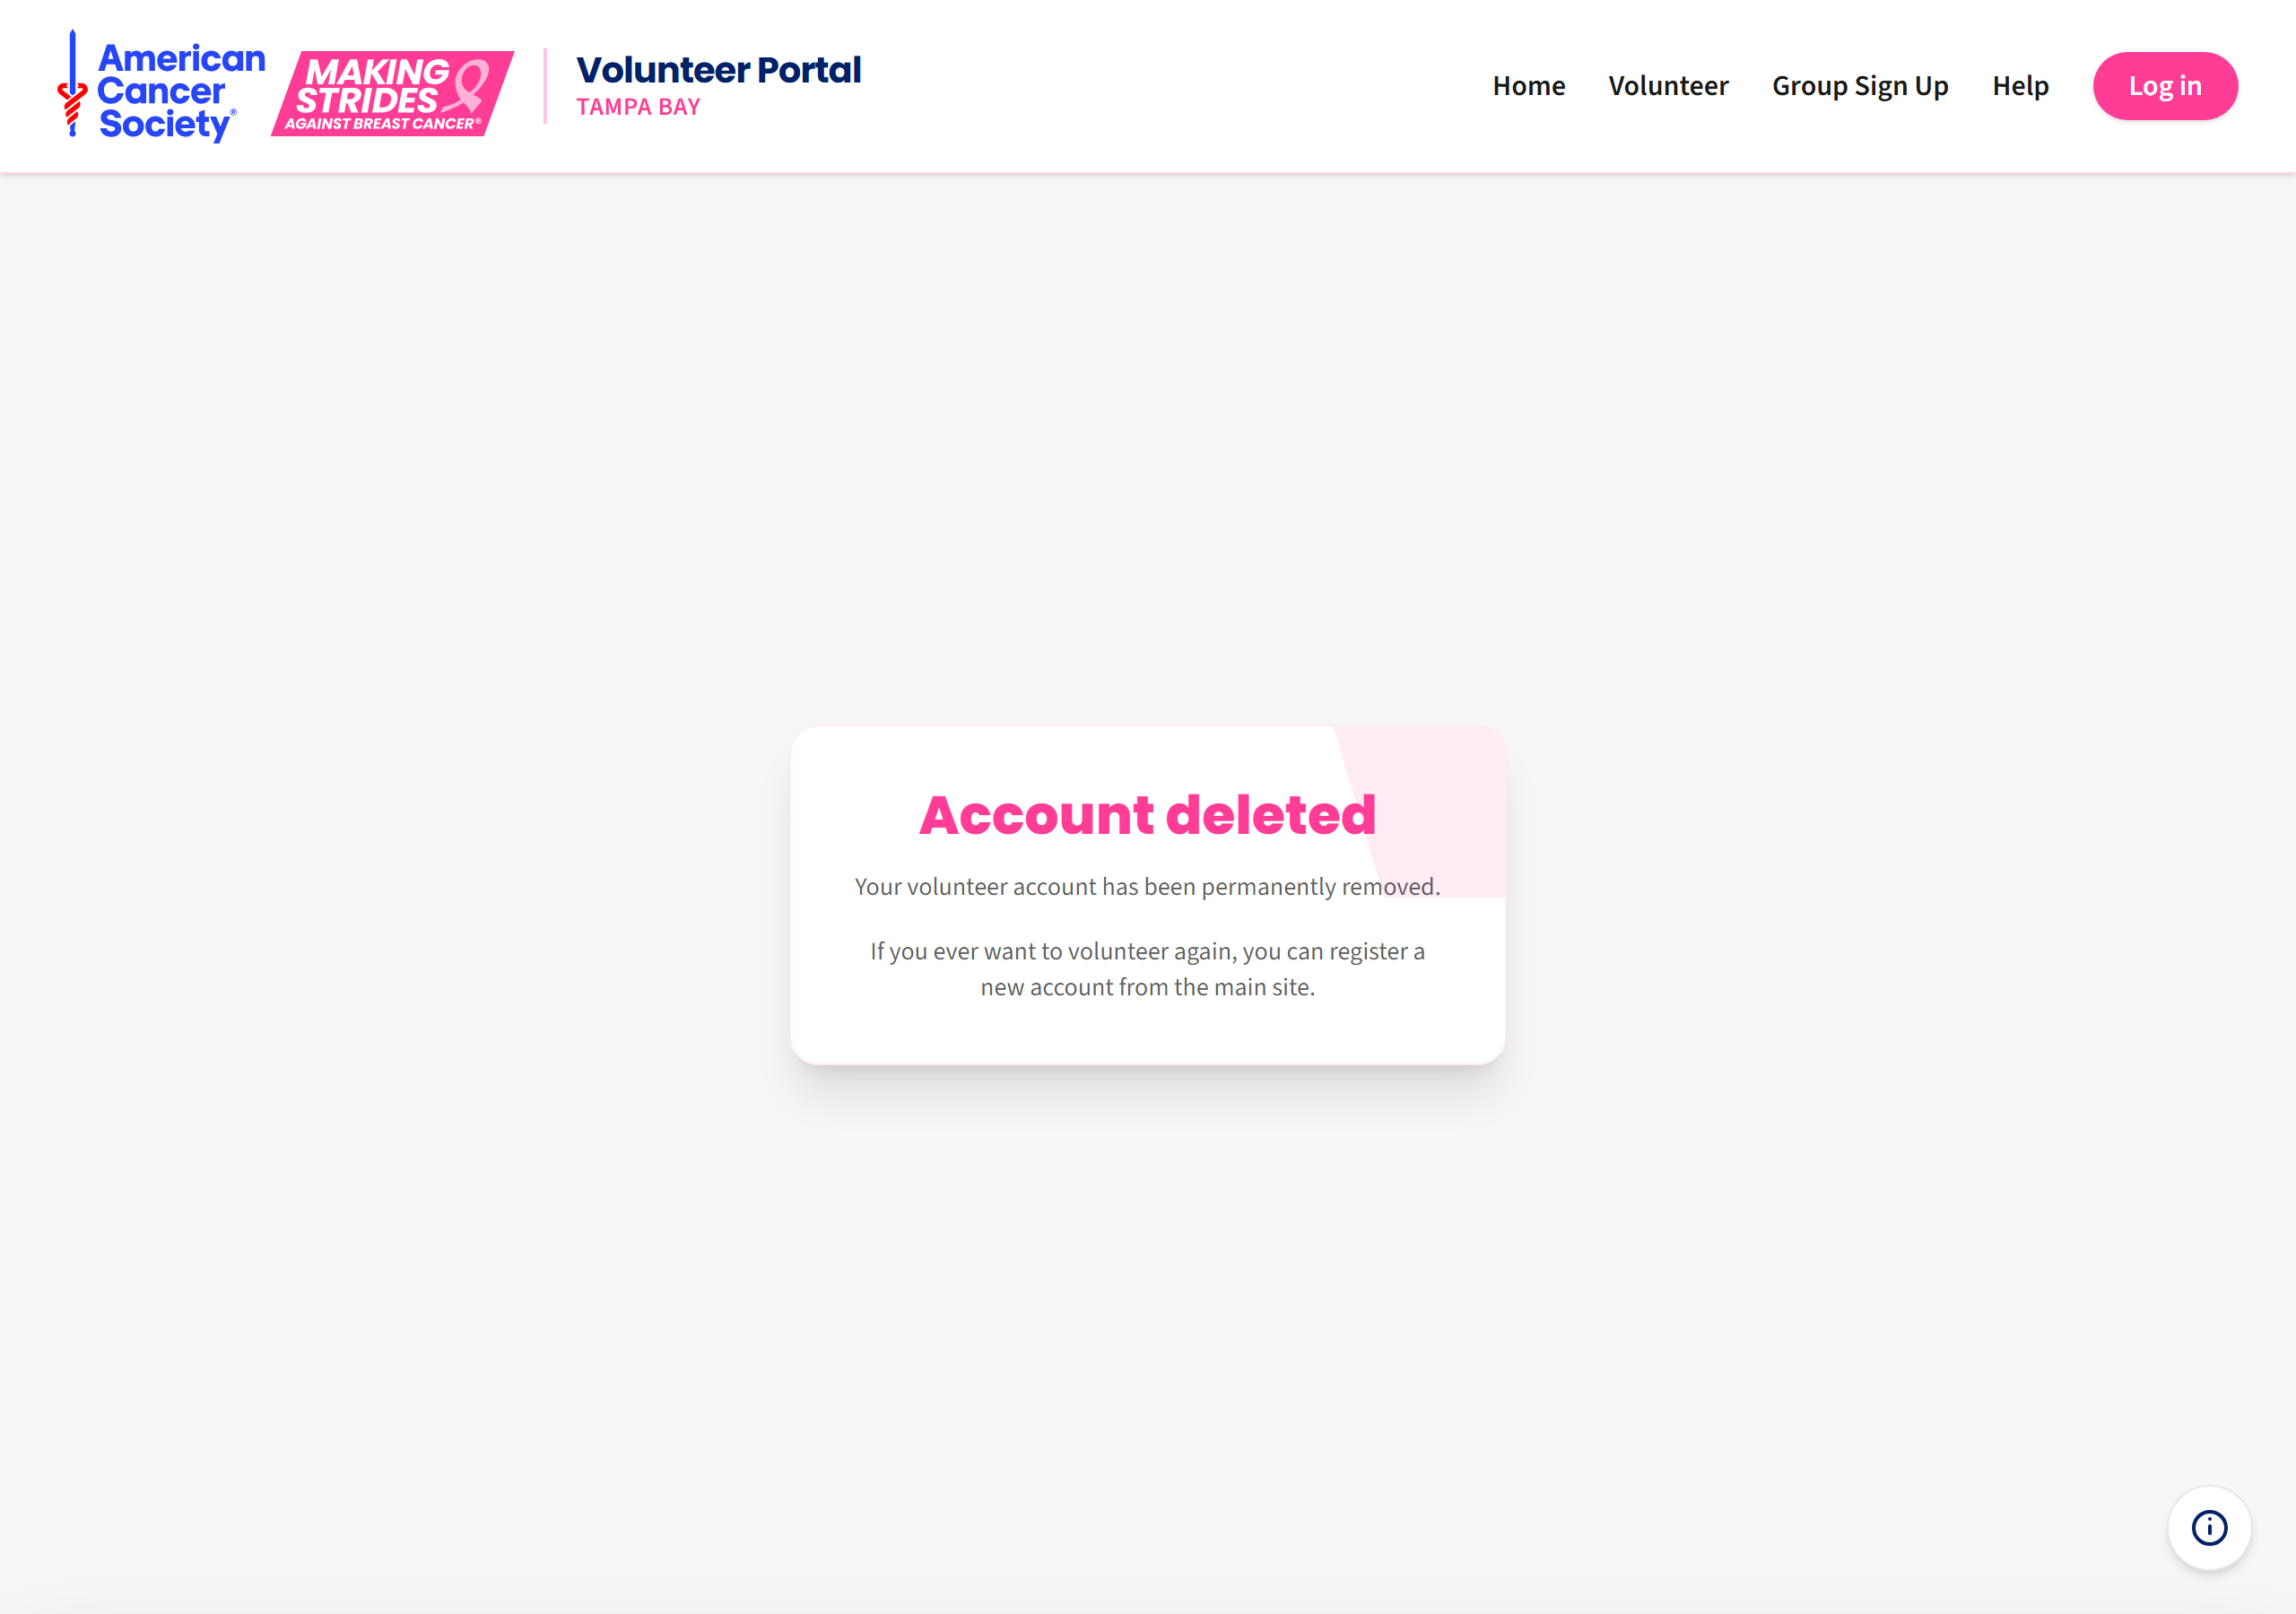
This cannot be undone. We ask you to confirm by email so nobody else can delete your account, and so a mis-click cannot do it either. If you change your mind, simply do not click the link — your account stays active. You are always welcome to sign up again later.